Or, alternatively, making a room, and turning it into a pleasant environment in which it is a pleasure to sit and listen to / enjoy music.
We have finally reached the point where we can move upstairs and begin the main event – DR3.
A big project, somewhat a labour of love, consumer of vast quantities of time, product and ingenuity.
Time, well, that is / was something that I was going to have in abundance had the world & I known, but it was to be somewhat lonely.
Coronavirus Lockdown (s) 1, 2 & currently 3 all gave me ample time to get things to an advanced state. Writing this page of the blog literally one year on from when it all went seriously bad (March 2020), so now we are at end of March 2021, and a whole heap of ‘stuff’ has occurred.
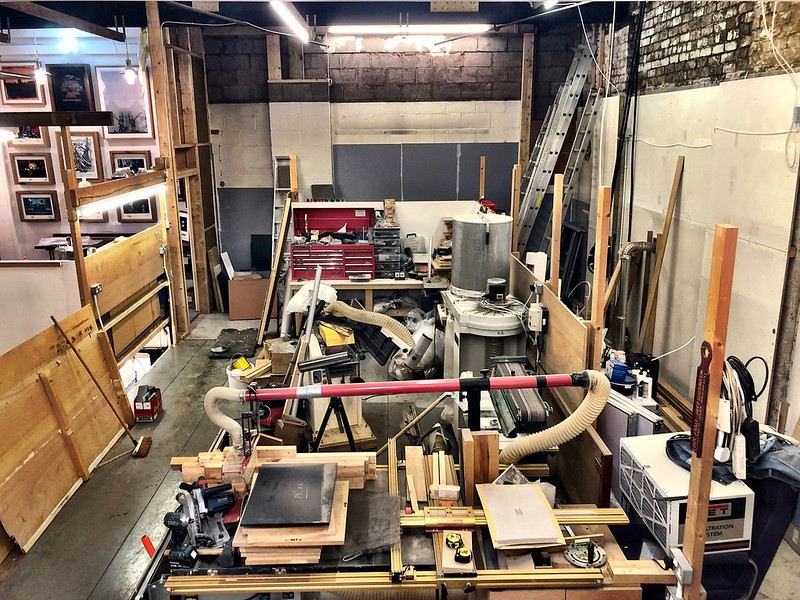
The image above shows just what I had to work with.
It is somewhat full of my workshop tools and machines, all of which need to go ‘downstairs’ to their new home, and get used for making this room into a room..
The wall to the right is to the outside, some 450mm solid victorian brick wall, with many coats of lime wash, dirt. soot and various other things thrown at it. Being solid, with no damp course, it is always slightly damp. We had put some white double sided melamine boards to it to keep the damp out (mounted on 3×2 treated timbers) but the frame ties used to anchor this in place, (120x10mm zinc plated) had totally rotted away after just 10 years.
They all needed to be removed, obviously.
The wall in front – is to the neighbouring unit. 200mm hollow concrete blocks. Not exactly soundproof at all, although relatively dry. Highly porous, to sound, air movement etc..
The wall to the left, well, there isn’t one, so it needs to be built!
The floor round the right hand side was well worn chipboard tongue and groove, as was the floor to the front alongside the neighbouring wall. that all needed to be replaced, made good and strengthened.
The floor got replaced and strengthened, the wall to the outside was re covered with new treated timbers, held in place with 200 x 120mm x 10mm solid stainless frame ties. and to the treated timber was put 18mm double sided melamine (the 3×2 joists allow for the wall to breath). The melamine was covered with 15mm platerboard, and then fitted out with a 2×2 frame into which 50mm rockwool was added. That wall was now dry and warm, and sealed, so soundproofing had begun.
The wall to the neighbouring unit – covered with double thickness soundblock plasterboard to seal it, clad with 2×2 framing and covered with 50mm rockwool, so that wall was now ready for soundproofing being dry and warm also.
the wall to the left – well, still not even there yet.
Images below begin to tell the story.


