Well, yes – those doors did get fitted..

August 1, 2021 8:54 pm Published by

But as per usual, things took a different route that inevitably added time.

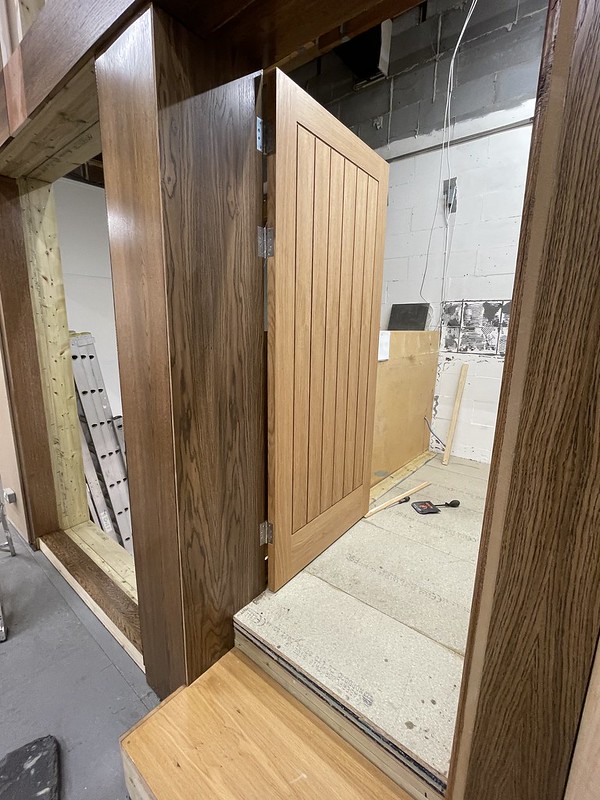
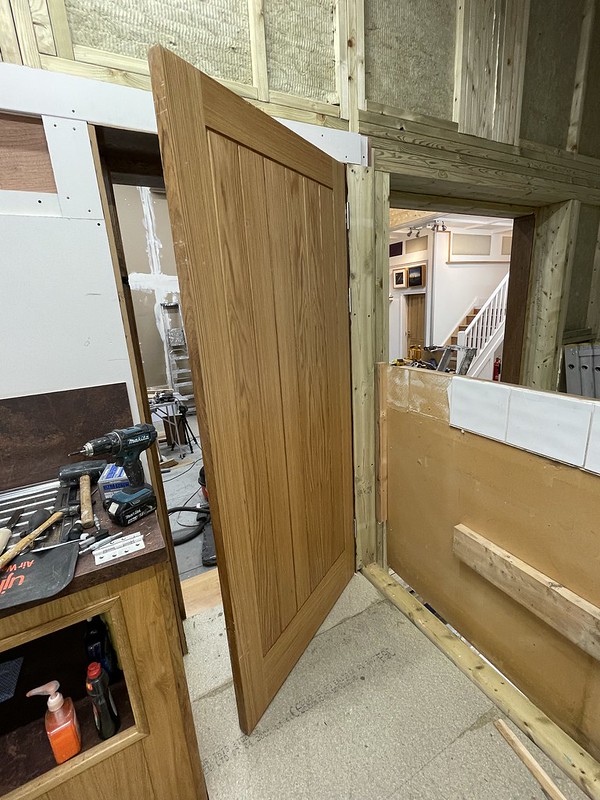
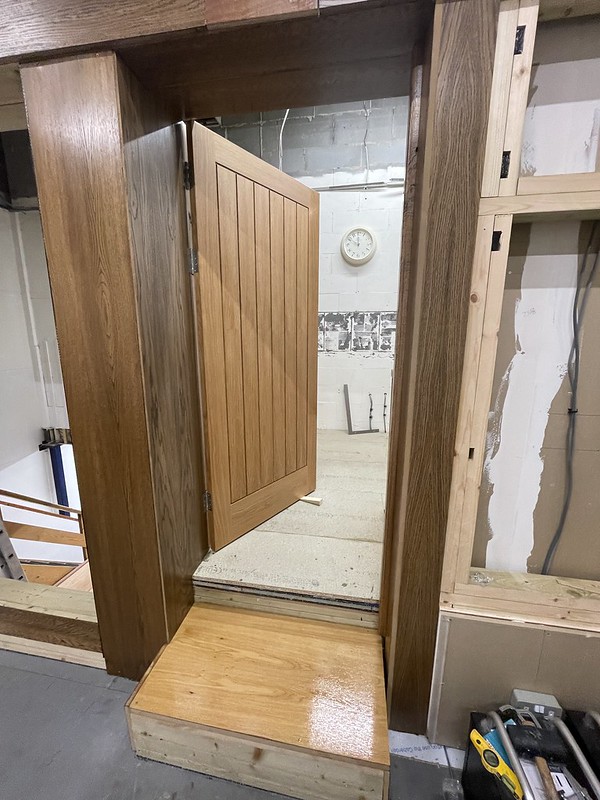
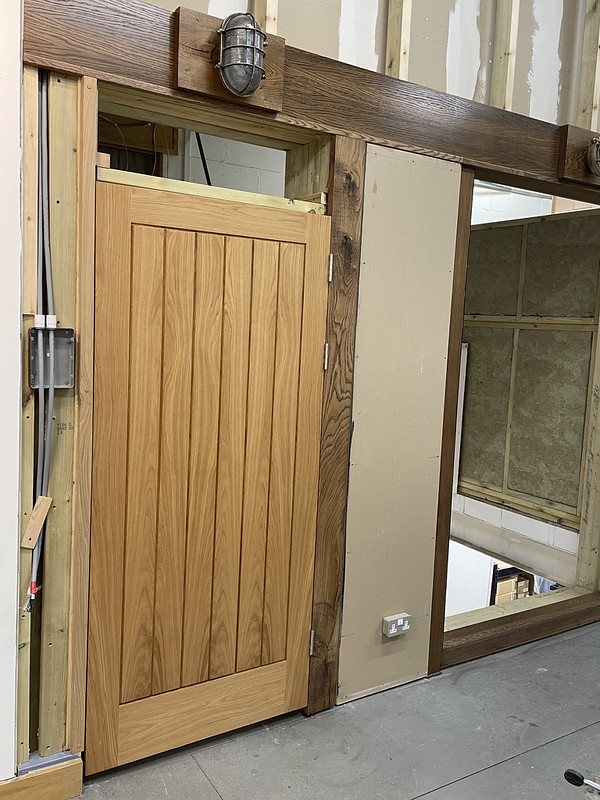
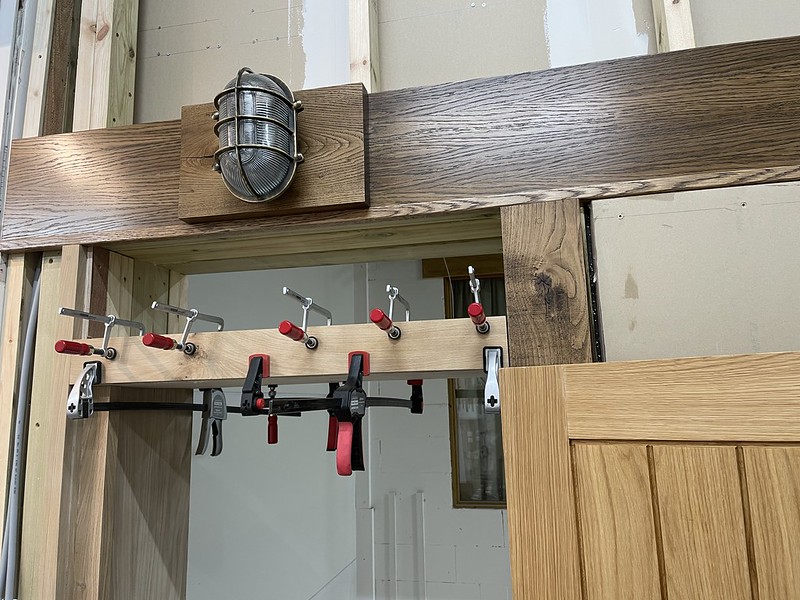
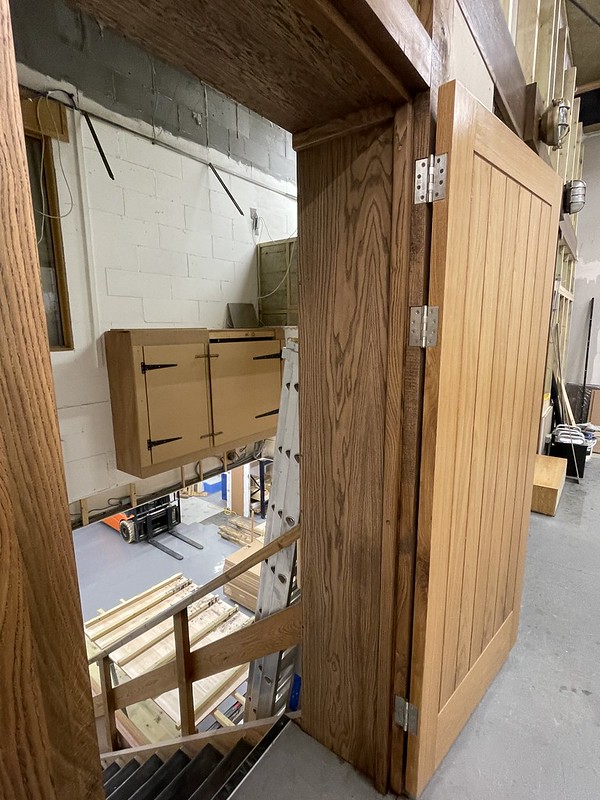
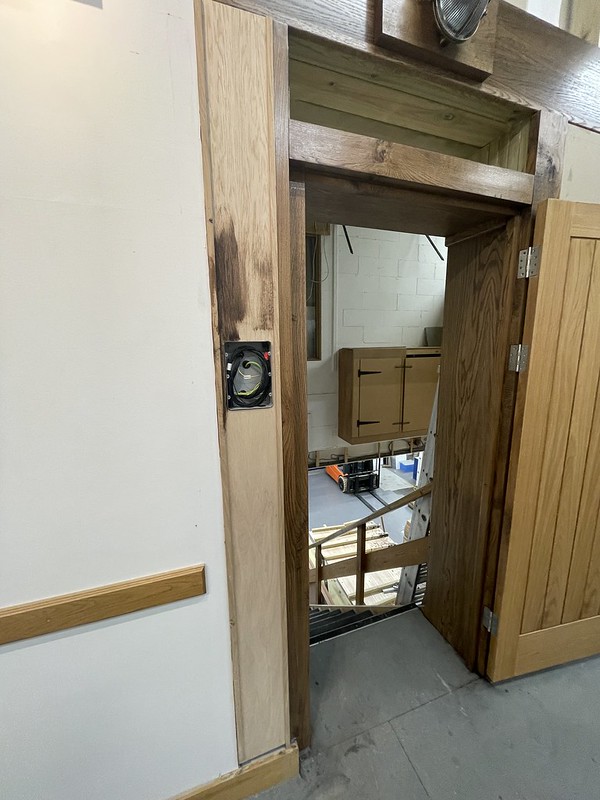
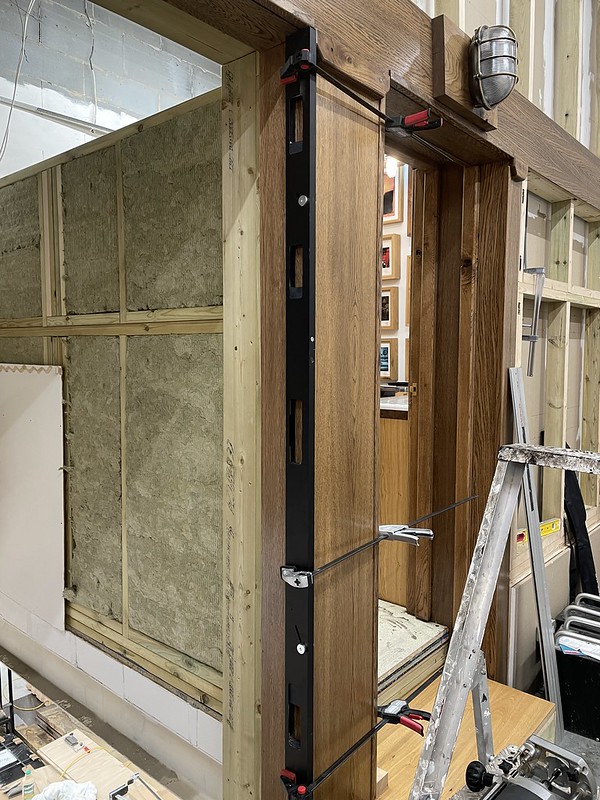
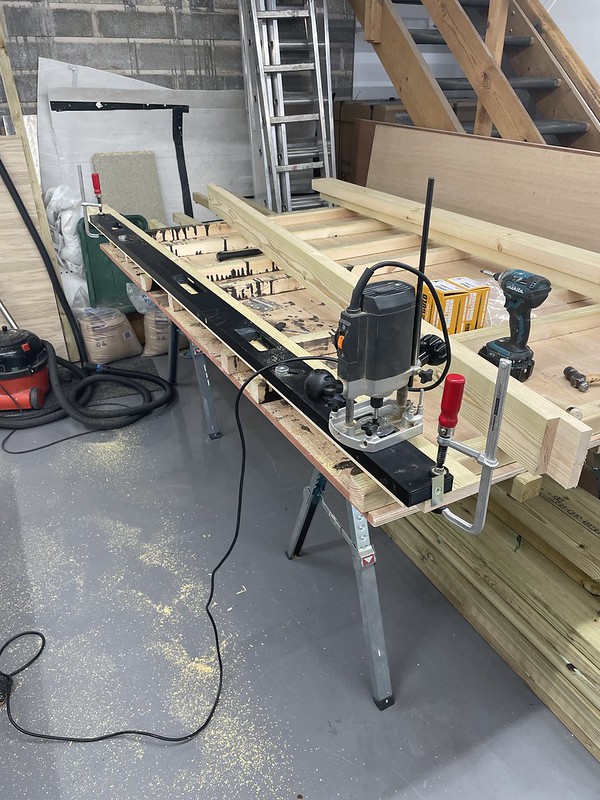
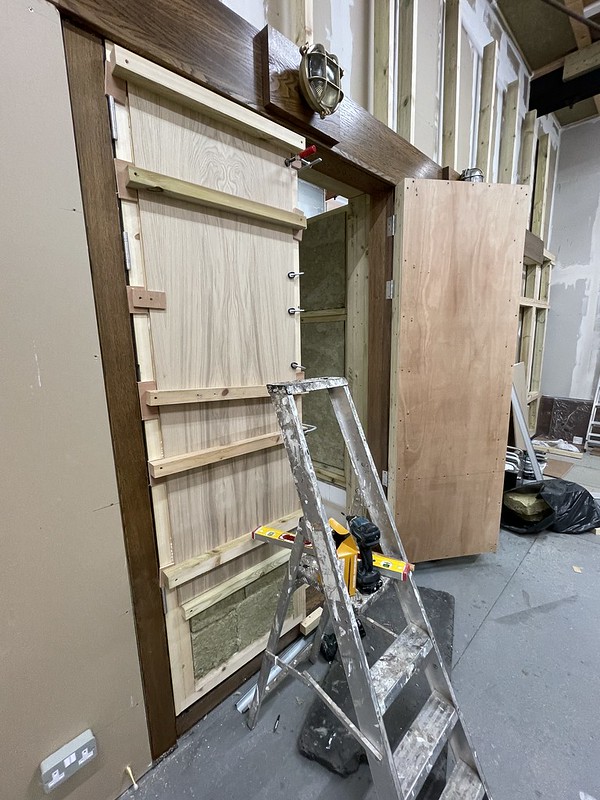
Weighing in at a mer 50+ Kilos apiece, and needing to be silly accurate with the cutting in for a decent fit, the new toys really helped out. A ‘Trend’ hinge jig meant that cut outs were not only accurate, but in the correct place on door and frame. Getting the doors into correct position and a couple of screws into each inge was less easy, but it got done.

Then, a rather different side track – we discovered we were getting another pet, this time a puppy, so thngs needed to be done to make a safe place for an 8 week old rather adventurous Springer to be in.

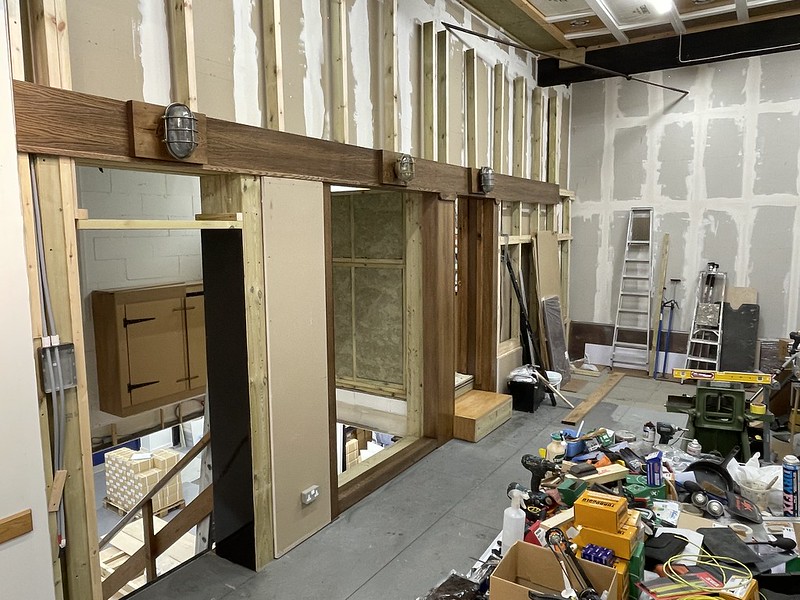
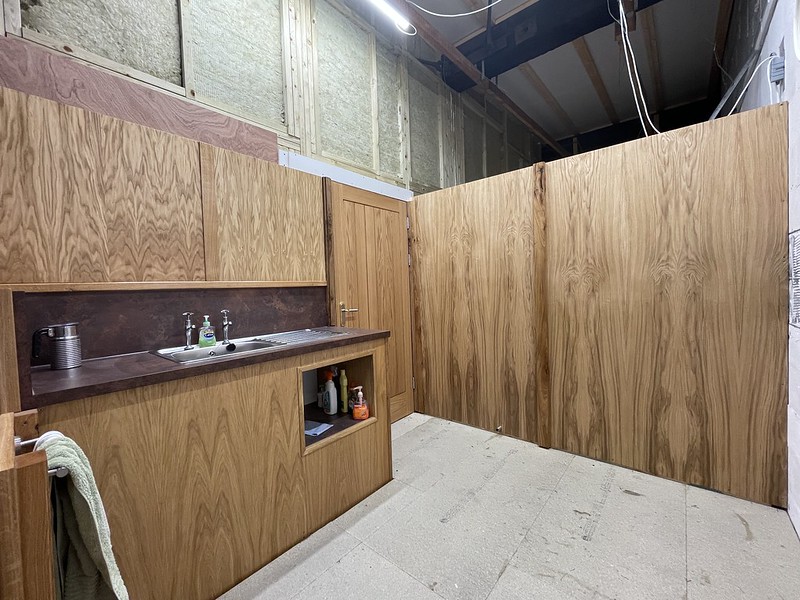
So the kitchen wall need to be made safe, and basically finished. Then the double (soundproof) doors fitted to the load in entrance which is 10′ from the floor below needed sorting in quick time.

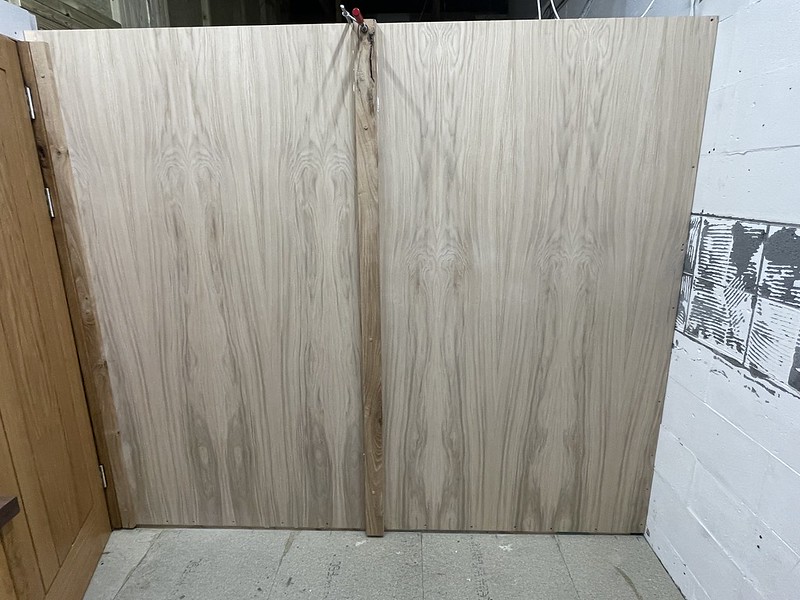
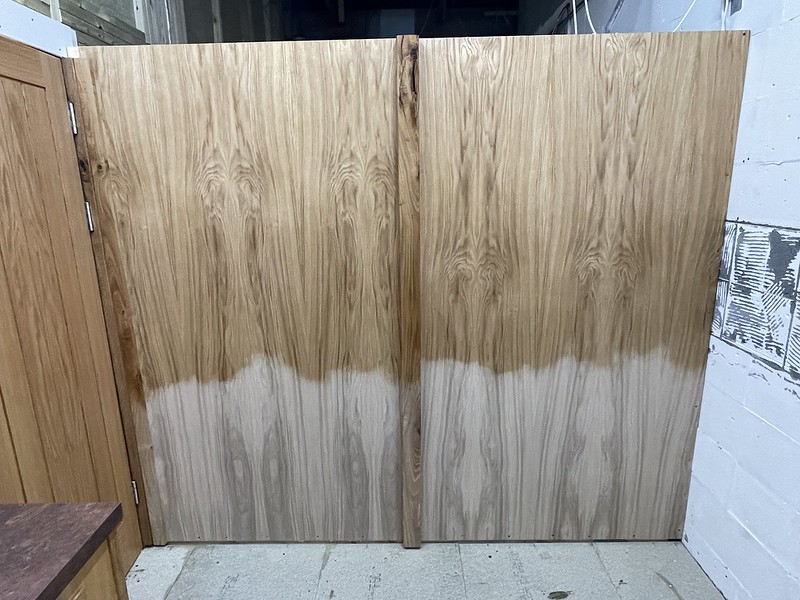
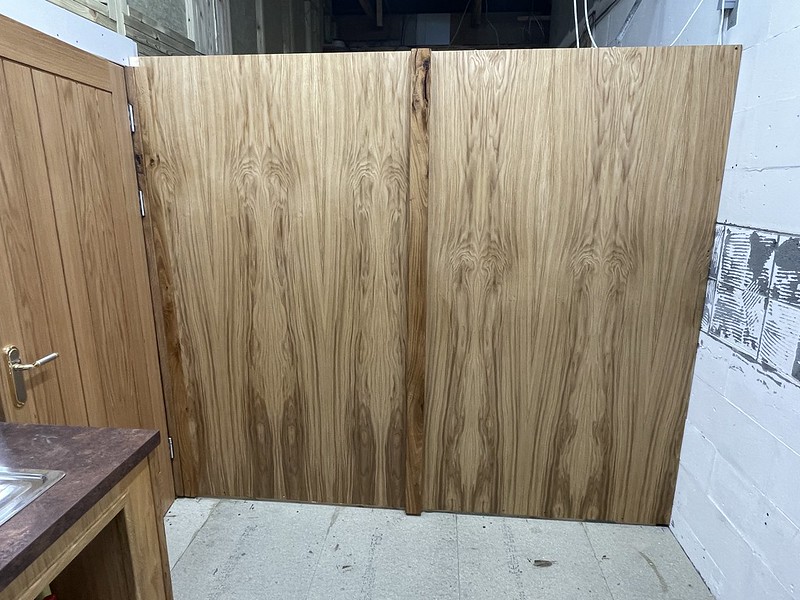
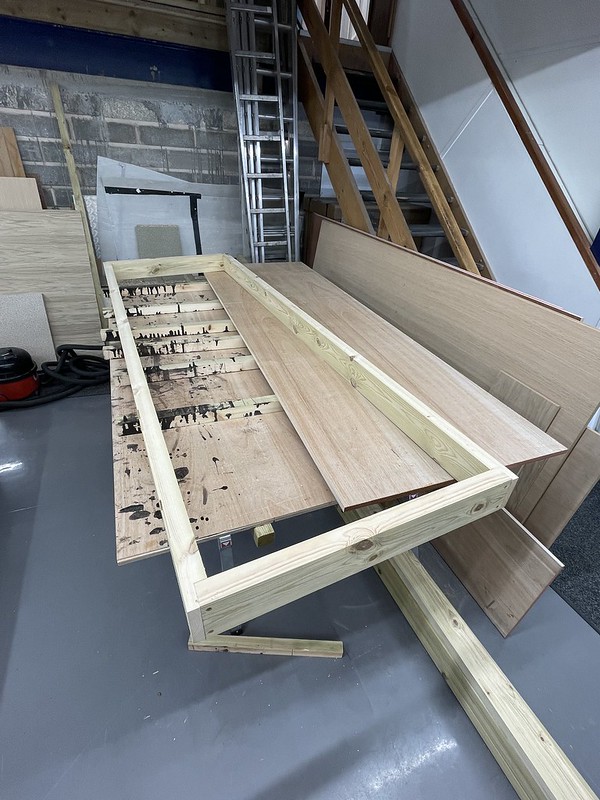
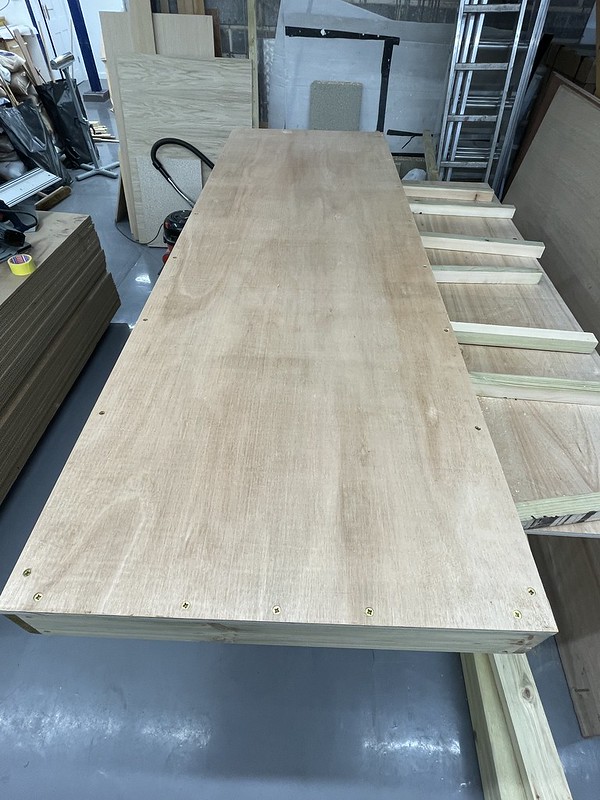
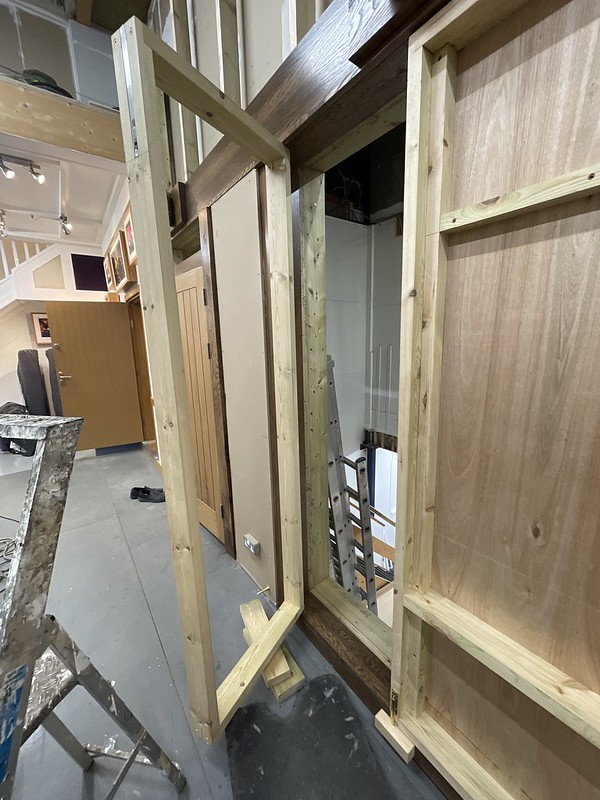
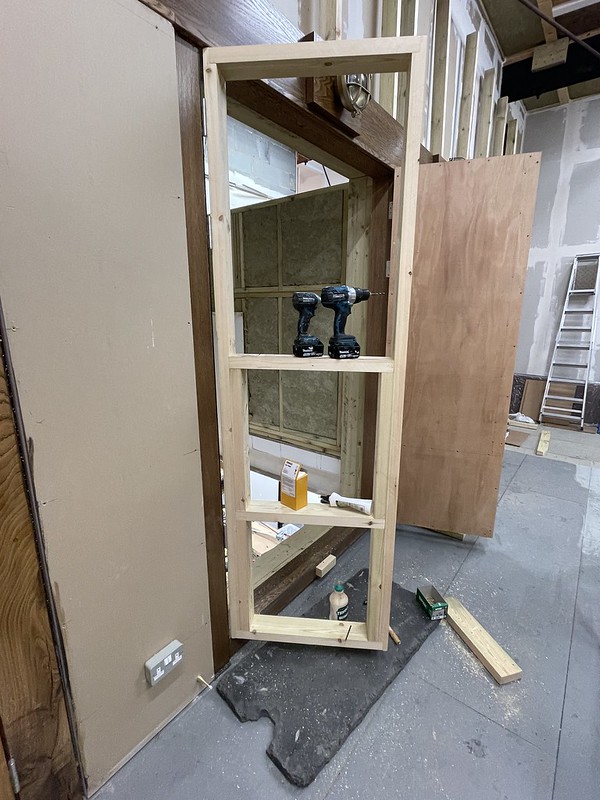
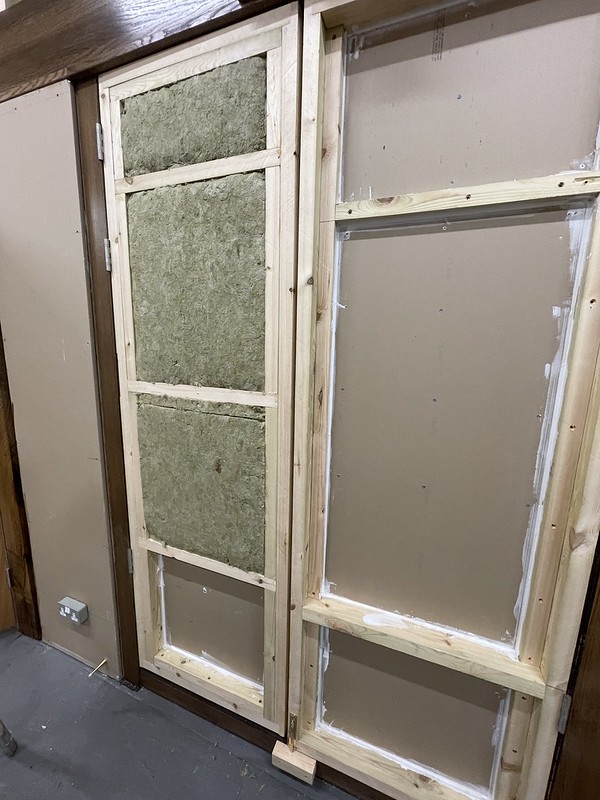
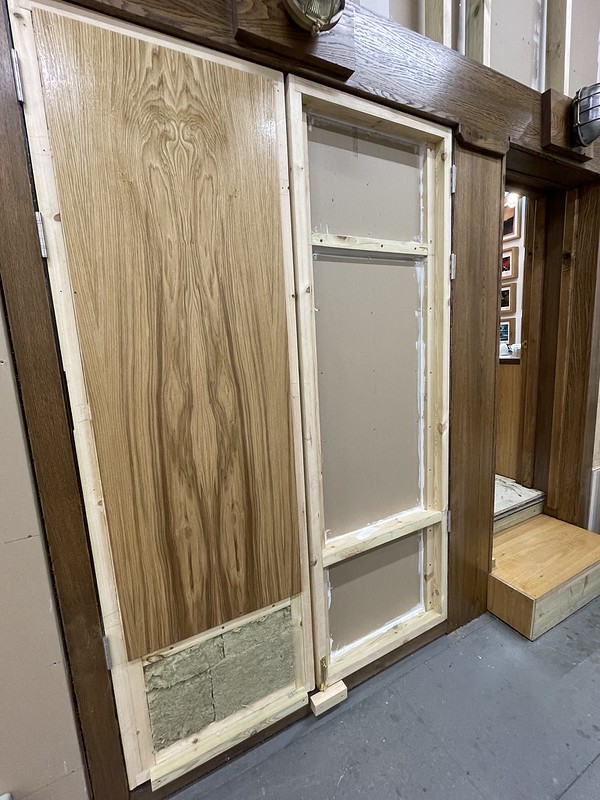
Never having made double doors, soundproof into the bargain, that was a decent adventure. Built mostly ‘in situ’ due to the outright final weight, case made of 4×2, outer rear surface of 18mm ply, then lined with sand / cardboard and 19mm plasterboard, then framed for rockwool, final finish of ply, plasterboard and on on side veneered oak, the other will be part of the ‘first reflection point’ traps, tso that part is yet to be finalised.

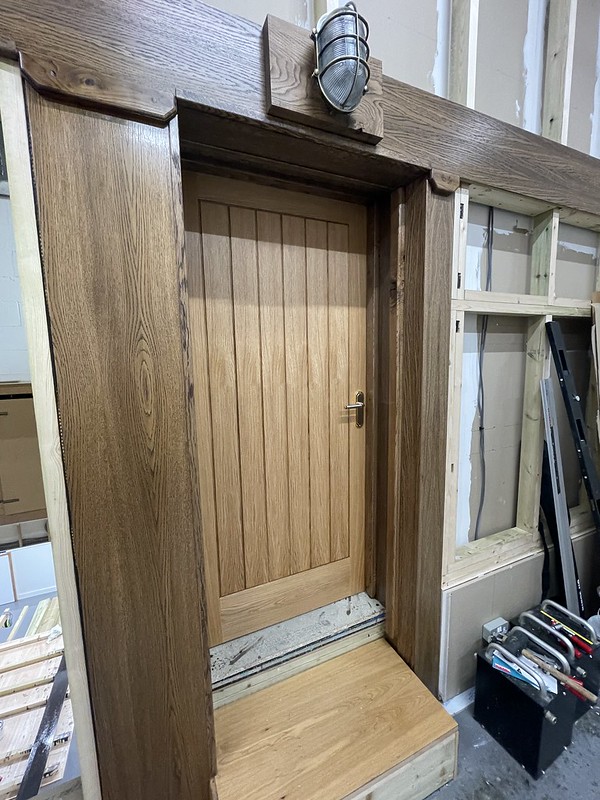
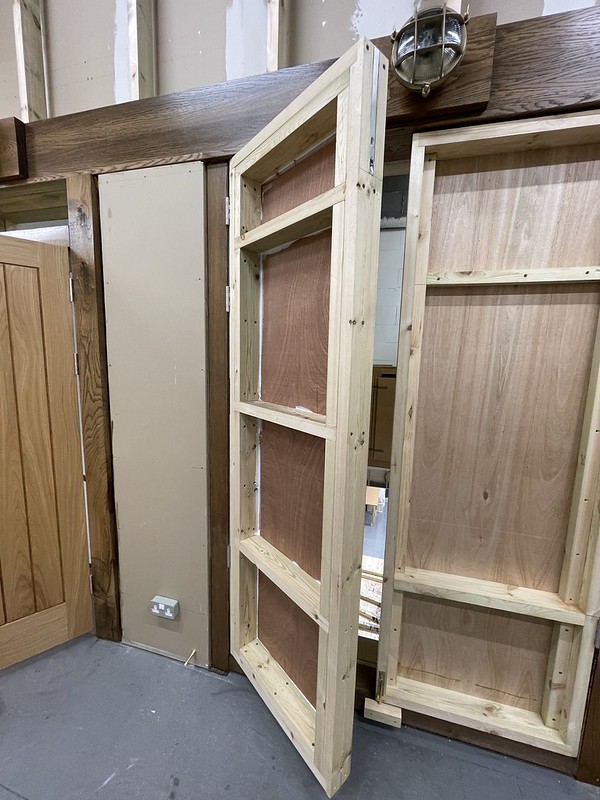
They will be fully finished and sealed during the final finish process, but for now – they are done, in place, locked and bolted. Due to their weight they will also be supported via bolts in the finishing trim.

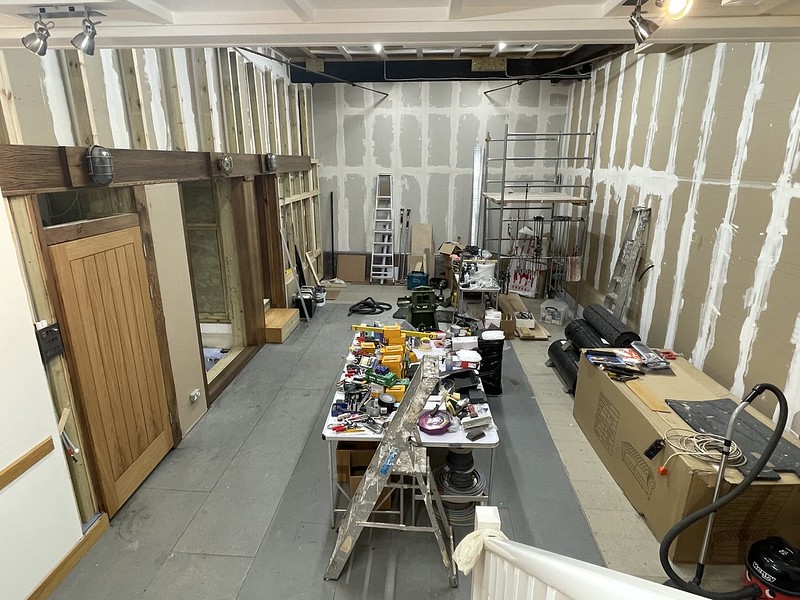
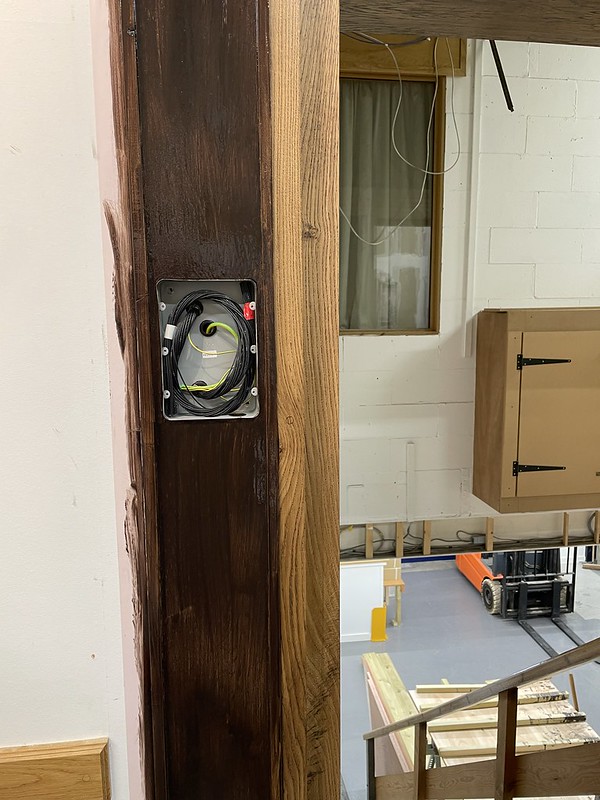
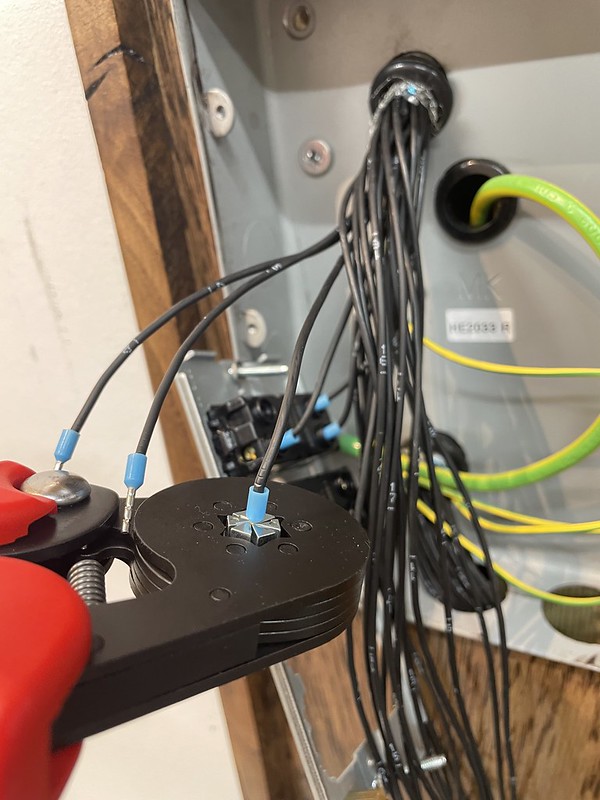
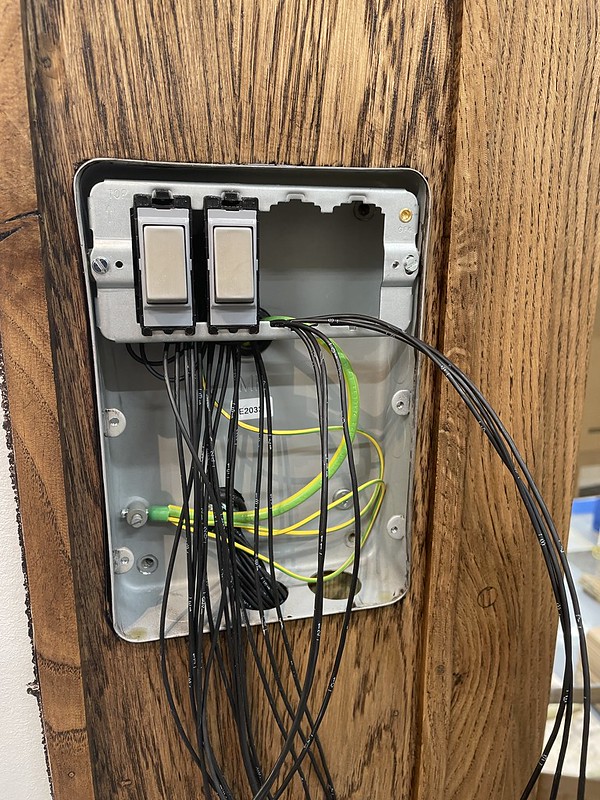
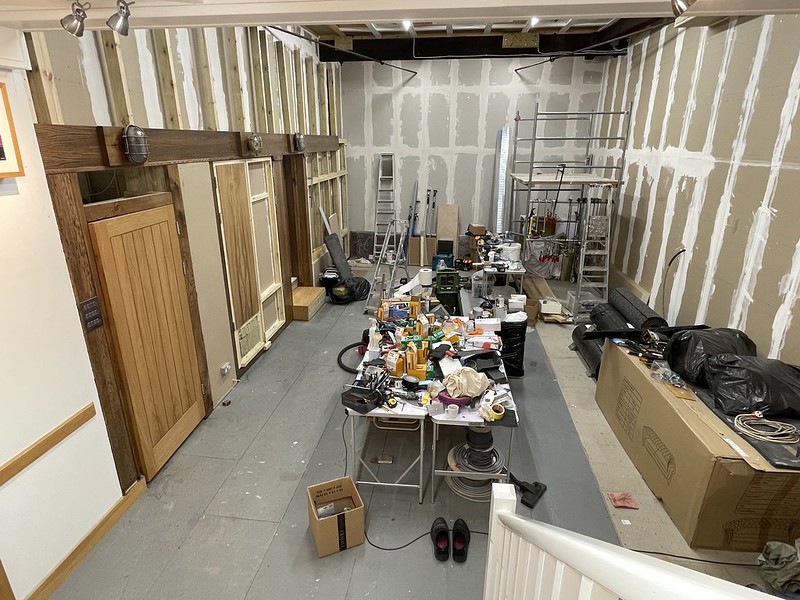
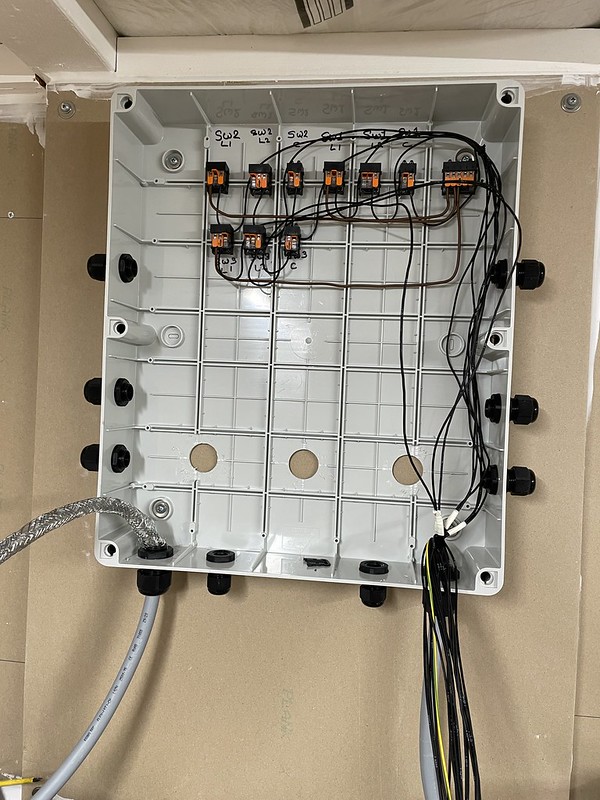
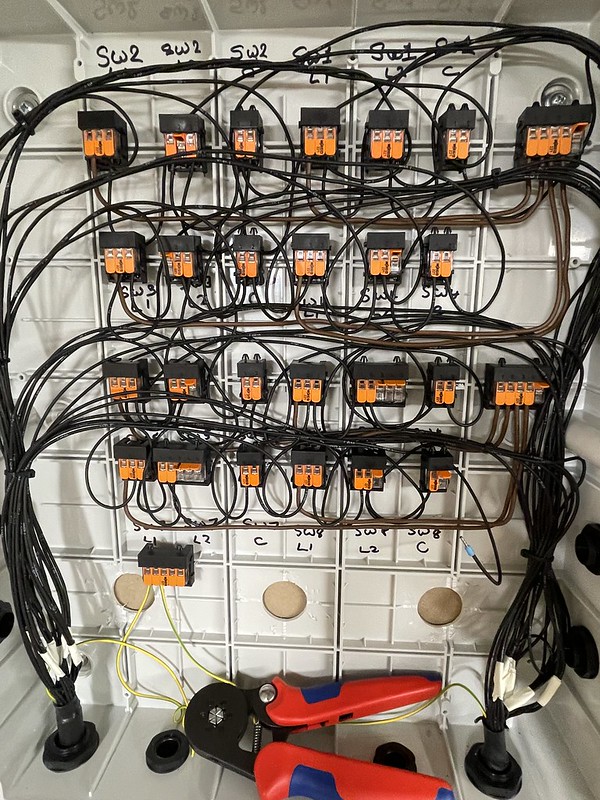
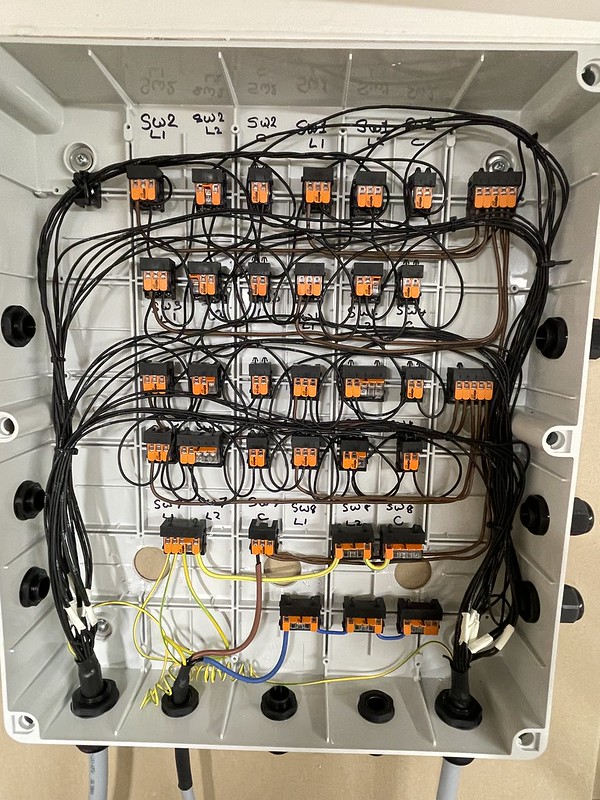
The lighting was in need of getting sorted, as walking upstairs to a now very dark room and having to get across to the far side to turn on the main illumination is a little hazerdous at best. That little job is currently ‘in progress’ but the main 2 way switching for 12 sets of lights is now in place, ready for the final circuits to be added. Just the odd wire there.

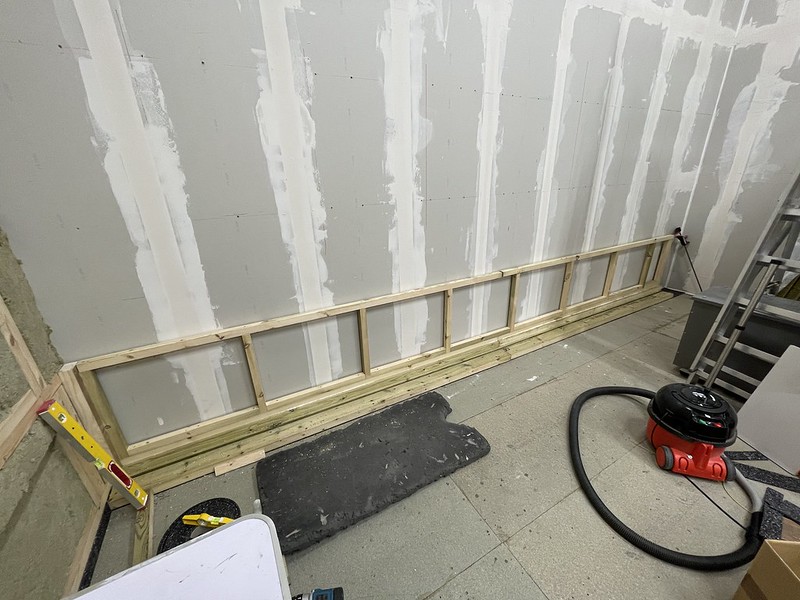
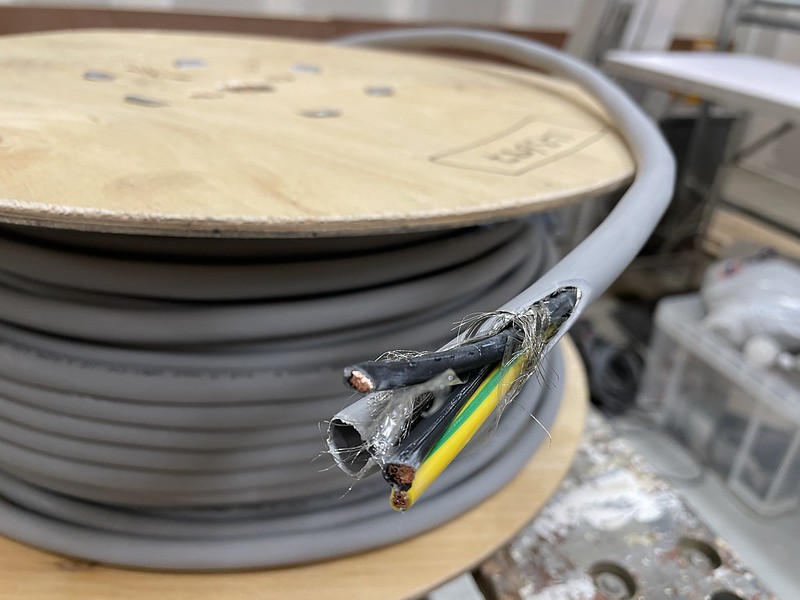
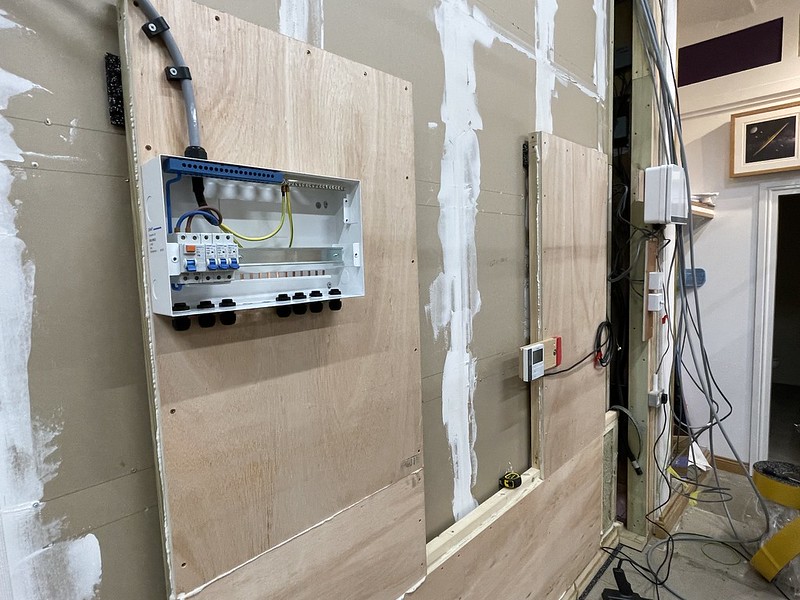
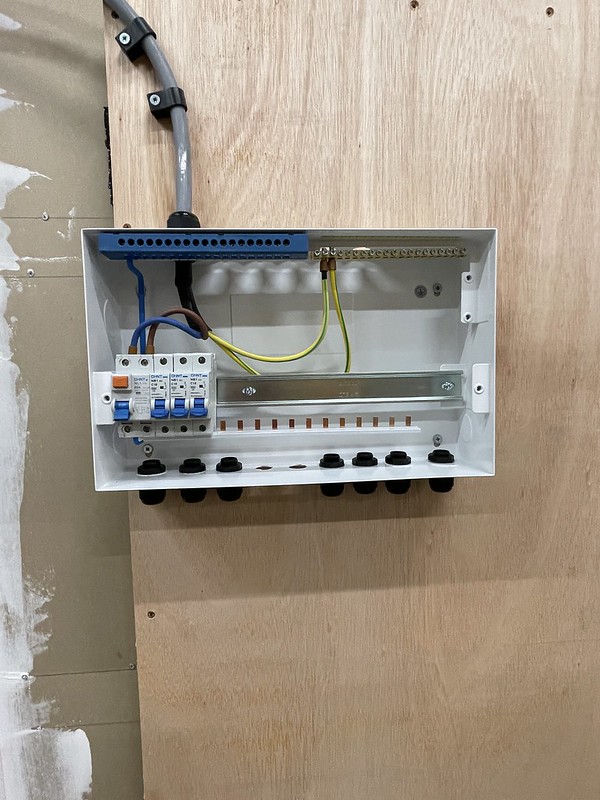
Also, the main power needed for the HiFi kit needs to be in place, and also the working ‘ring main’ also needs to be first fixed ready for final wall.

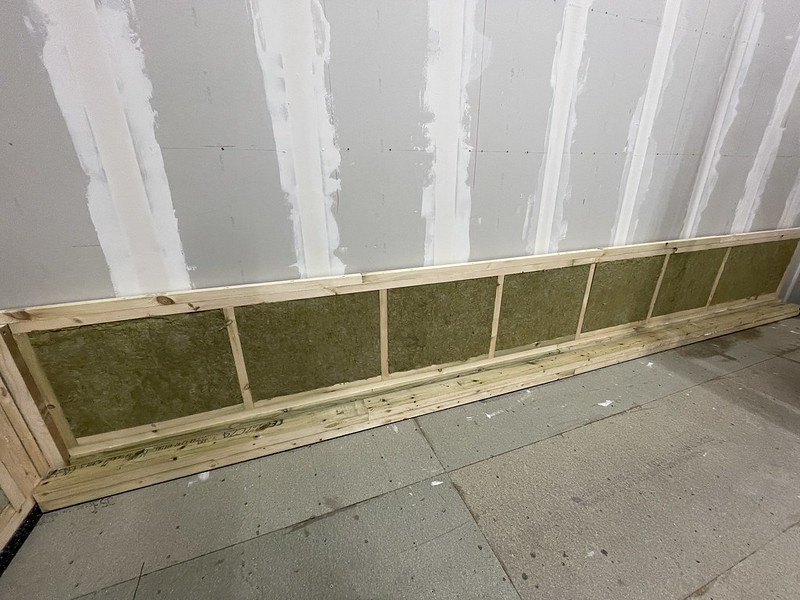
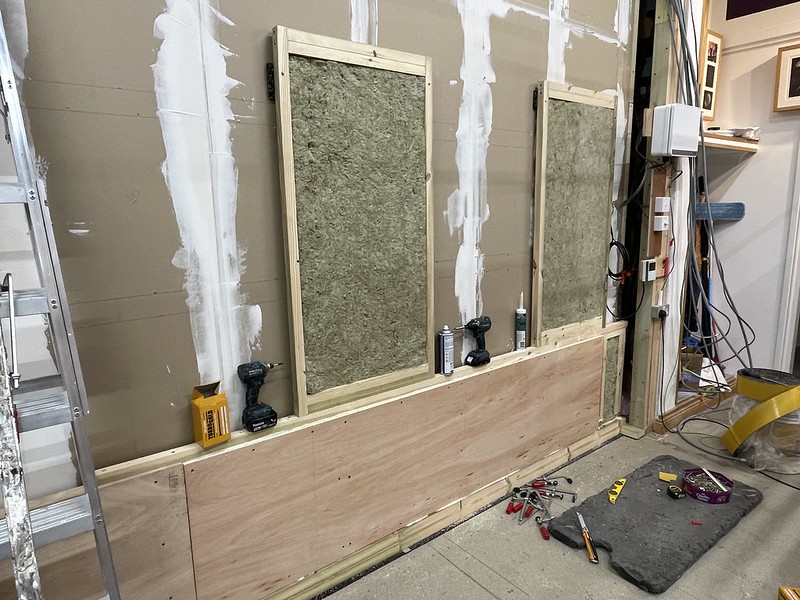
No way are any holes going to be drilled into those soundproof walls, so a low (600mm high) wall is added to allow for the wiring to be fitted in place for that. just in front of it will be the final wall in the room, composed of many bass traps, framed prints and a few lights.

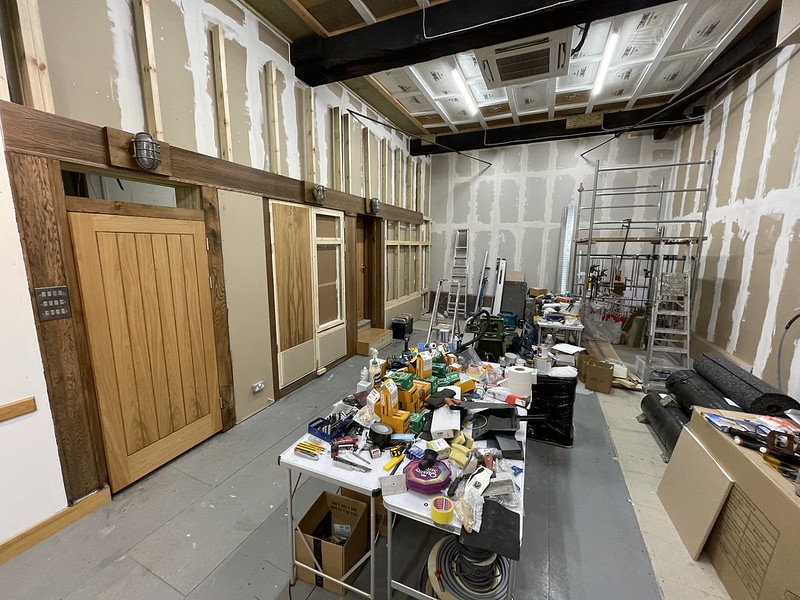
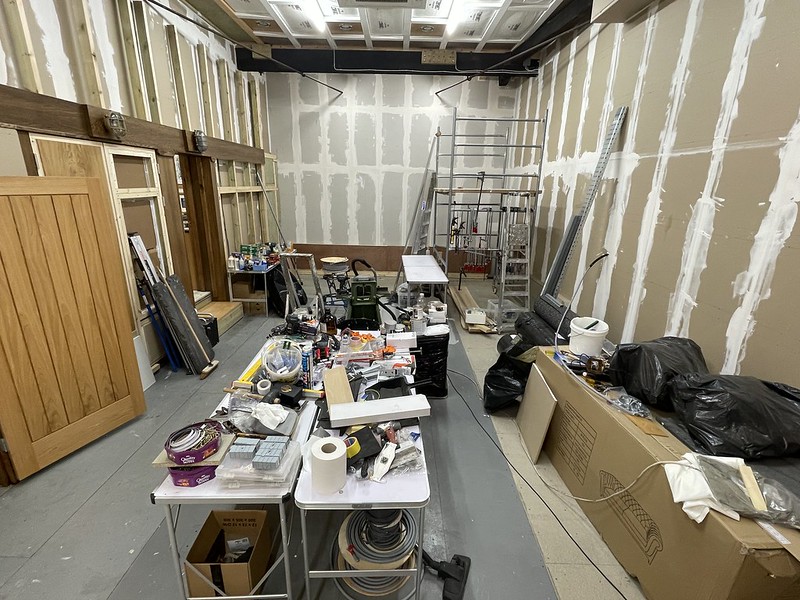
Hopefully the images show just what all the above actually means.

Next up = hopefully measuring the room acoustically, adding the power / lights and bass traps.

CAC7857F-F830-4620-BF0E-3108ED0BEFAB
Kitchen door finally in place.

A511D443-24A1-470E-9D7D-737E1AD1C477

E2737C06-8ED7-441F-9290-12C724A0FD9E

5B2C56A6-0D22-4737-A998-42BE878358E3
Framework added to complete the door seal, handles fitted, light above door added on it’s plinth.

5981AA56-1784-400F-8FFB-B40423F188E8

31092B8C-F9BC-4EA4-825C-CA487C93A31C
All over door lights plinths and fittings in place, work on entrance door casing in progress.

5E76ED3E-7F6D-4B13-8EBE-A2EF1E4E652E
Fitted and in place, now to add frame and hide the light switch wiring.

F68A5209-D8B3-49BC-B3FB-EBFED2957267
Clamps, lots of clamps, again..

1E7BE532-85EA-4D09-A6BE-9EDBDA4BB518

8385C9FB-1B39-4B8D-B9B5-4218267C84DF

F914629F-A309-437B-8E4E-A50F44B23B22

E9EBC473-62F6-4D34-8C3E-229D9FCE6D77
Time to make the kitchen wall safe! Wonderful figuring on this oak board, and on the masking piece of 3×2.

D4DF7C9E-21C5-43CA-8681-47F9E5AC5A28
Oiling the grain shows the highlights.

BD7AECEC-AAFE-419F-BFDD-6BE9B0AC2758
That’s sorted.

5A524565-4B3E-4DCC-B58B-37580F877AC4

F6A3A007-94BC-467F-ACDD-C696ED4A5152
Hiding the wireing and switch was a little challenging, but result looks ok.

27584339-DEB5-4973-AA52-F59F9F67B237
Ageing the oak.

D82680E9-2808-46D2-AA08-AC8949F0D36F
Starting the wireing in.

C9C63279-1F20-4755-87C1-FE310B52C344
10 to go.

D7546CB0-AAD0-4E93-9A1A-F544863280BC
Double door time.

FB358158-359B-4DAE-B3EF-5E059811A7D2

16EDD144-4A1F-4D68-81E4-BD99452A02A2
Cutting in hinges on frame

01A698D9-F21B-424C-8402-366D27F4E62C
Adding hinge cutouts to a door edge.

C941D8D2-D448-4413-9361-BDAD29E08C69
Well, they fit at least..

B2A02BC1-D8AF-4285-A0FF-F64BD5B10C40

E75225F4-C081-4E3D-981C-559D1B2CBBC1
Now to make them soundproof (ish)

C8489936-5C67-494B-A023-E8D73F8217C9

758B9D4A-8E7D-4E0F-B029-44F3D5B59C1C
Sand, plasterboard and rockwool.

BEA594F7-B12A-4E14-8E41-796810FFCCF5
Adding oak sheet facing.

8A820082-25A3-4857-B1E1-957E345D1FA8

B68311F1-7552-4C8F-A636-191DB061B09E

C0D59371-606D-4259-B2B9-E7D756F15F8B
Now to start adding power and lights..

54926286-7C63-470F-BCA3-5D60E82F3AB8
Low framework to allow wiring without cutting into main soundproof walls.

D796CF58-078B-4EEB-A9E5-CCC1DBAFB7C1
Rockwool filled

F25B3C24-B15A-48CD-BD32-5644AB6FA241
& covered with ply.

F13DABF2-5D43-4633-95B4-1A96D8D24F00
100m of 6mmsq CY cable for HiFi mains.

8C2189B2-0FA9-4476-9B36-80EFC5D9C9D1
Too much stuff, and all of it in the wrong place.

FAD1F129-B76F-4B2C-89C3-A5E3755AD0F2
Big sort out later..

655AE994-FB1C-45AF-B104-09C24E658229
Start on 12 circuits of two way switching. Thnk you Wago!

E22F436F-88A6-40EF-B57F-678F07997B9E
Getting complex now.

4154ADAB-73B9-4064-85DF-408E1CB51B64
Thats 8 ways sorted, power in place, ready for light circuits.

2A630196-AB29-42E0-9DAB-F1C1C5368CF0
Breaker board framework sorted, ready for wiring.

20009566-E535-461F-8468-2854123B139D
First board finally in place, 10mm feed from main baord installed.

CEB98695-B7DF-4FCF-885A-21061DF697B3

And there we leave it this time around..

«
»