As said, to hang the doors – I needed some timber (which duly arrived) and then would need to set the correct floor height. That would entail removing the old kitchen & its units. That would mean re routing cold water mains, hot water heater & associated 50Amp wiring and isolator switch, totally re routing the waste water. Then, maybe, think about hanging a door. (Nope, way more stuff occurs)
It also meant laying the floting floor and at least a new sink unit or we would be coffee and tea free for a long while. Never going to happen.
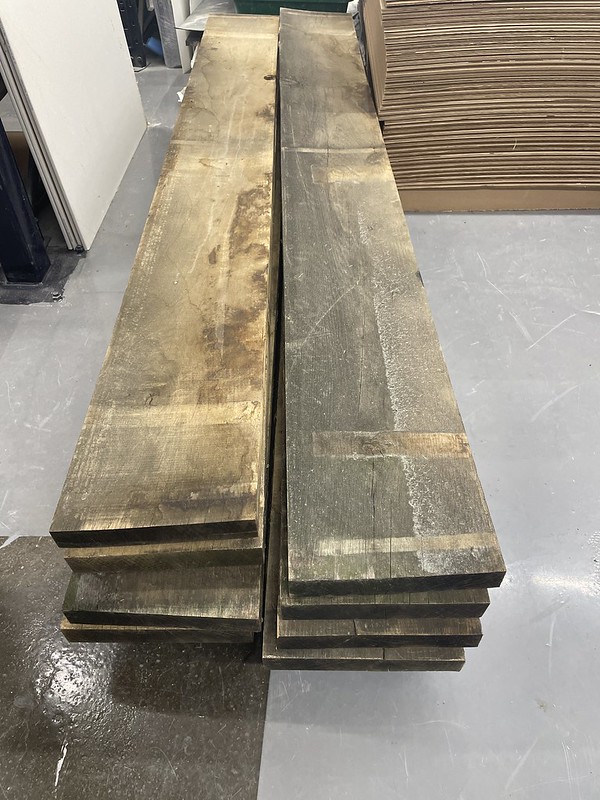
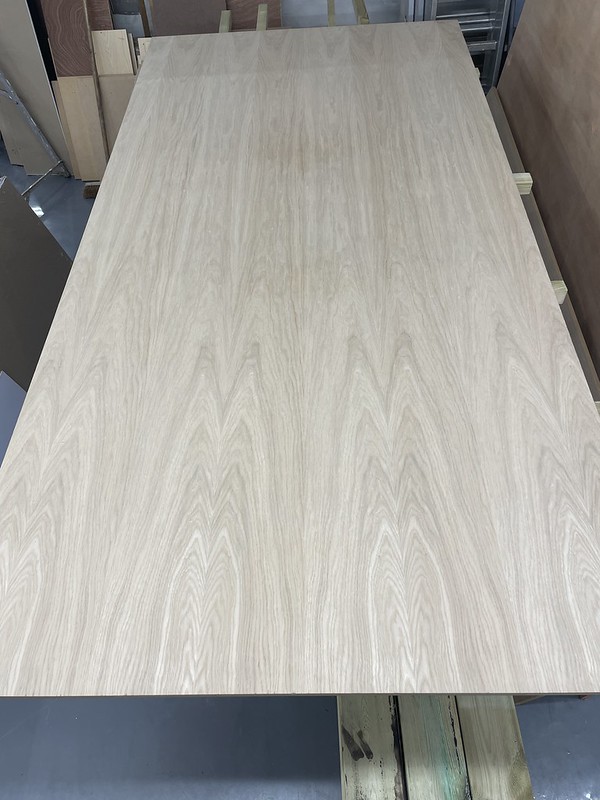
6×2 arrived, oak boards in 12×2 arrived, 22mm oak mdf arrived, 10mm oak mdf arrived, 6mm oak mdf arrived, 22mm chipboard t&g arrived, 12.5mm 6’x3′ plasterboard arrived – all on the same day within 15 minutes of each other. That was fun.
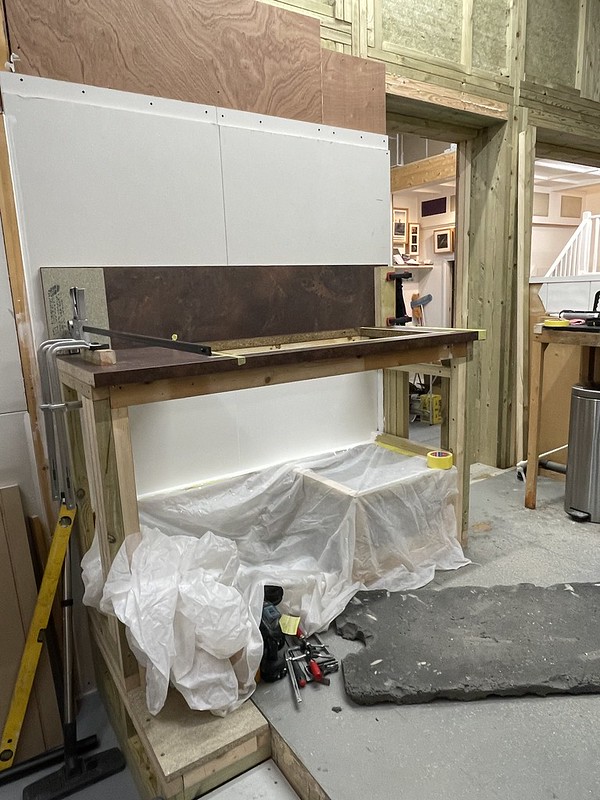
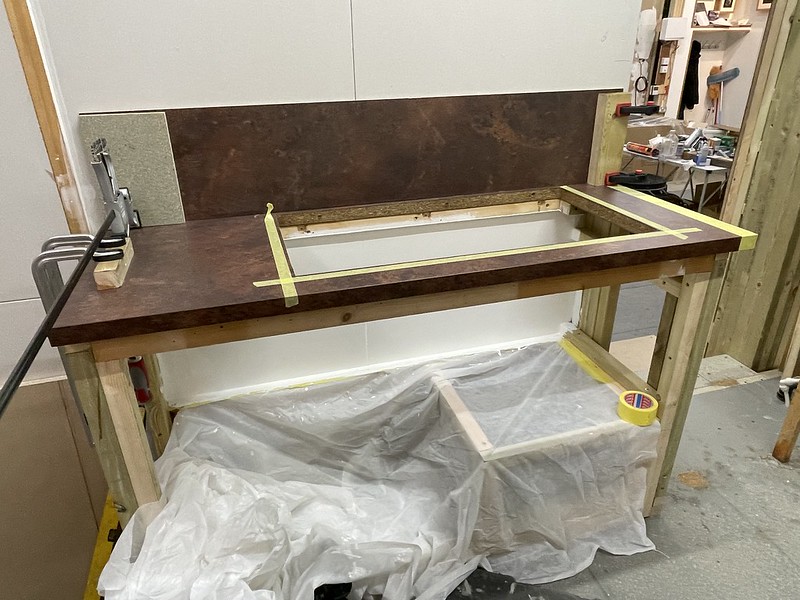
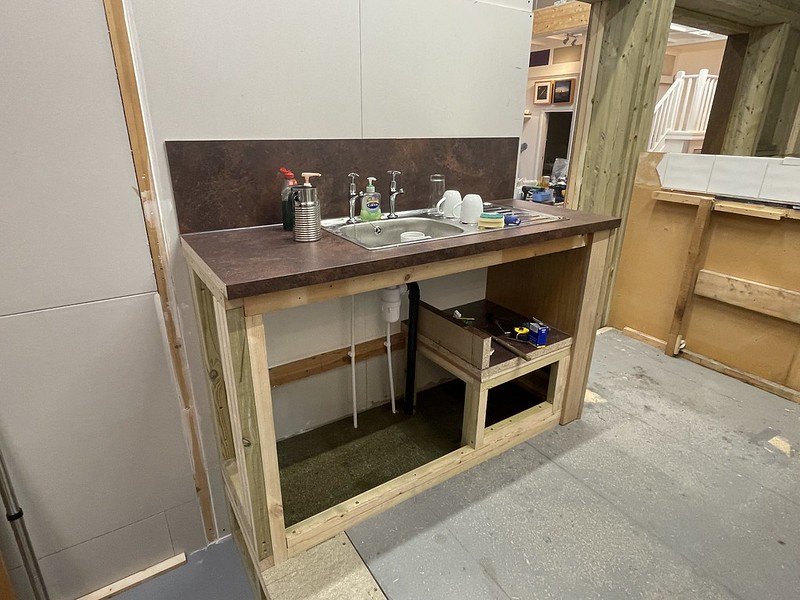
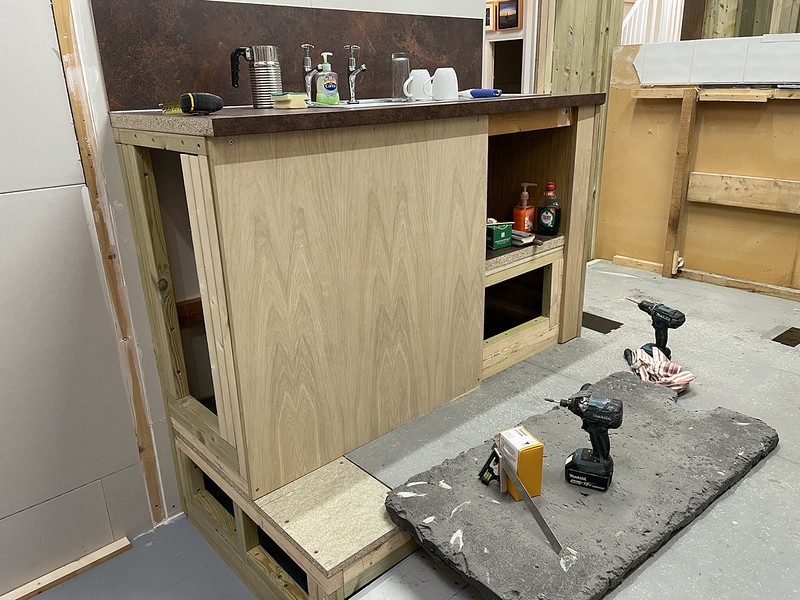
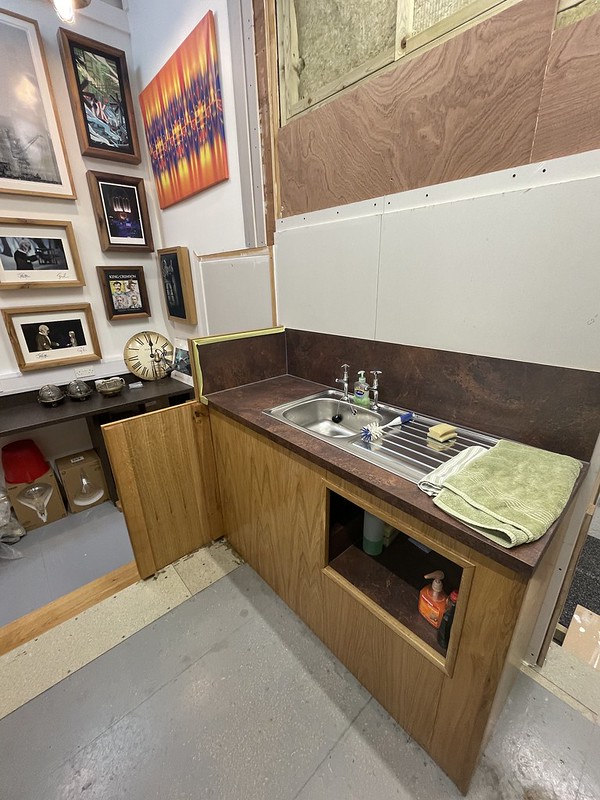
With all the supplies in, pressed right on – ripped out old kitchen, made a unit for the sink, traced the wiring for the heater, found a ring main that can now be re used in what will be the new kitchen, fitted kitchen sink, plumbing, heater, and made it look neat.
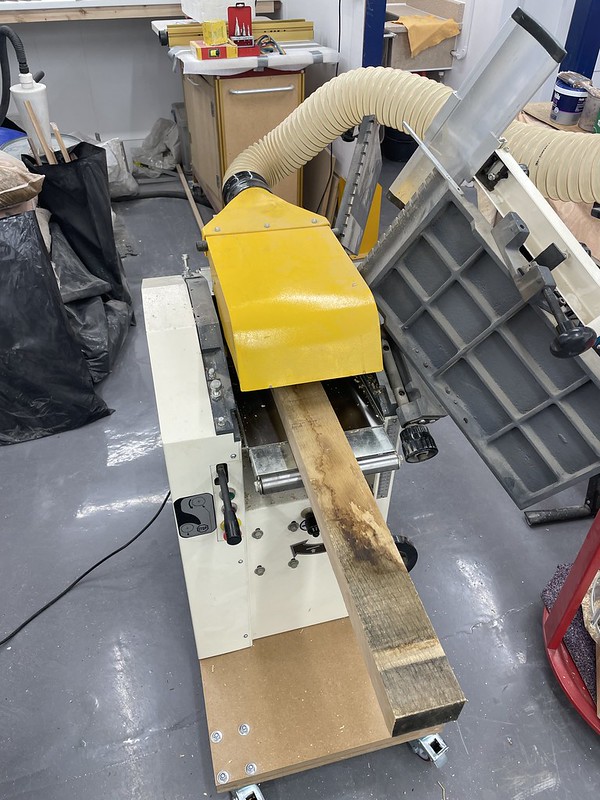
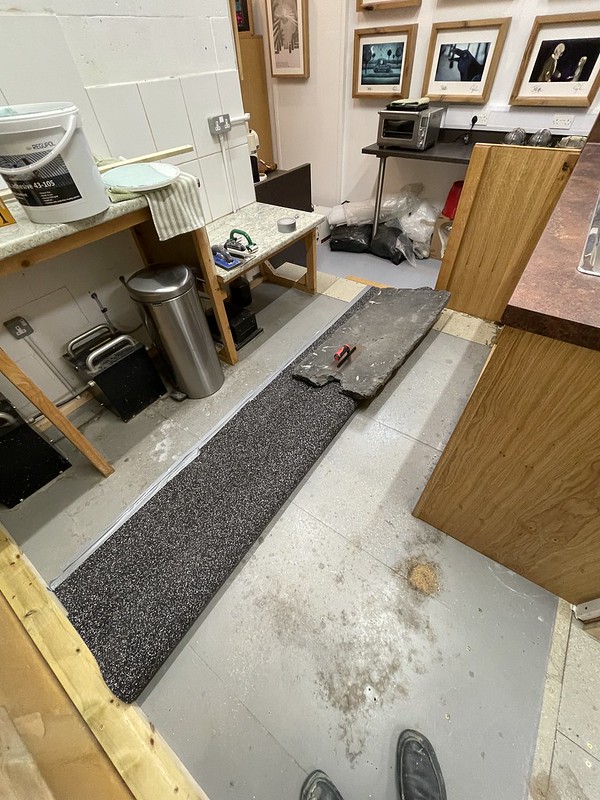
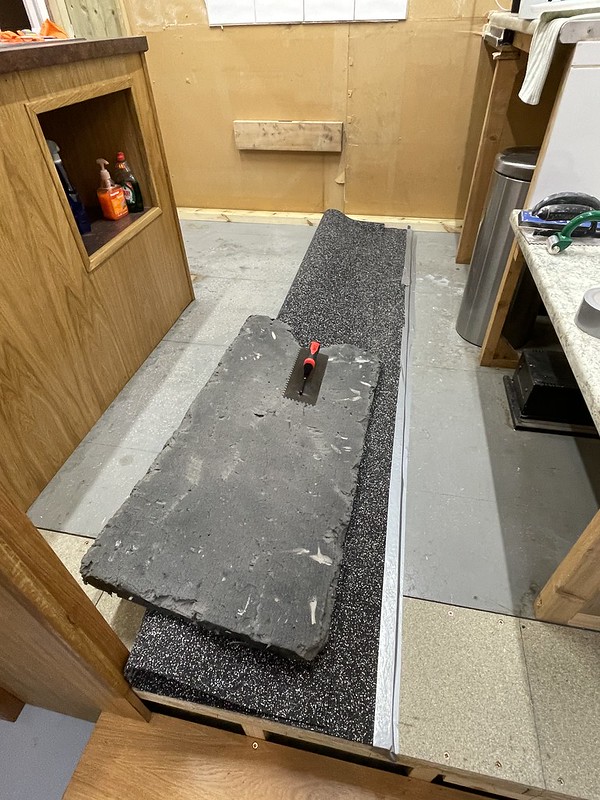
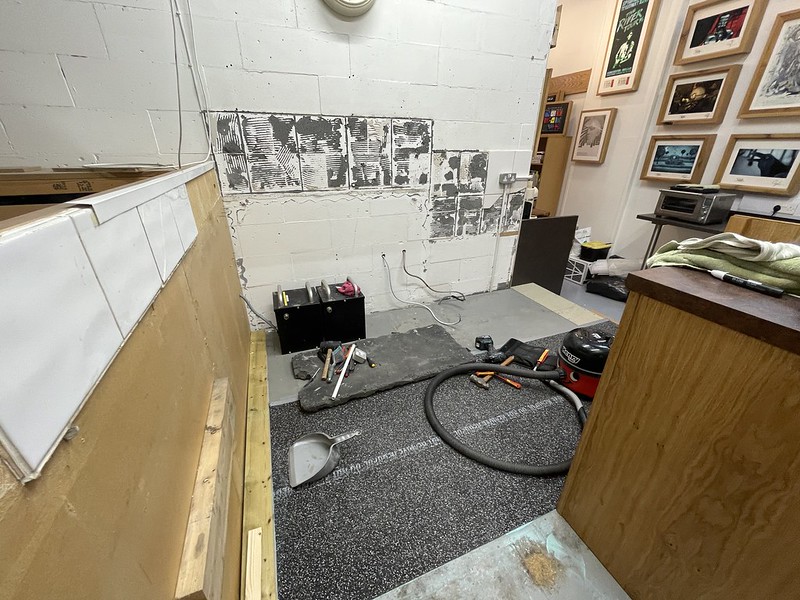
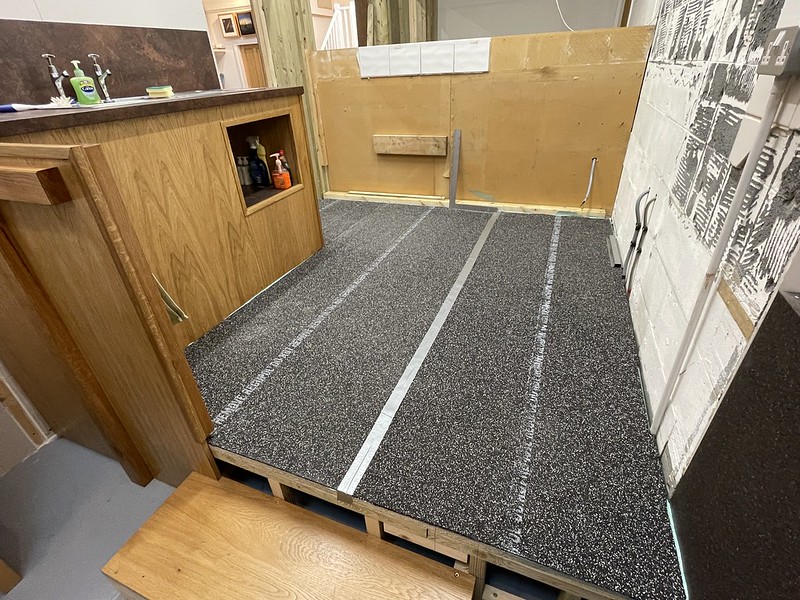
Fitted Regulpol underlay for floating floor, fitted floating floor, aged a bunch of oak mdf to finish door casings, added a mock beam to the room, placed lighting blocks above doors, turned the oak boards (which, being air dried and many yrs old, are any shape you wish, just not straight or square or, heaven forbid, flat.
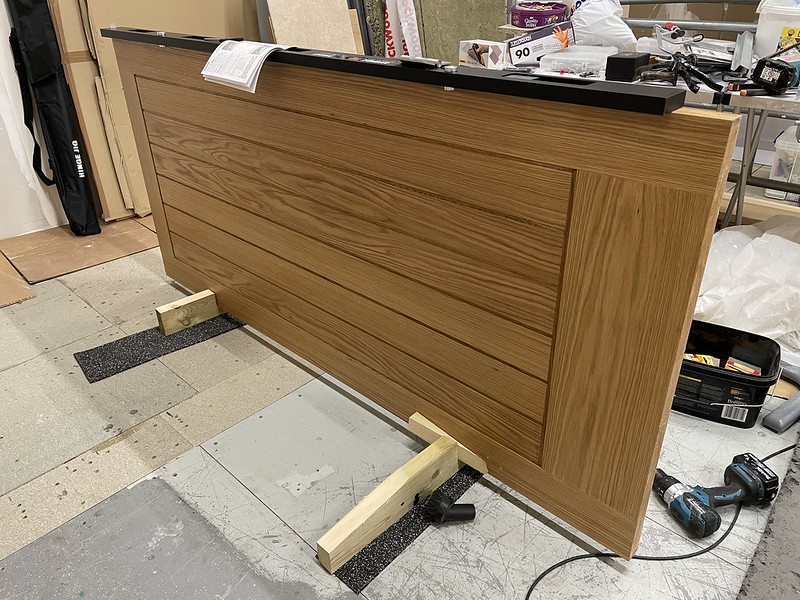
Finally, some new toys arrived to help with the fitting of doors and other bits. I like those kind of toys.
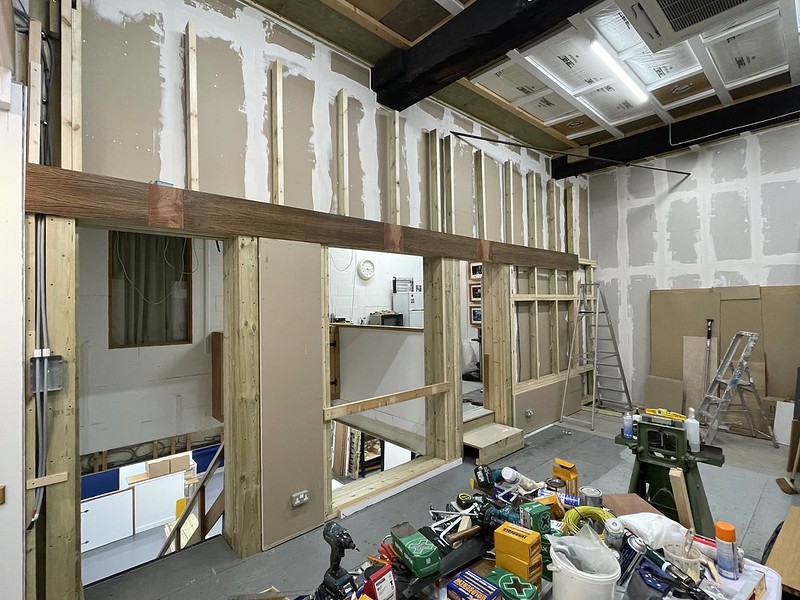
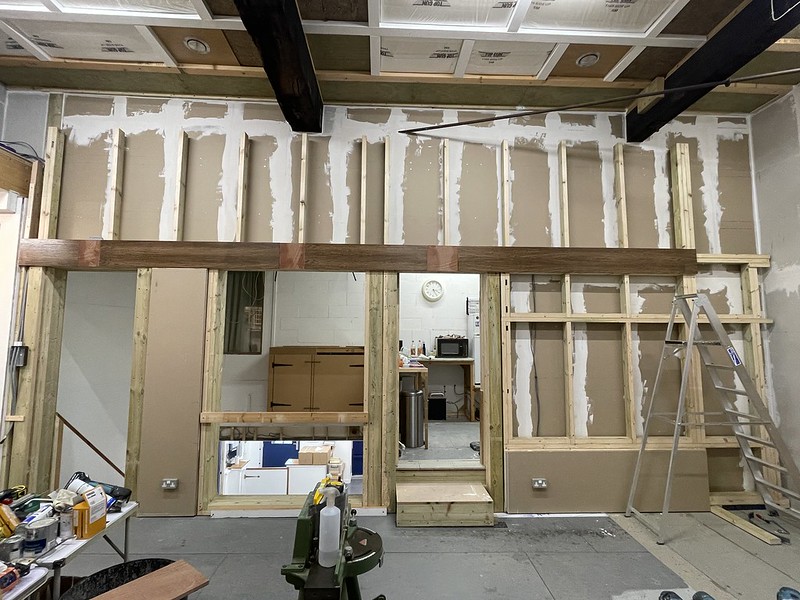
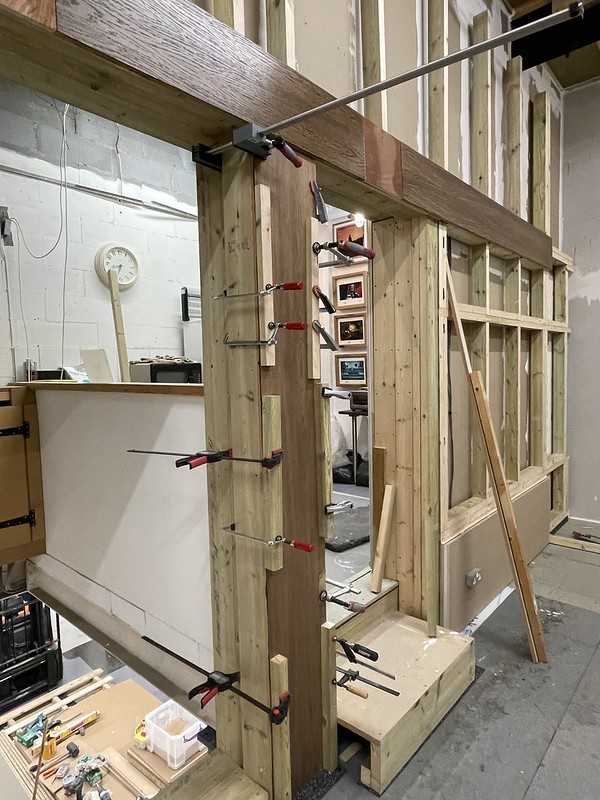
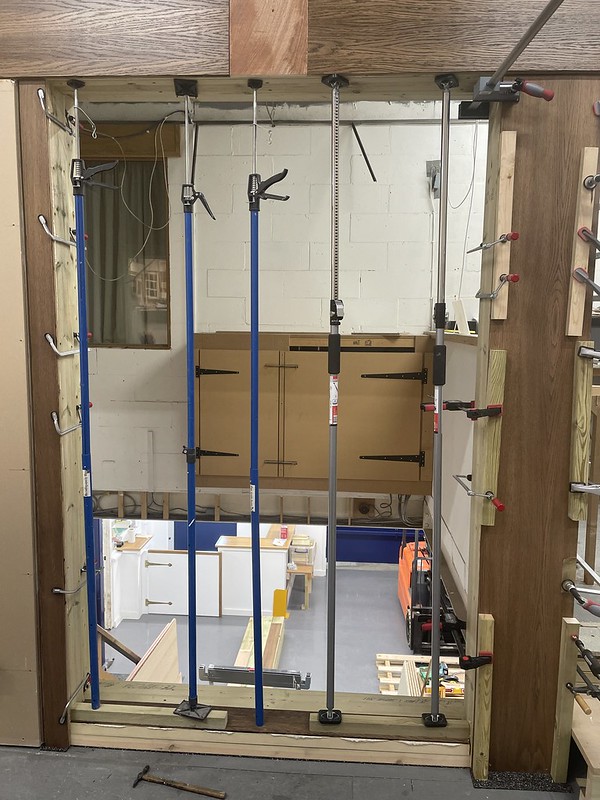
Some photos by way of explanation.
& yes, the doors will now be fitted (and in the case of the double doors – made)
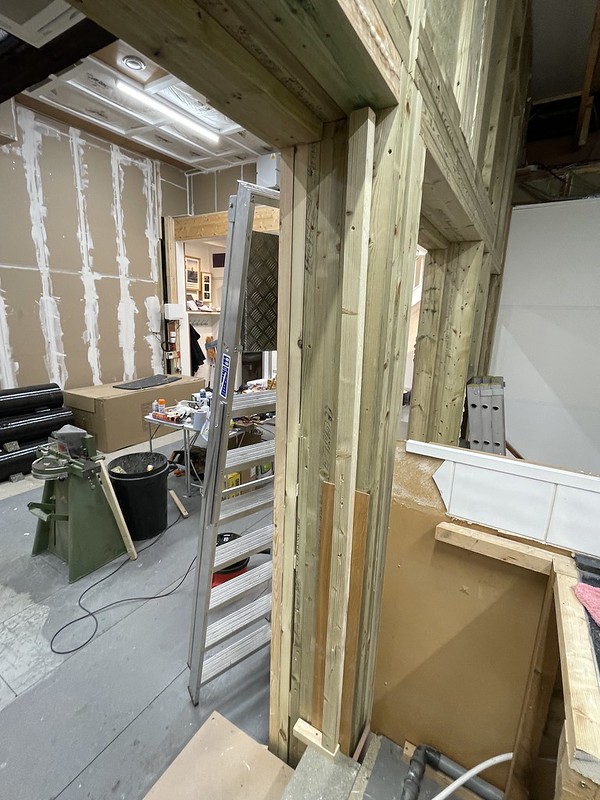
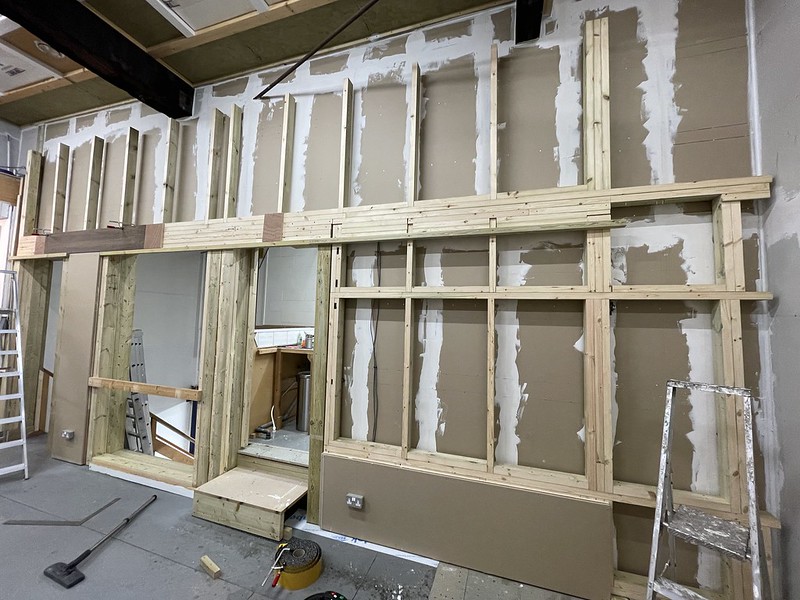
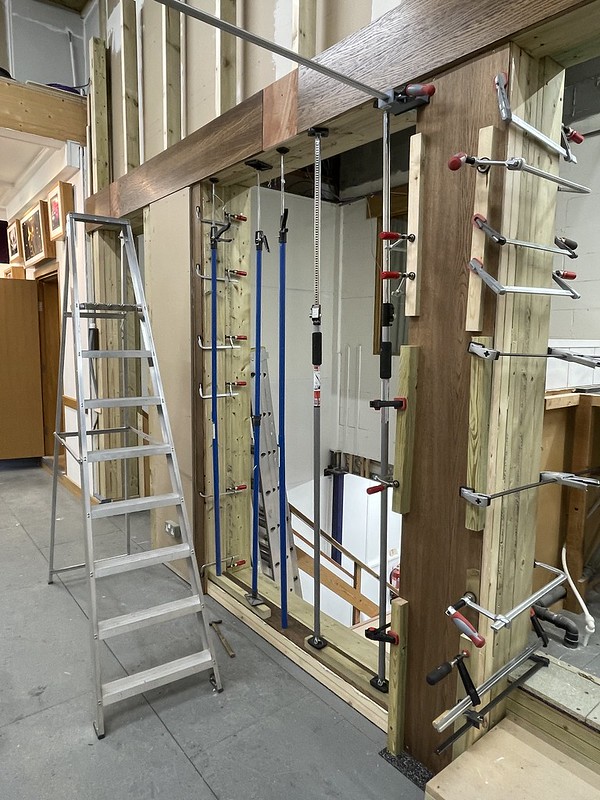
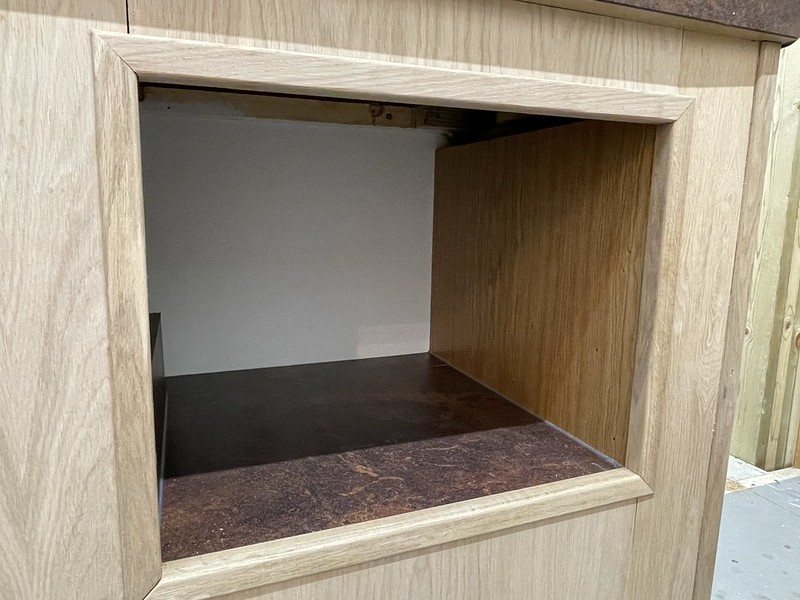
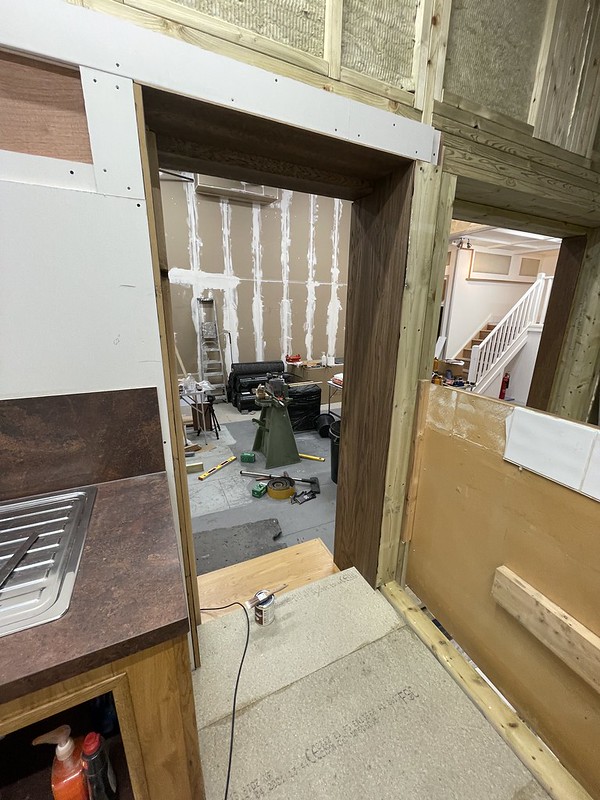
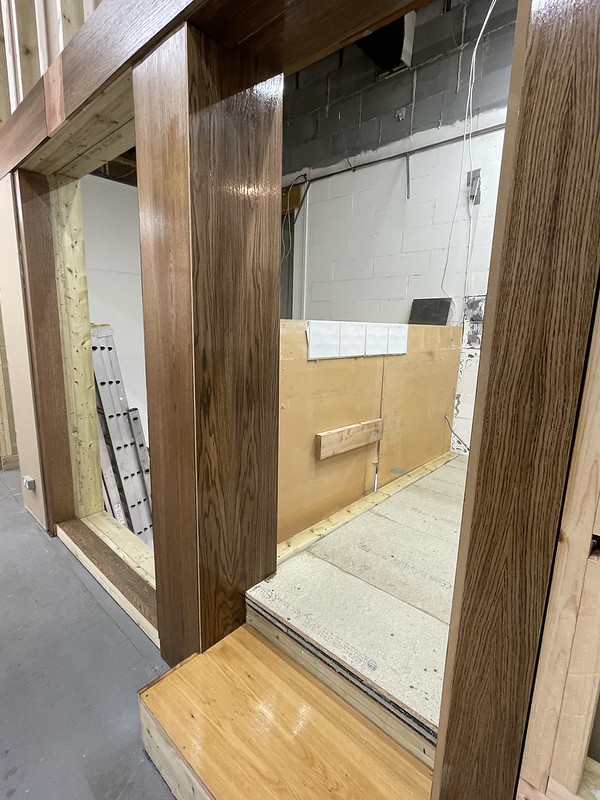
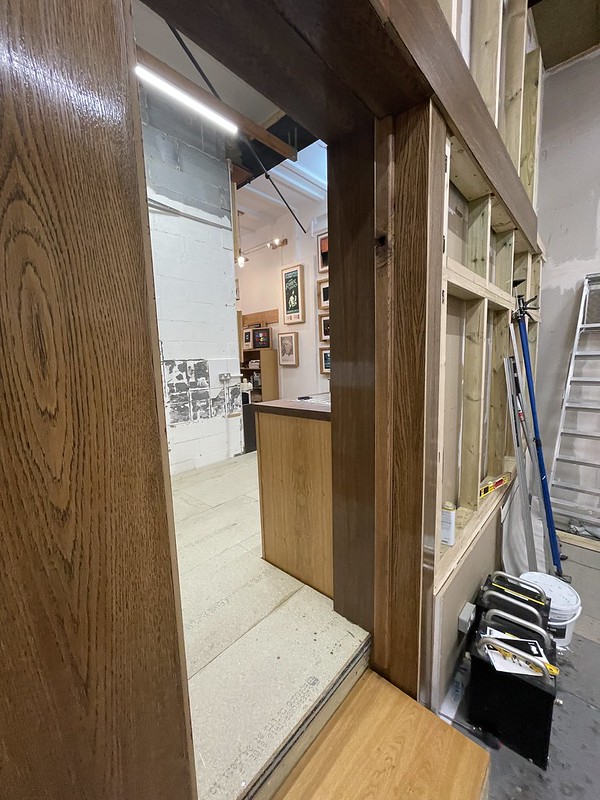
Testing total size of door casing, allowing for aged oak covers in mdf & framework. Allowed 3mm clearance to floor and 3mm either side of door. I hope.
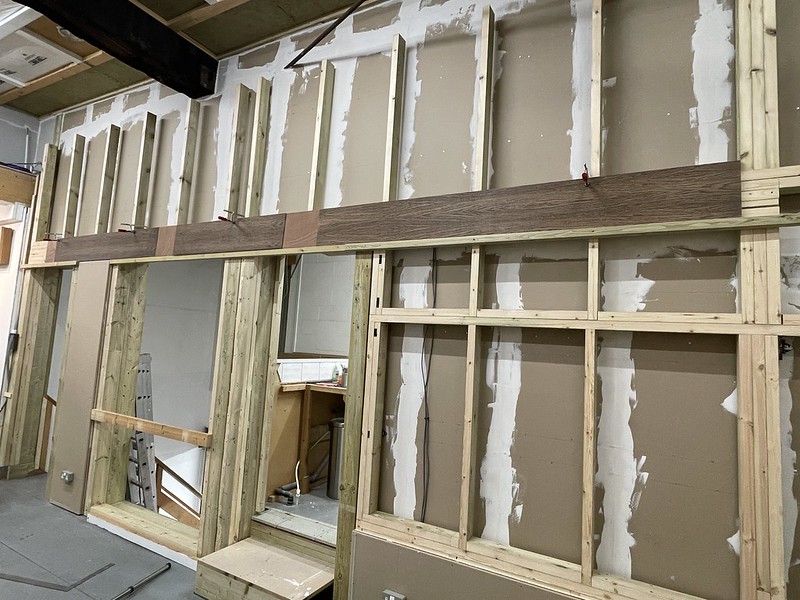
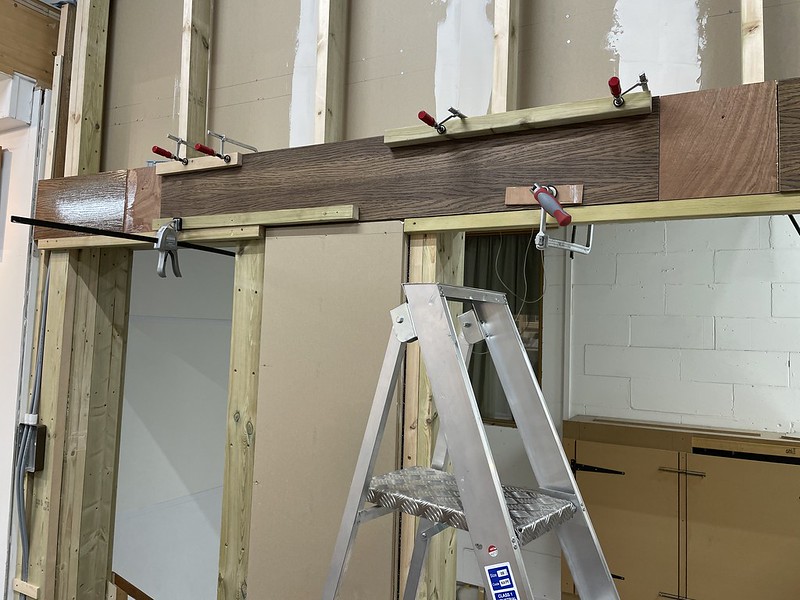
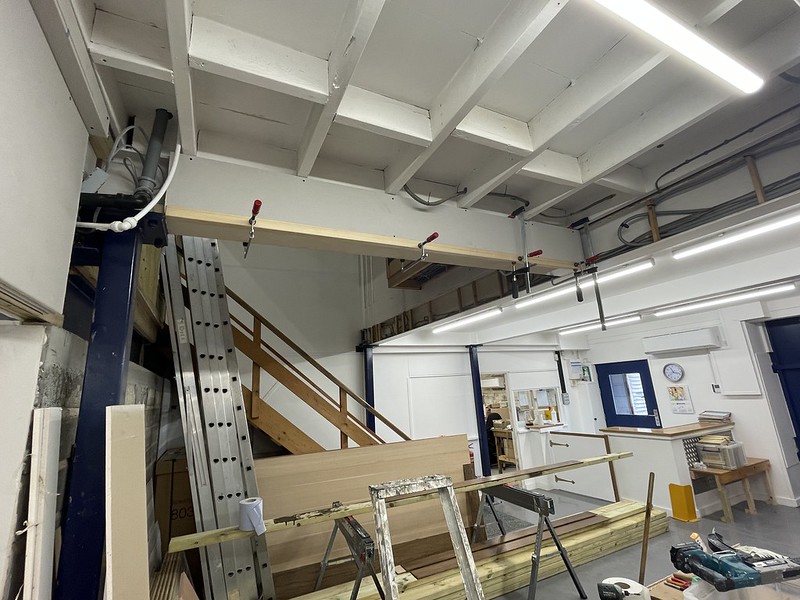
The start of the false beam to hide all that treated timber. Decided to follow colour of existing beams for this.
The bits of ply above doors are spacers and also act for blocks where some lights will go above each door. Thats another lighting circuit then.
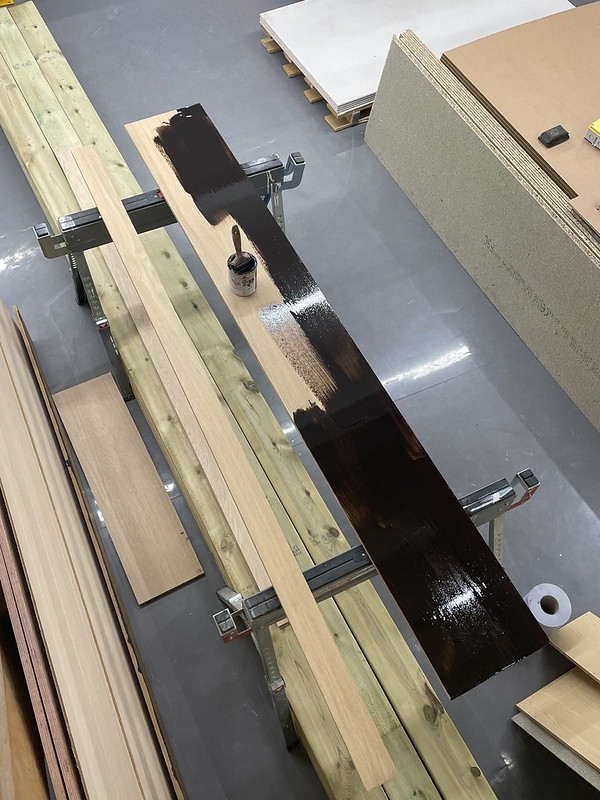
Secured with polyurethane glue. Wonderful stuff till it gets on your hands. Also began first coat of clear osmo oil.
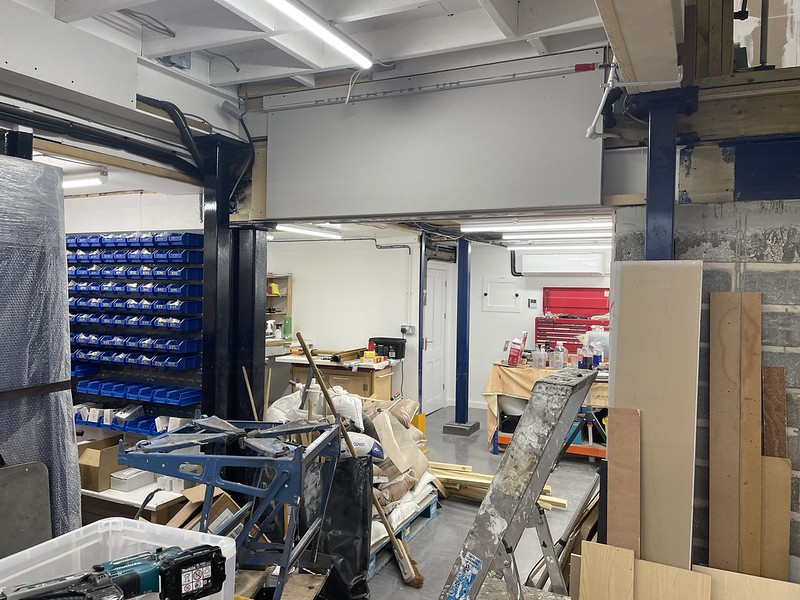
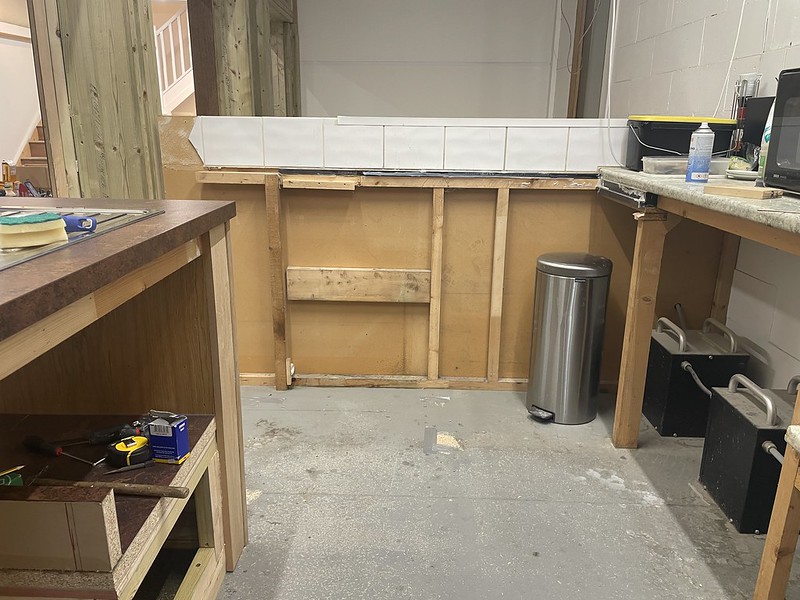
That old damned kitchen still remains..
And clamps, lots of clamps..
& yet moree clamps.
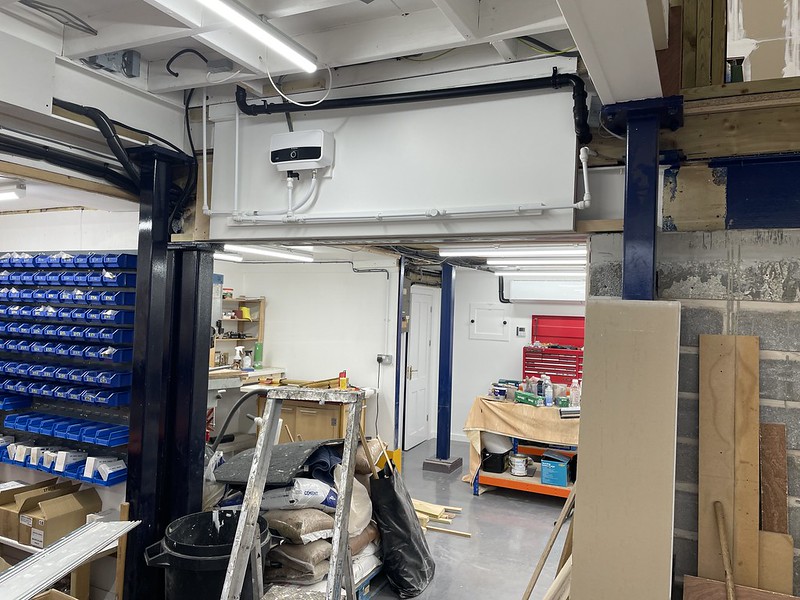
Making a decent area for plumbing and heater to go.
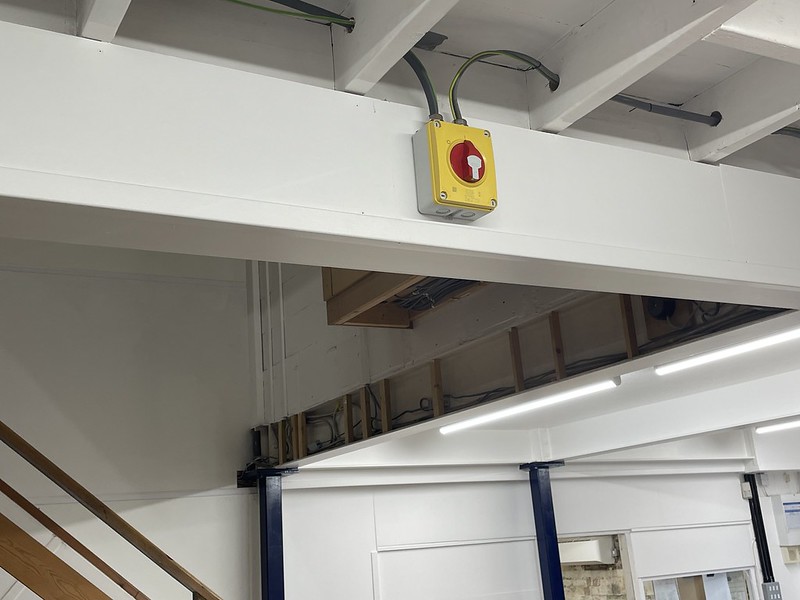
Above there is the 50A existing isolator for the heater – now 18 yrs old, so replacing the lot.
Did I ever mention – you can never, ever, have too many clamps.
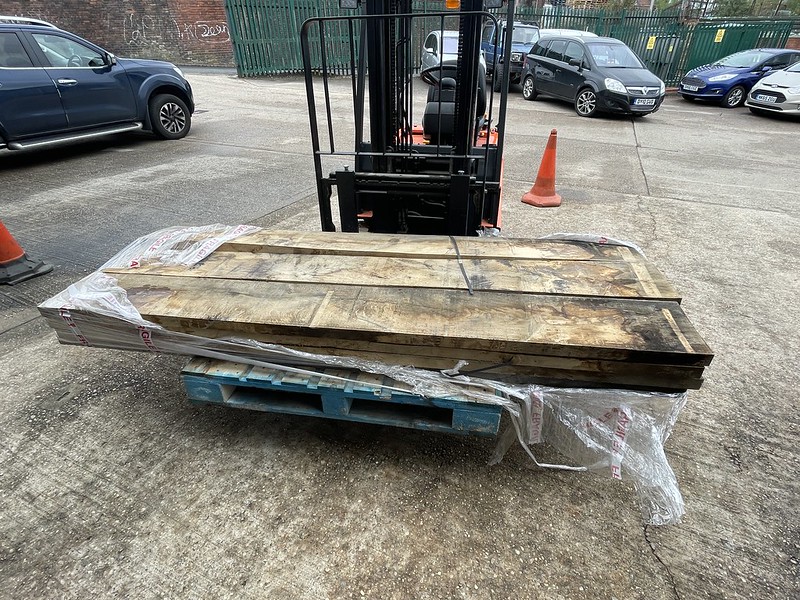
Then the oak began arriving, lots and lots of it..
Almost criminal to cut this, so beautifully figured. So I decided to keep it whole, and have a plan for it in the finished room..
A dozen 12×2 oak boards, air dried. So much fun to work with.
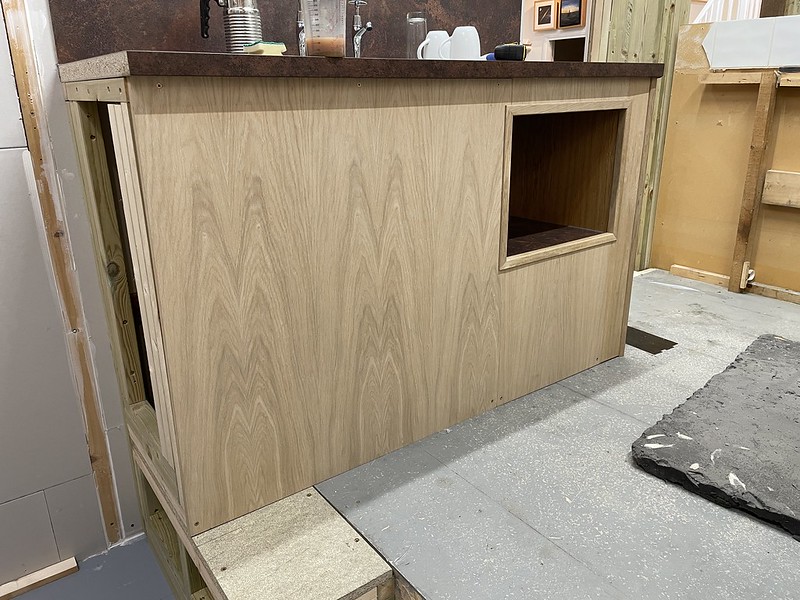
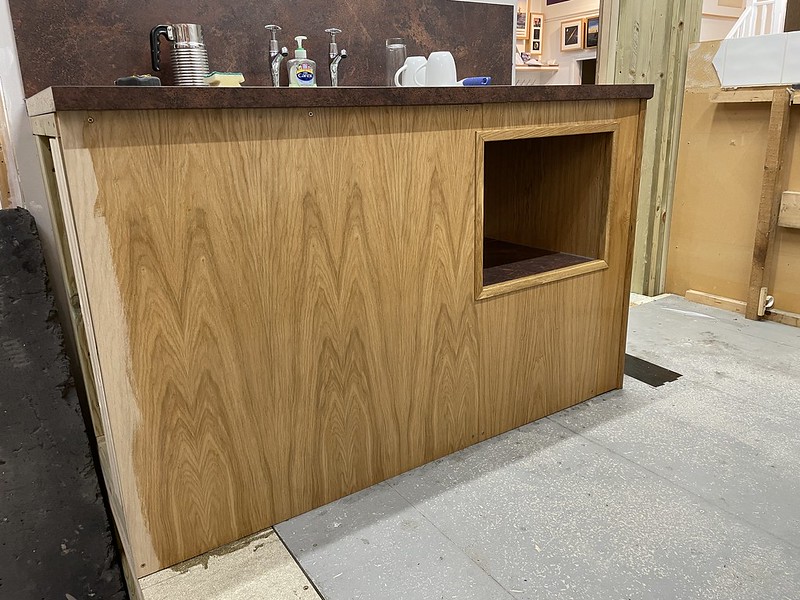
Sink unit in progress.
Old one gone, room for new door to open..
Already in use for coffee..
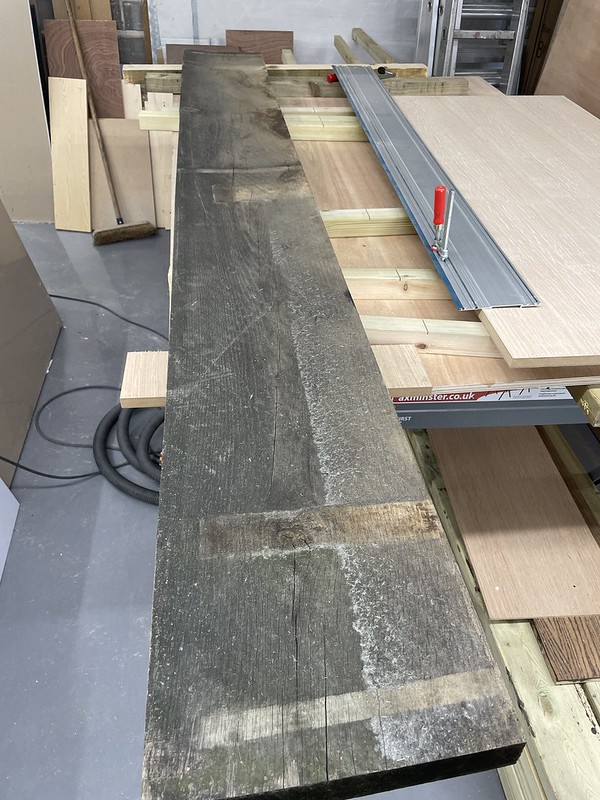
Wonder just what is hiding under all that grime, twists and splits.
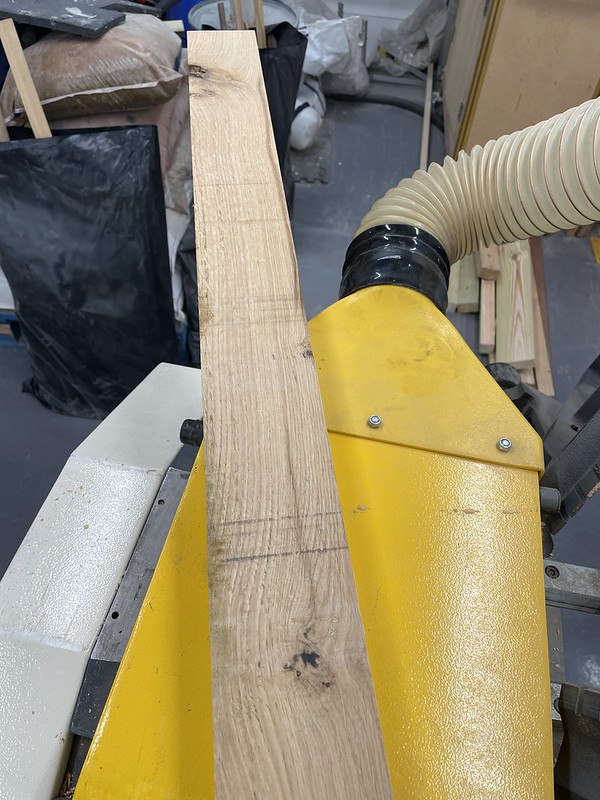
I have just the place for that wonderful figuring.
Turned out rather pretty.
Hot/cold & waste in place, heater fitted and tested, no leaks yet, love speedfit and fix pipe when you just need it to work, immediately.
That rather important isolator thing. How much fun is it working with 10mmsq T&E!
Time to find out whats inside then.
Getting better
Floating floor prep.
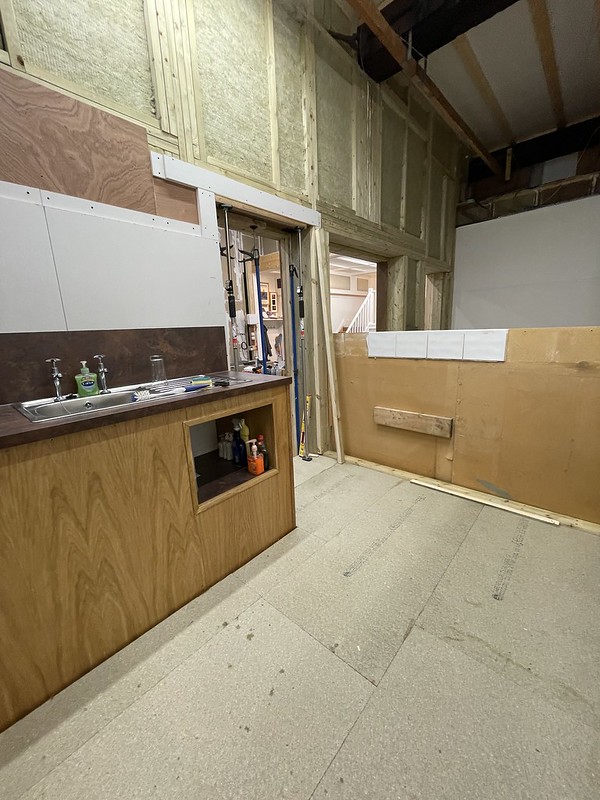
Old kitchen now in bin – floor proceeding.
T&G laid.
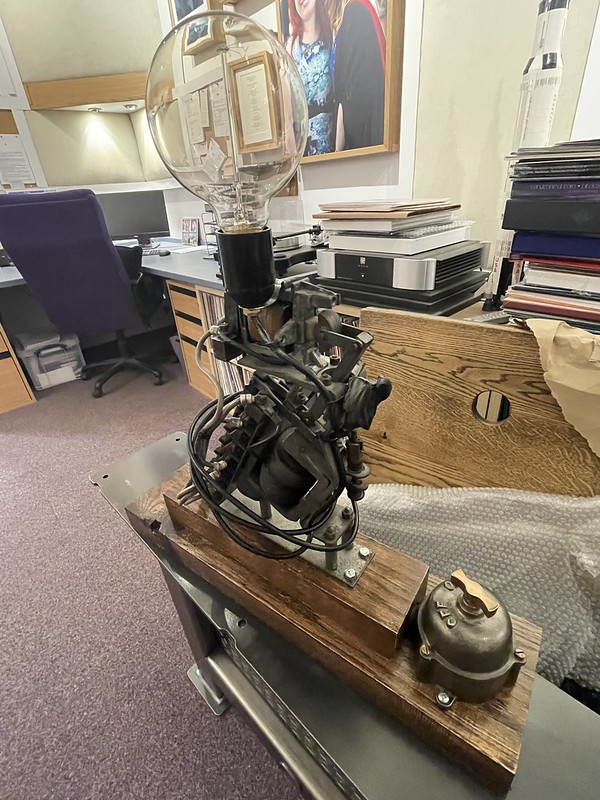
Decided to have a break – made a nice base and added an antique switch for my steampunk 60th birthday present.
Useful stuff to make oak look, well, used and old.
It rubs up a lot nicer afer an hour..
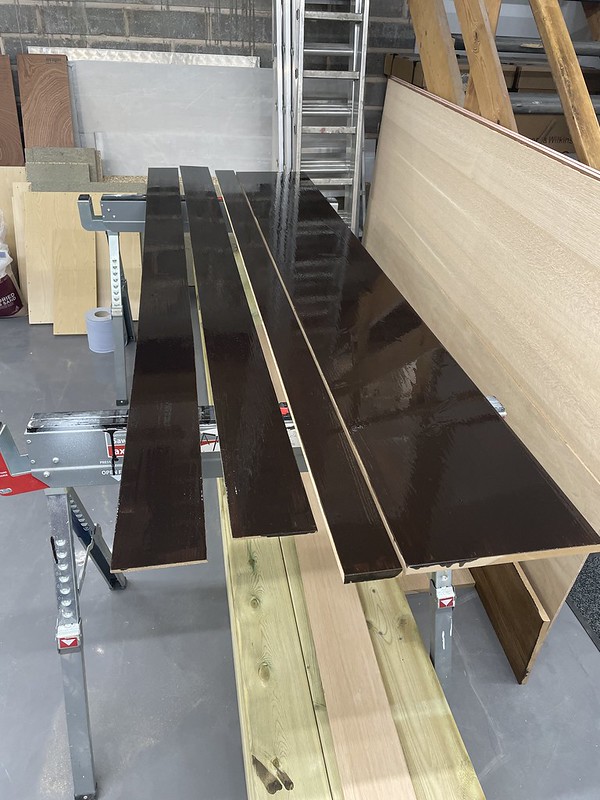
Finally, a door casing that just needs oiling.
Time to dry..
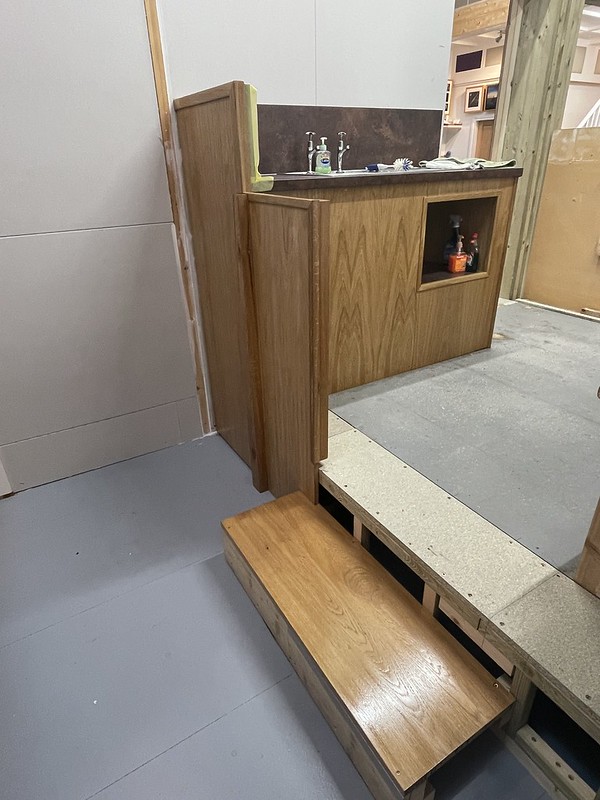
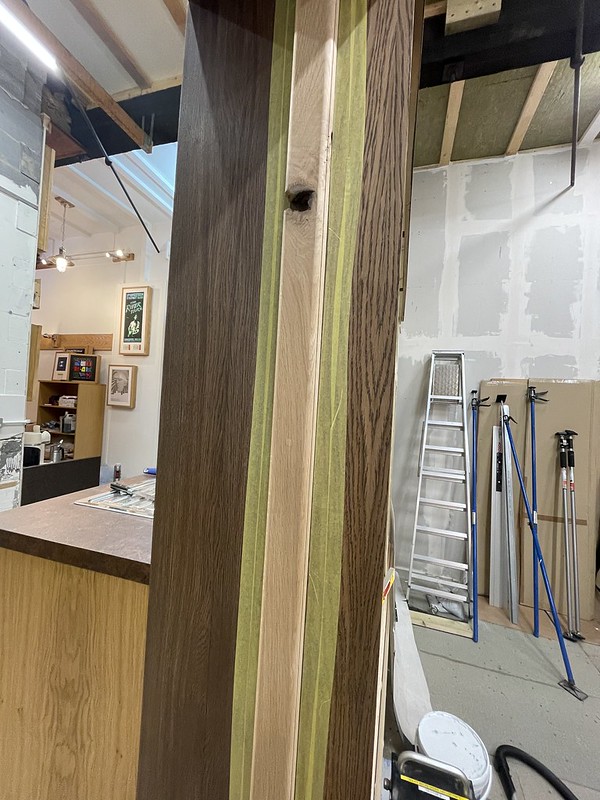
A knotty bit of oak, with a ton of work done to make it vertical, acting as a ‘blinding’ piece for some framework that had decided to warp and twist as it dried out. Some huge screws used to hold it in place, along with glue. The screws got hidden with a technique I learnt a good few years ago, and somehow, found the tools from back then to acomplish it.
Now it matches its surroundings and actually looks like it was meant to be there.