There was actually rather more to do than i thought, and finishing off / making trim, making more trim, making bespoke items for just about every section, well, it took longer.
Dozens of bass traps, first reflection point traps, corner traps, lights, making those lights, making things for the lights to sit on, the list got to be endless. Floor, fitting the floating floor, sealing that 100%, then adding the finish floor, fitting final fix electrics, fitting the network – I could go on!
So, as per usual, a set of images, some with comments, will tell the story better than my words would :-
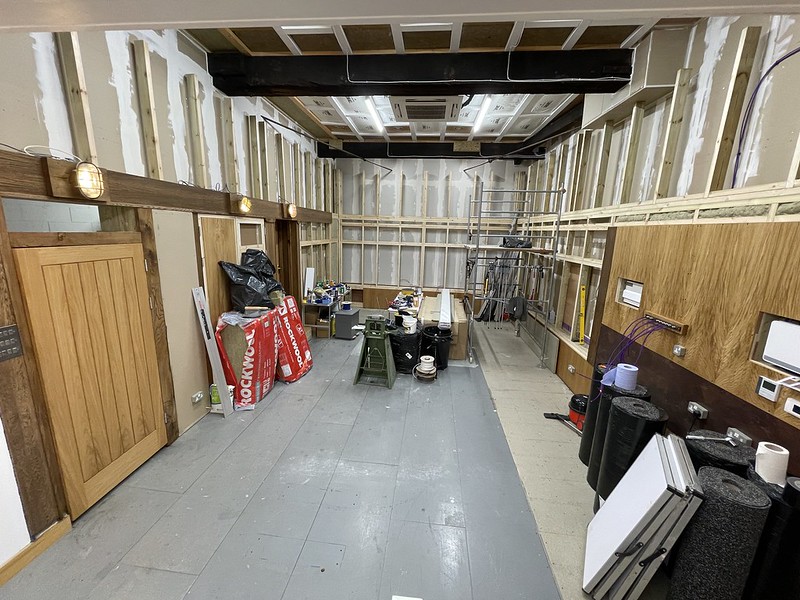
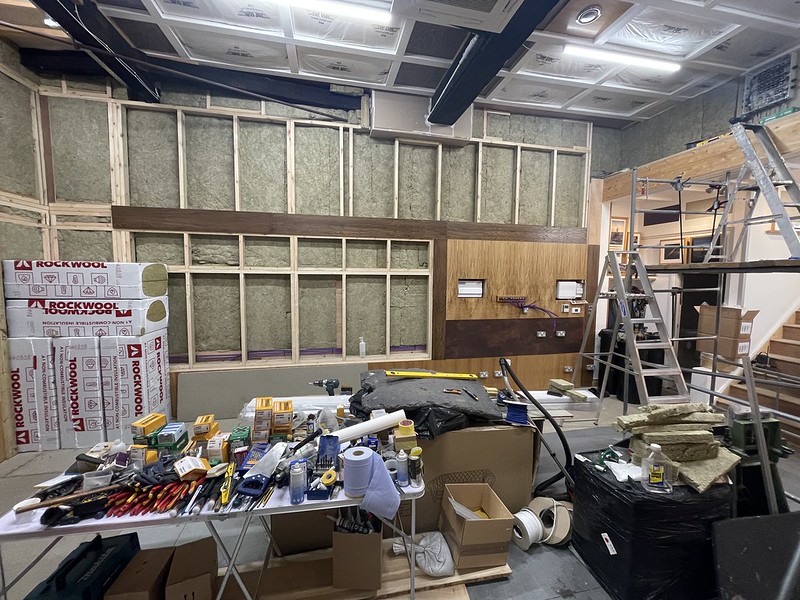
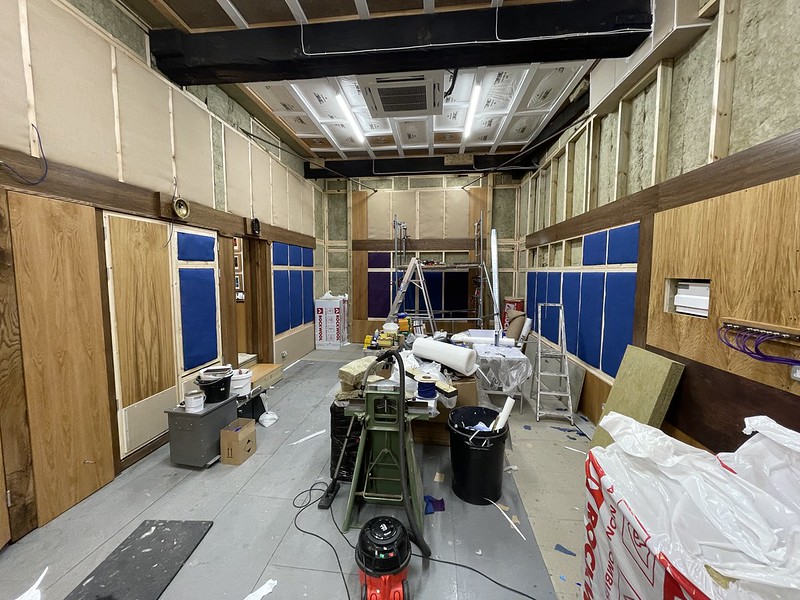
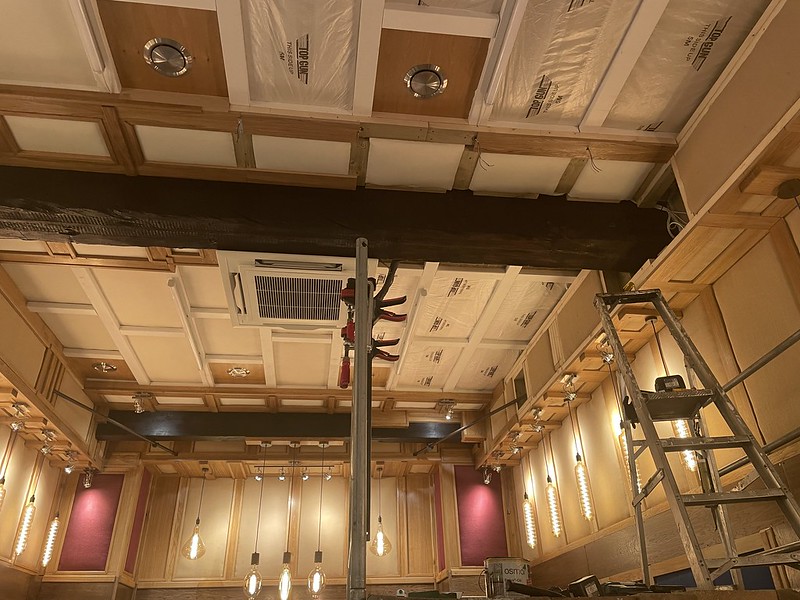
Where we left off last time – but what on earth to do next?
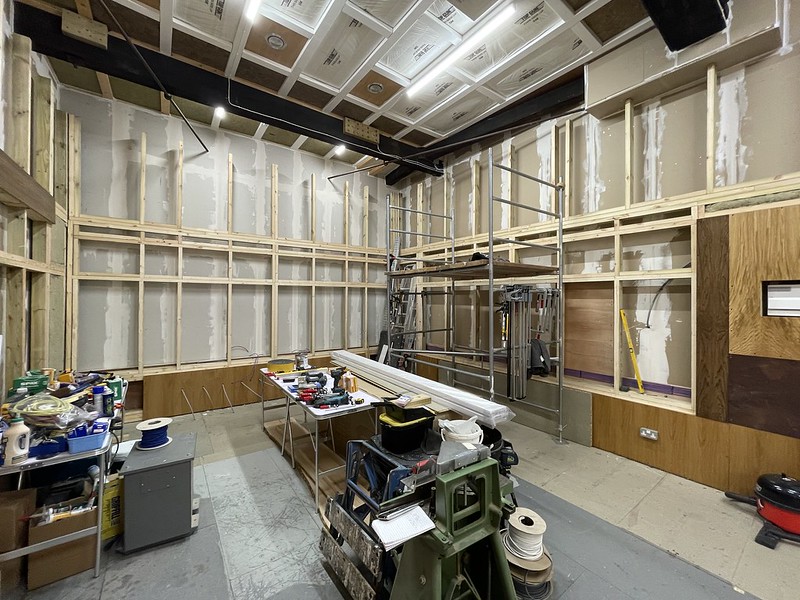
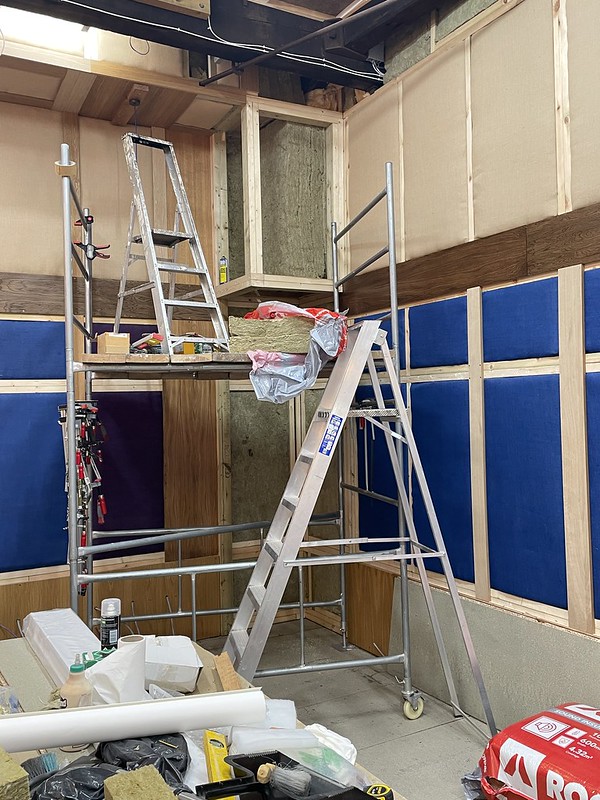
Decided that actually, the best thing would be to fully finish everything “up” that needed the platform first, then dismantle that and start the lower sections. Having again run low on Rockwool, further supplies were needed, as just the odd trap needed to be made.
Loads of bass traps needed making, as well as the upper wall to ceiling box and lighting to be fitted.
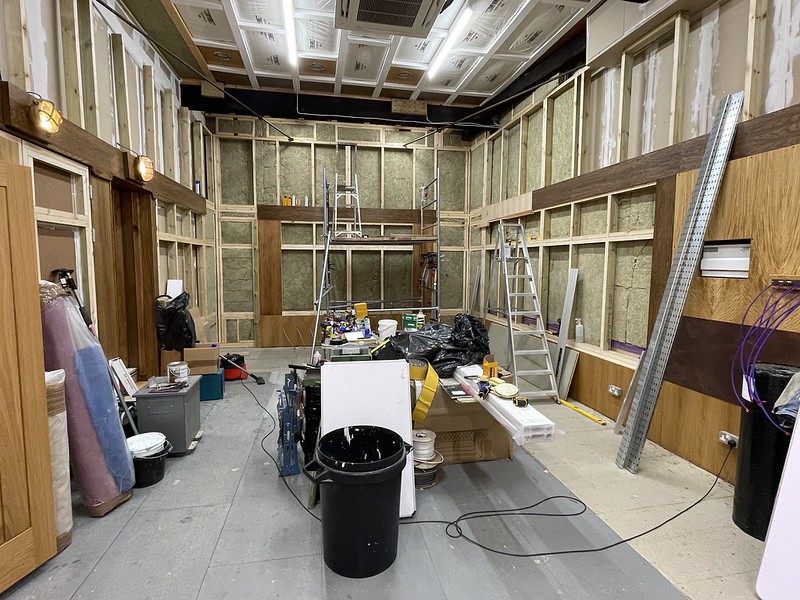
Still waiting on delivery of Rockwool, so did what I could, and the “Hessian Fabric” for the cover to the traps turned up. A lot of it..
Finally..
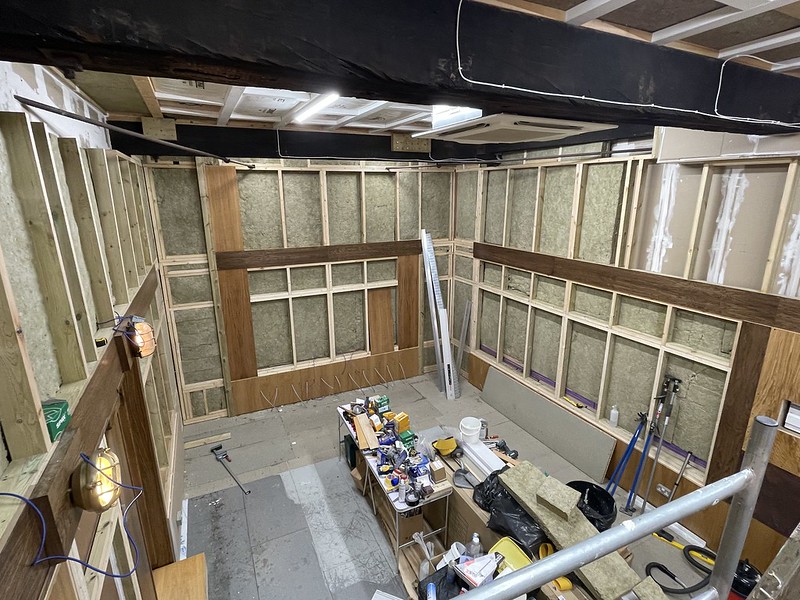
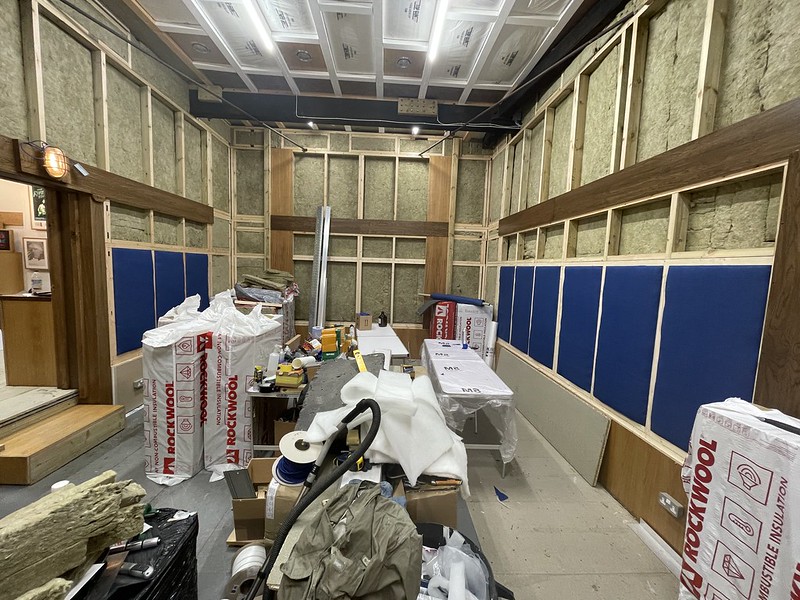
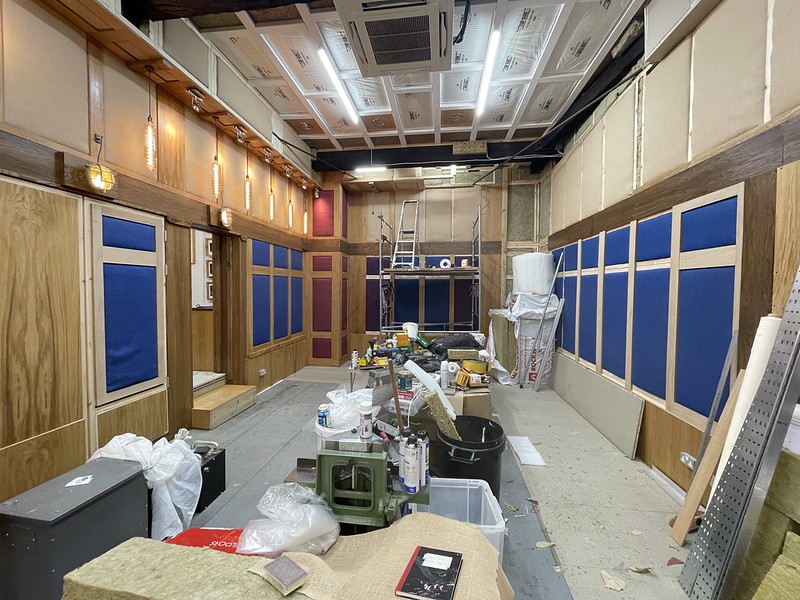
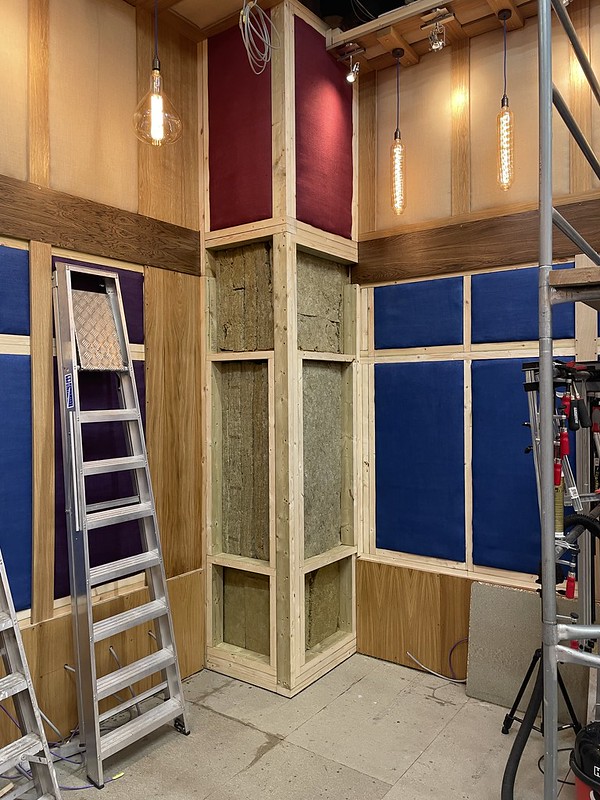
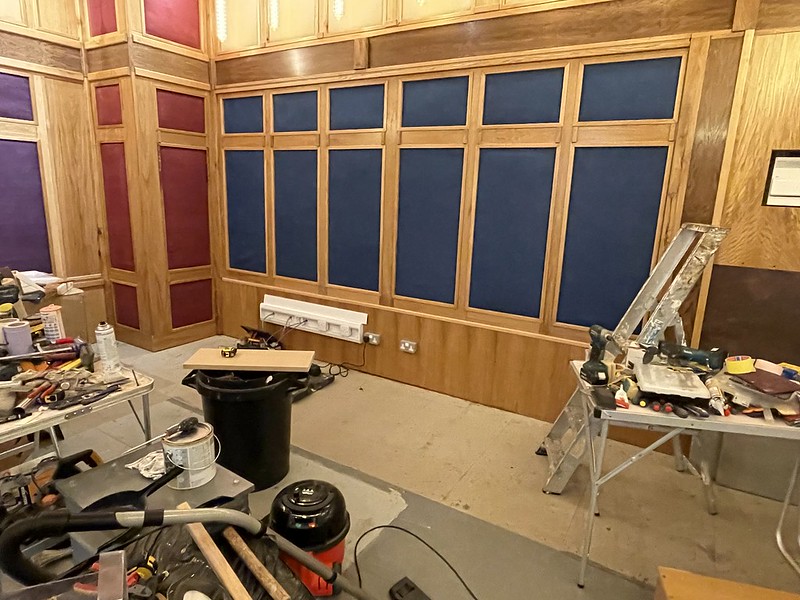
Front corners ready for their traps, many areas now filled ready for final trap fitting.
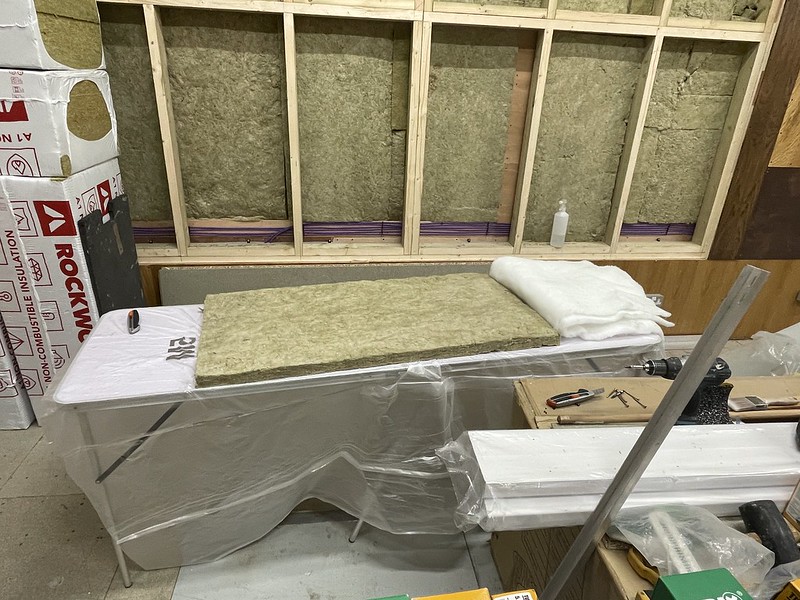
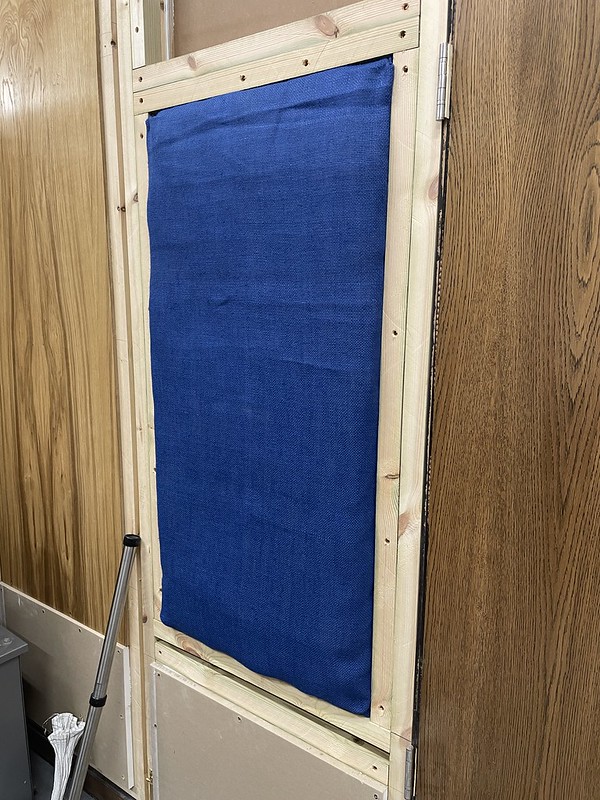
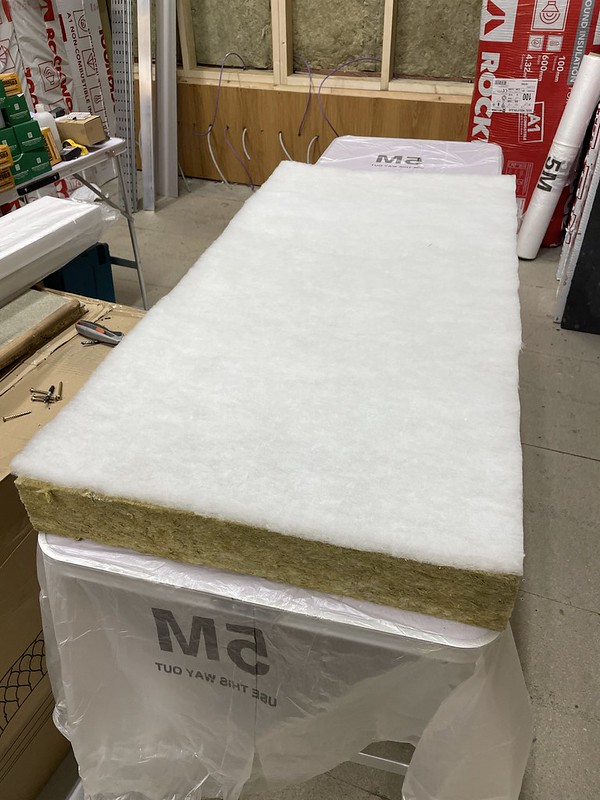
Trap making begins. Rockwool base, then polyester next to it (This is a fully absorbing type, for first reflection point, so no reflective layer).
That was a ‘thin’ 50mm version to go onto one of the double doors.
100mm version fior the first of the walls.
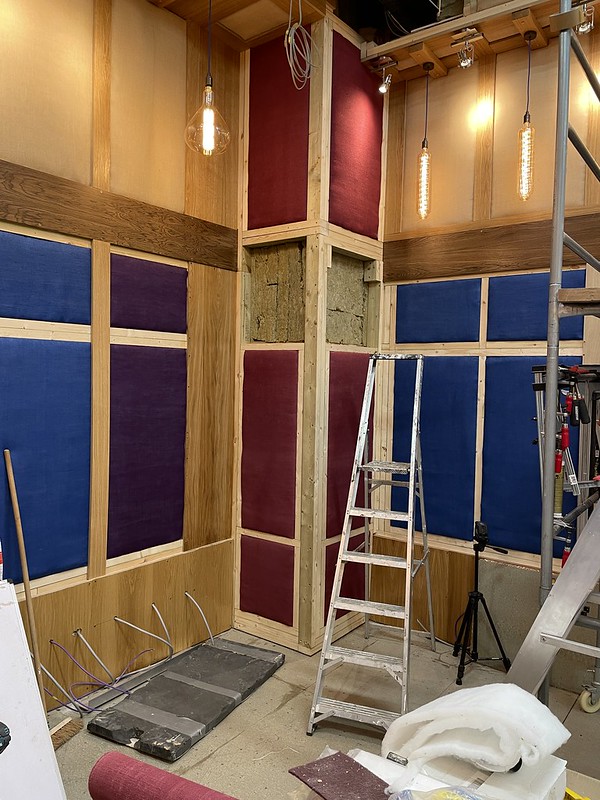
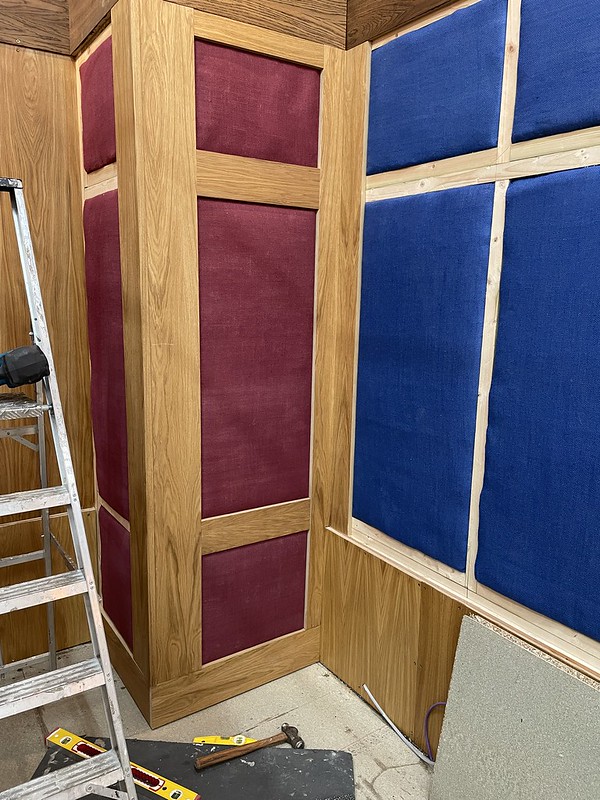
First wall trap in place, and yes, the decision to start at the top went awol.
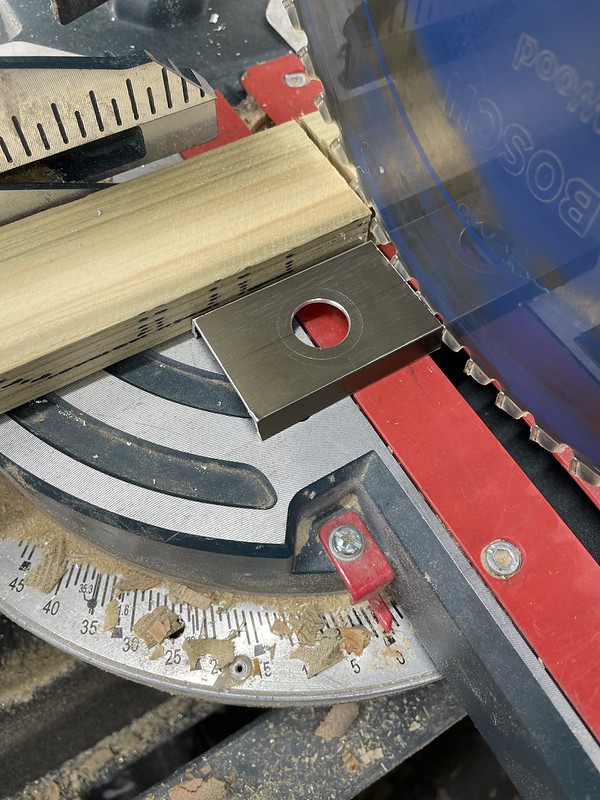
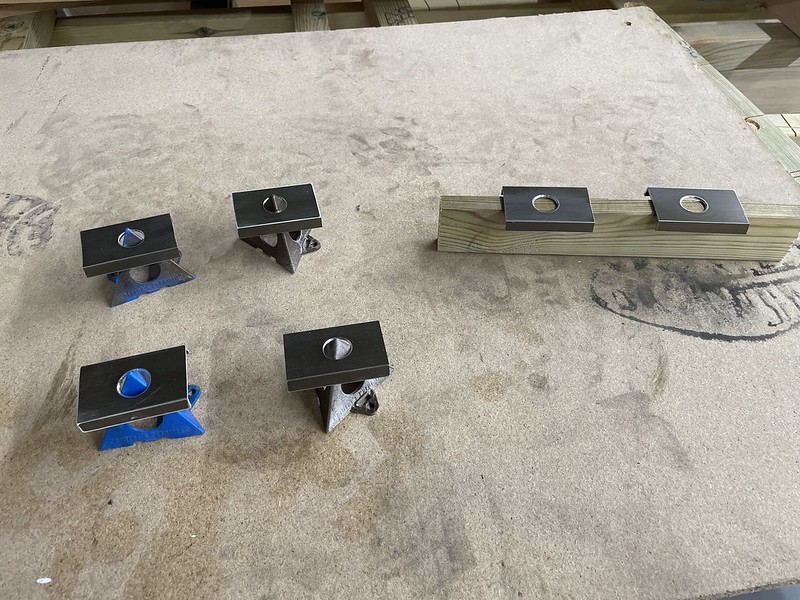
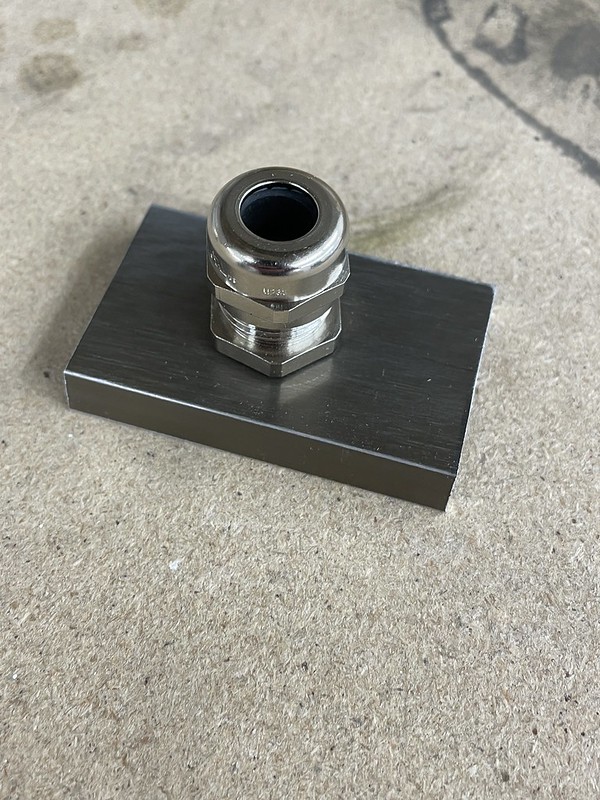
Needed more of those cable outlets for over door lights – so set to on those.
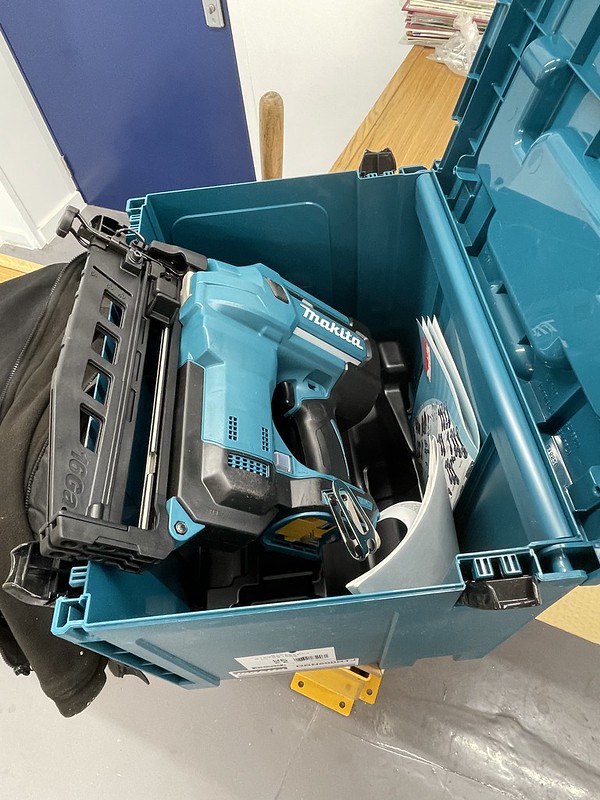
It was obvious that I had several (hundred) bits of trim to fix, with panel pins usually. Huge job. Decided a finish nailer would help. It did, massively.
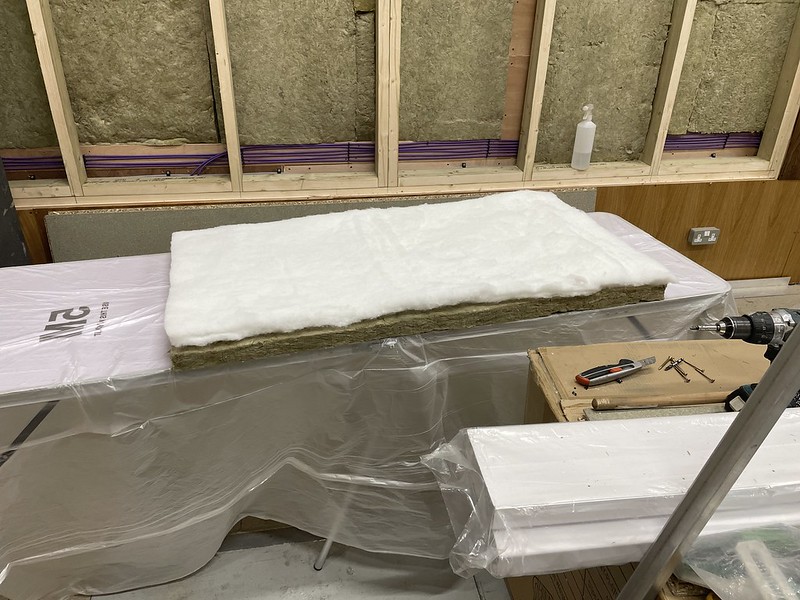
Time for the upper traps to start – reflecting variety (mids and highs). Here seen with thick ‘lining’ paper to the rockwool.
Onto that with sprayglue, 35mm thick polyester wadding to add a cushion effect to the trap. (Acoustically transparent)
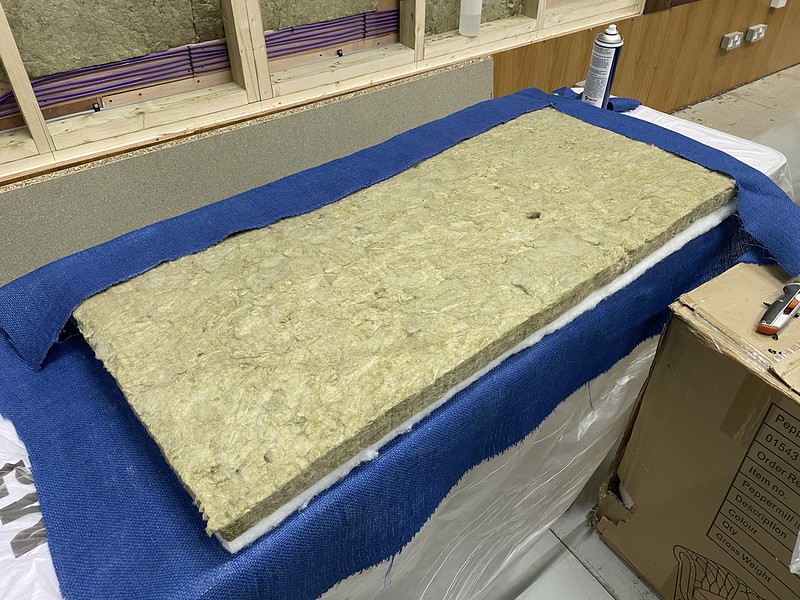
Hessian gets placed to that, stretched and glued to the raer and sides.
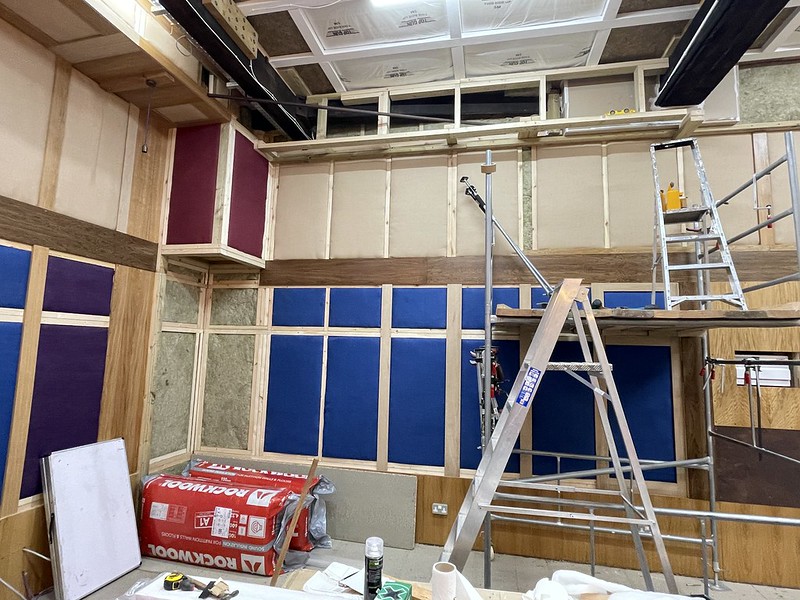
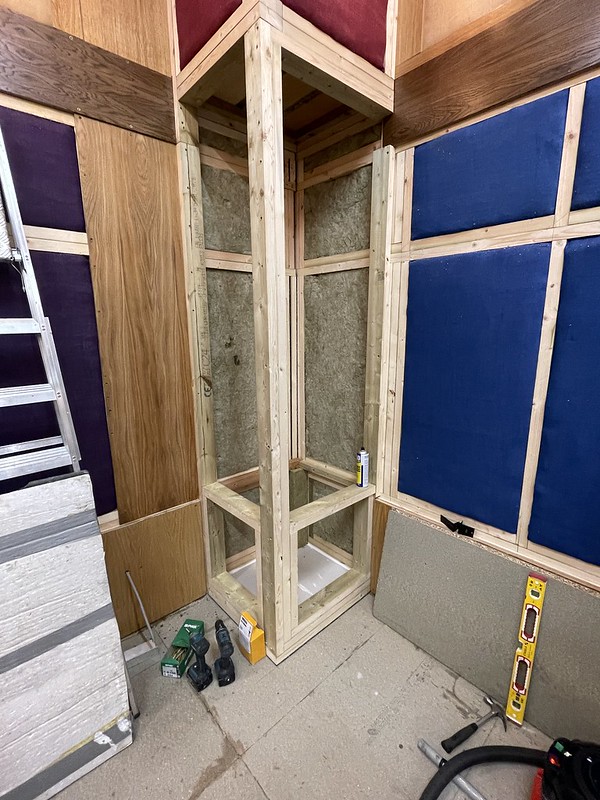
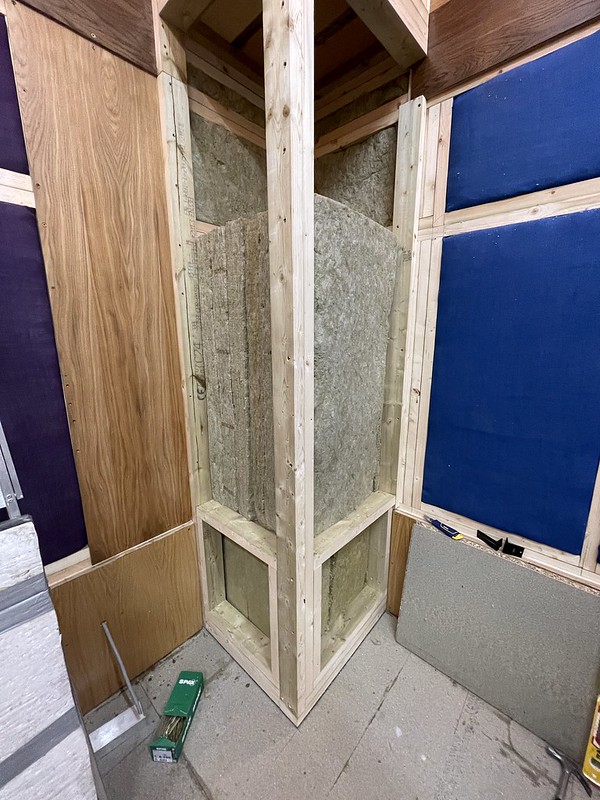
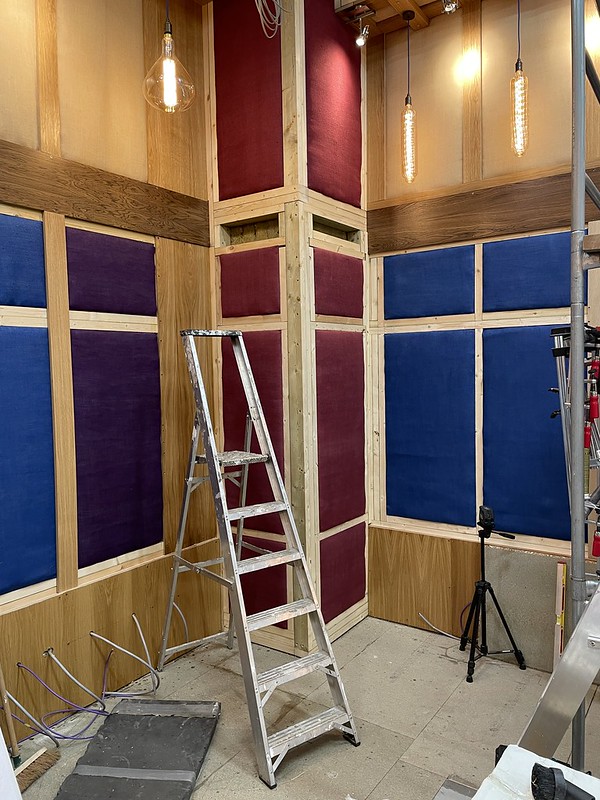
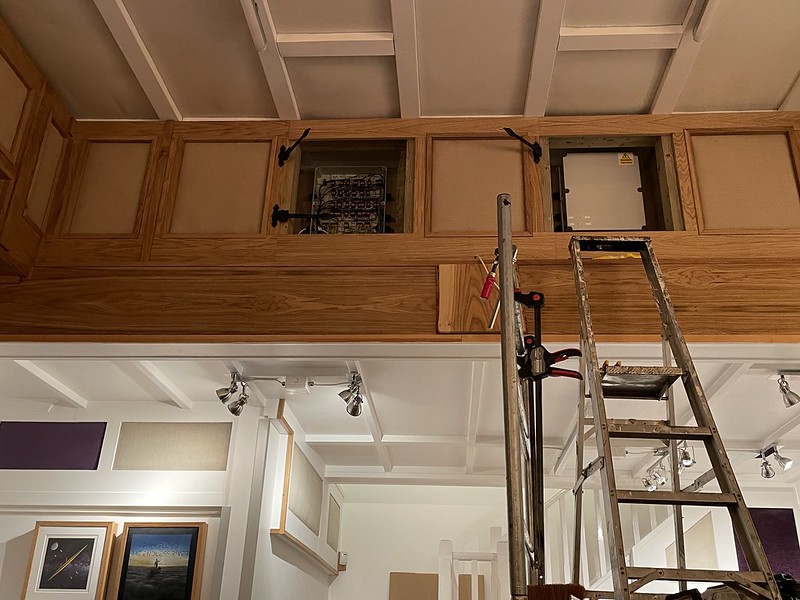
A few of those in place, now ready to start cover trim and add upper wall to ceiling box trap.
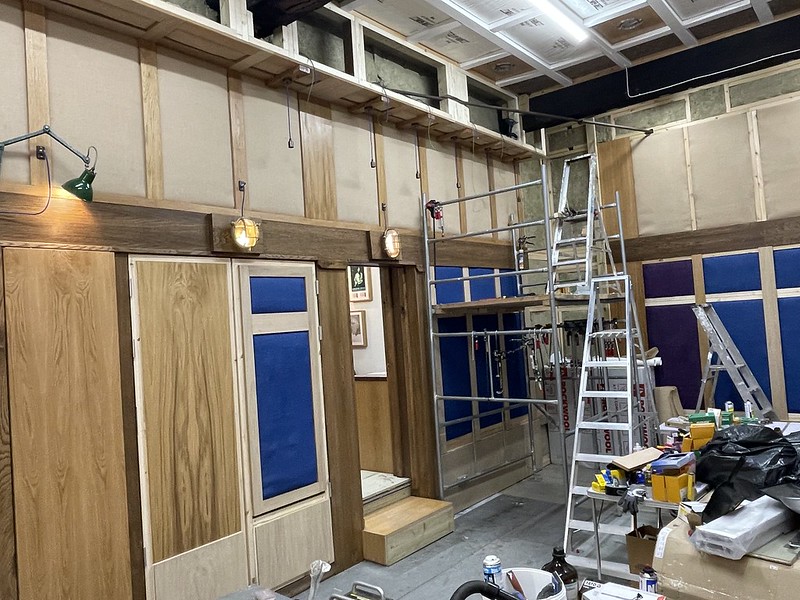
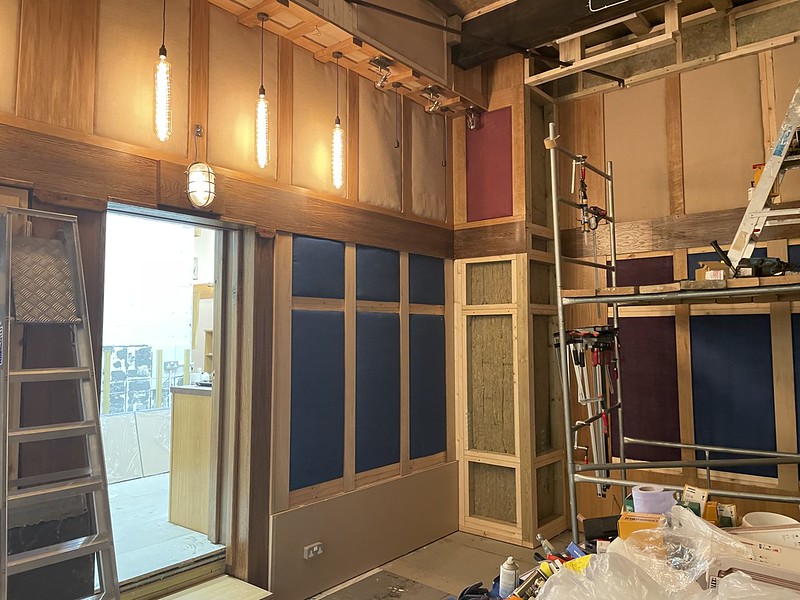
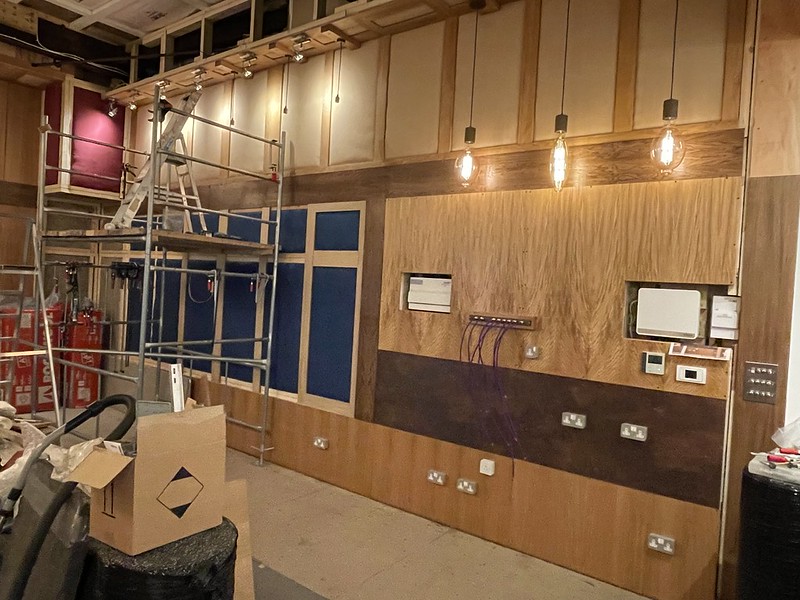
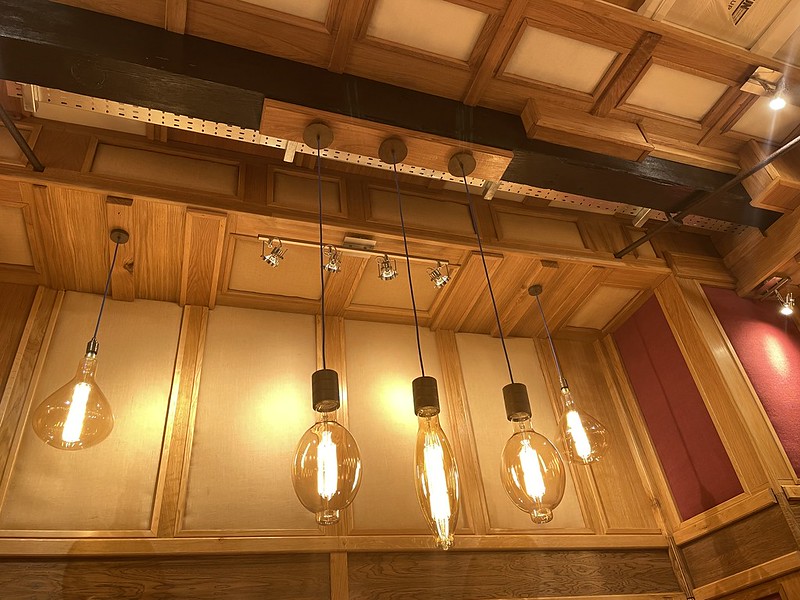
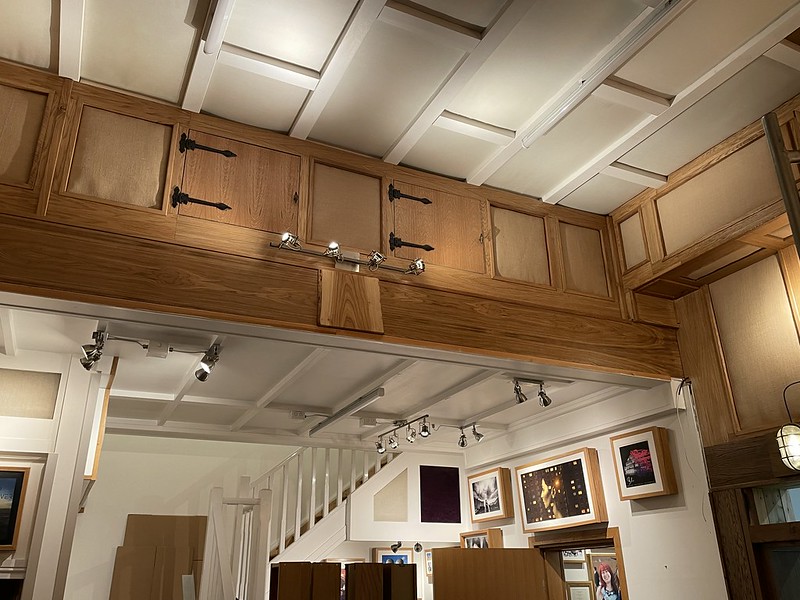
Trim being fitted, detail on box section, some hanging light pendants in place.
Work on front left corner trap, and ceiling box in progress.
Light detail – one of many.
lower left front corner trap in progress.
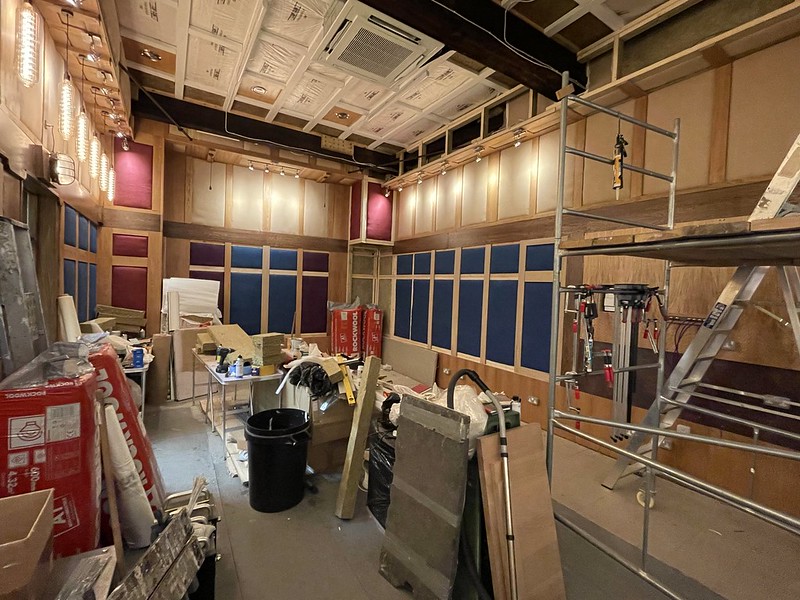
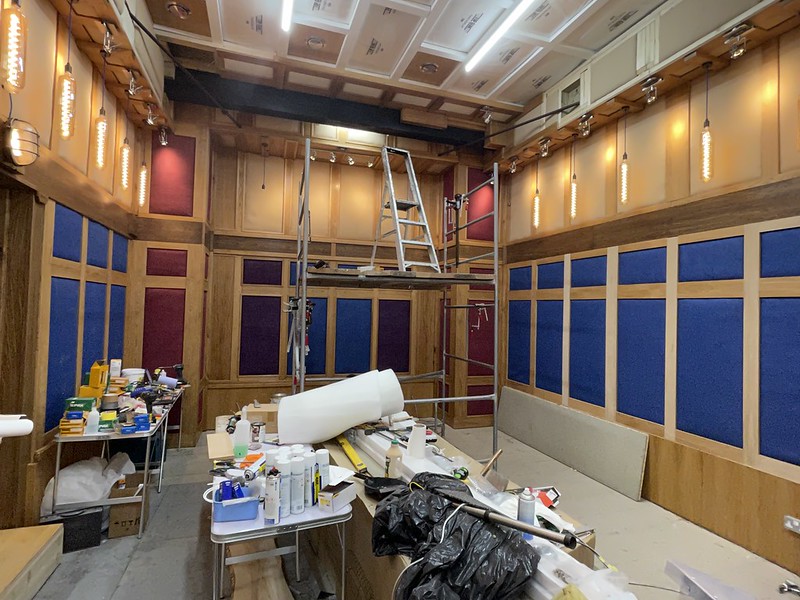
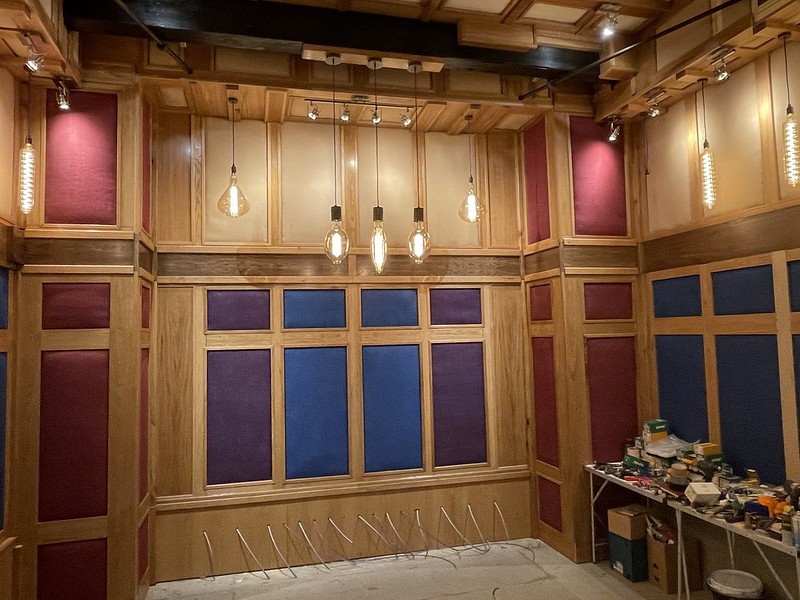
Starting to look ‘right’ at last.
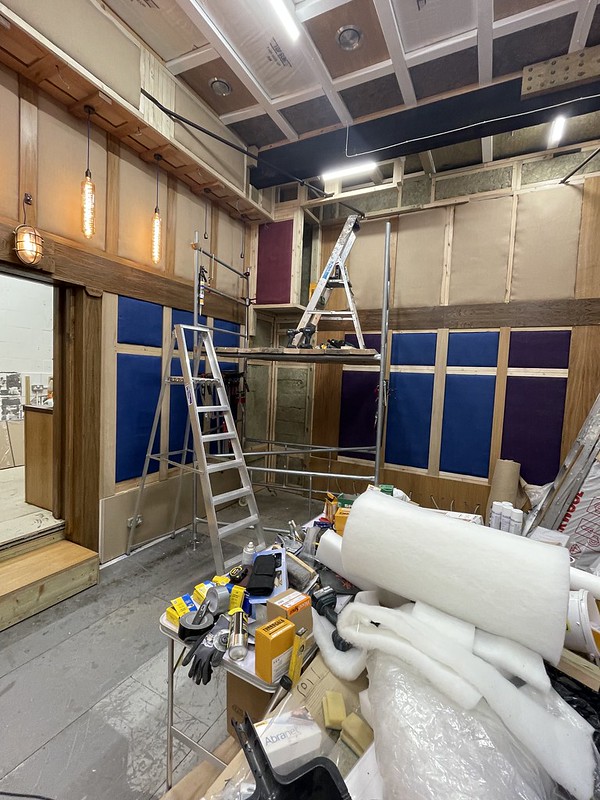
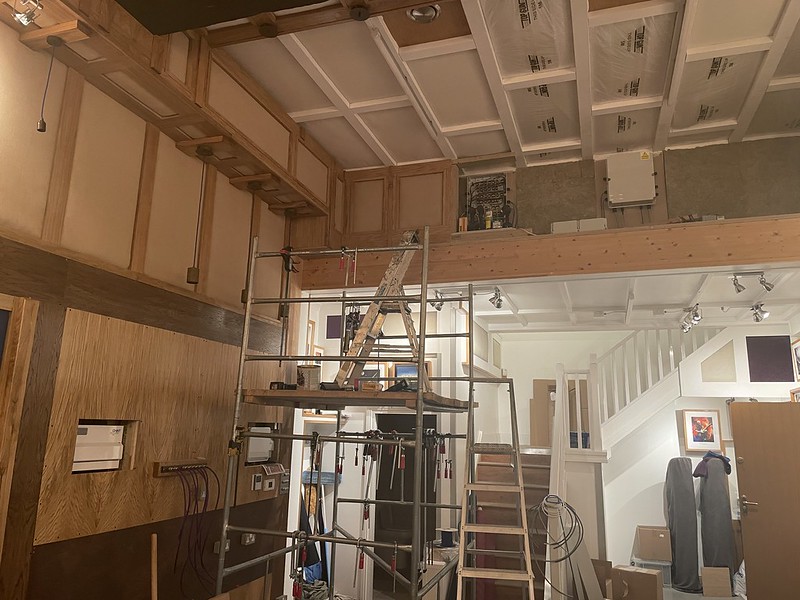
Right hand side begins.
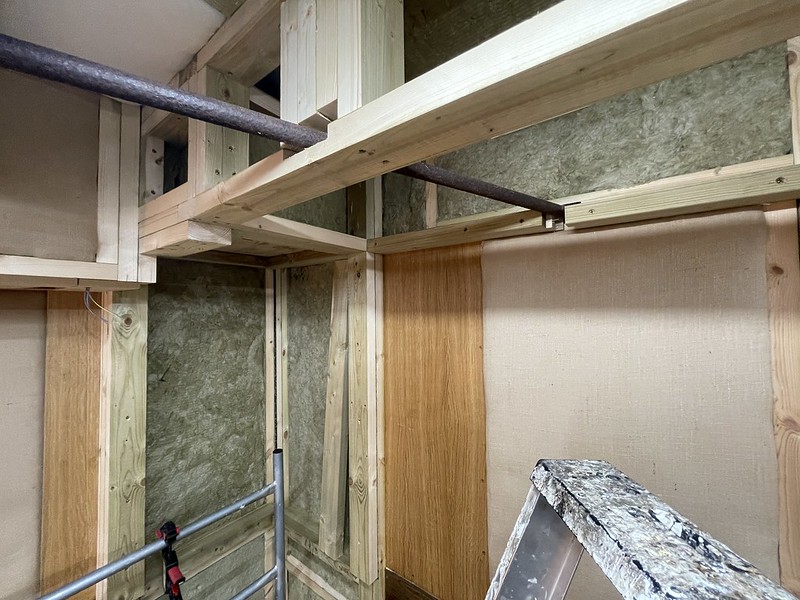
Wall to ceiling box to the right hand side. So time consuming, this building fighting every mm of the way as usual.
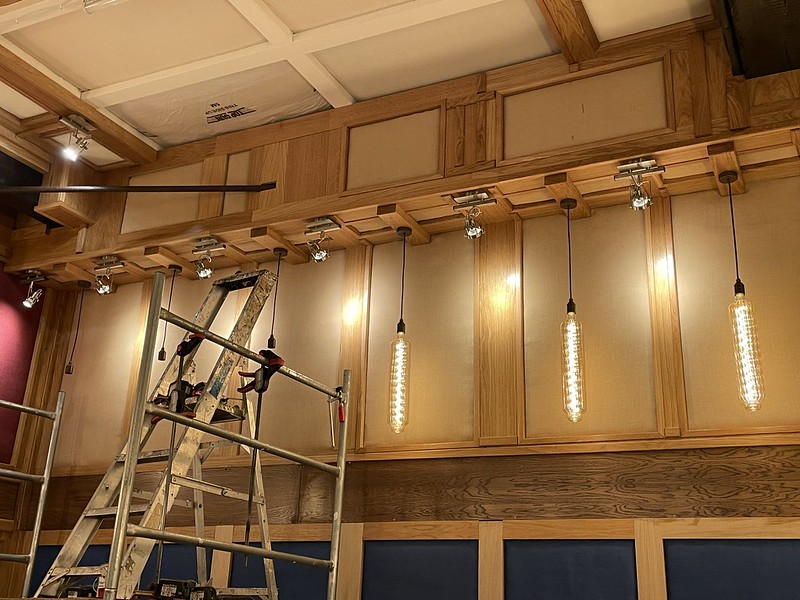
Few more lights in place.
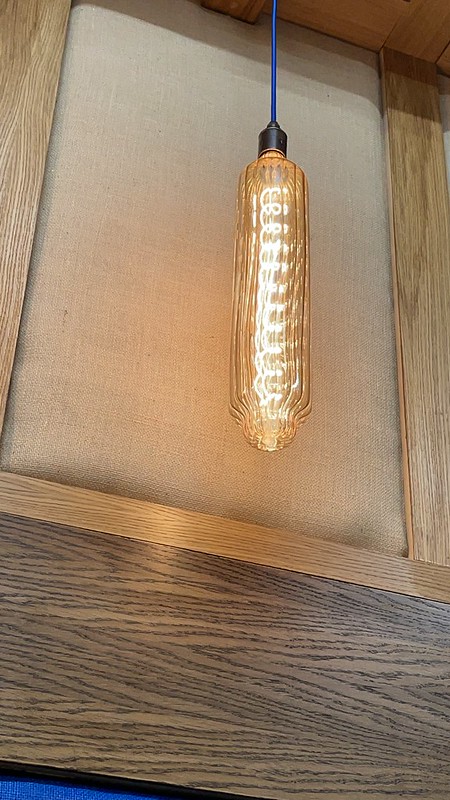
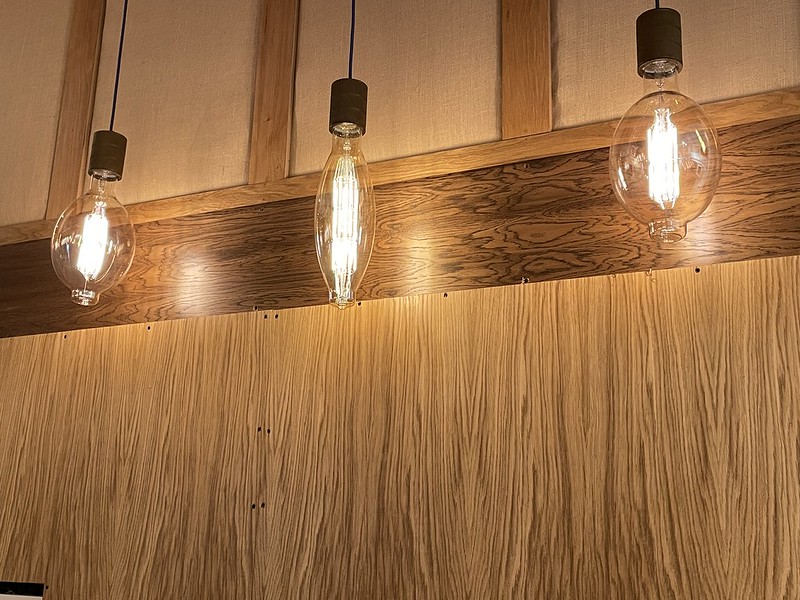
Some of the rather special ‘Calex’ light bulbs in place. These are ‘E40’ thread, and I re wired them all to be with the special blue flex to match the room. More on that shortly.
At least anything being ‘finished’ now actually is finished. So it simply has to be correct.
More Calex being added, side wall and fron speaker.
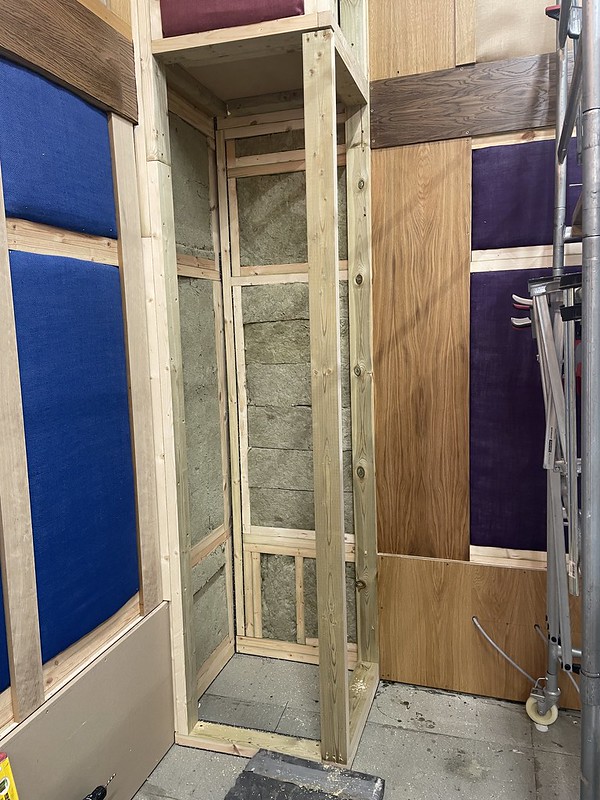
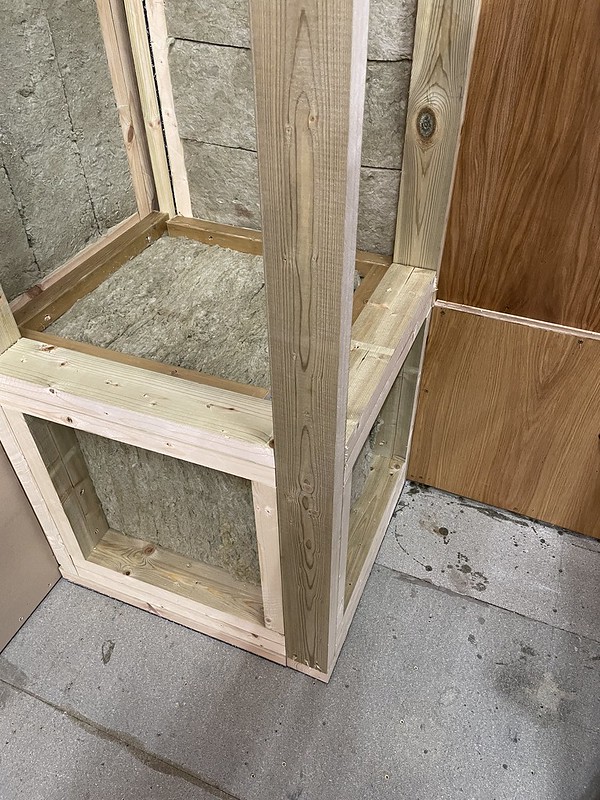
Front R/H box trap. Note 100% sealing of layers of gyprock plank and sand filled cardboard.
100% filled with 60Kg Rockwool
Finishing off top front. special spots and Calex bulbs.
Trim begins on corner trap.
Trim going everywhere!
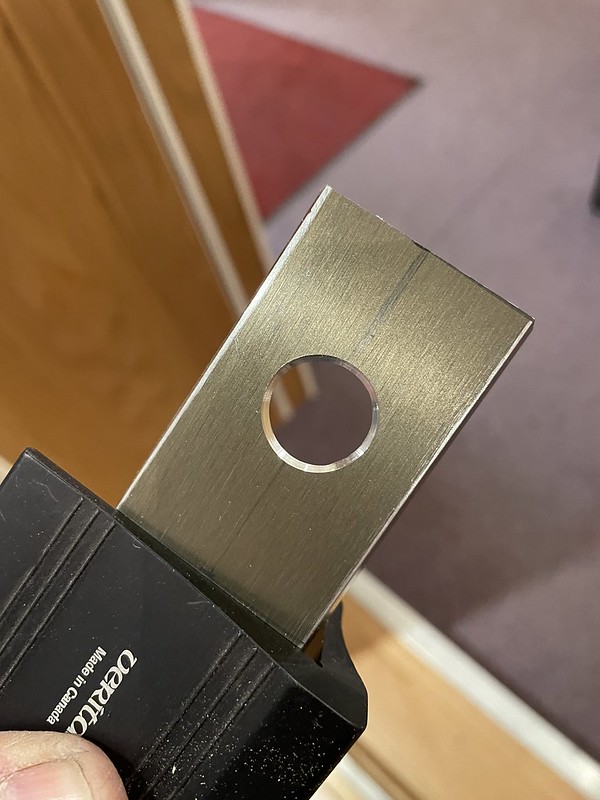
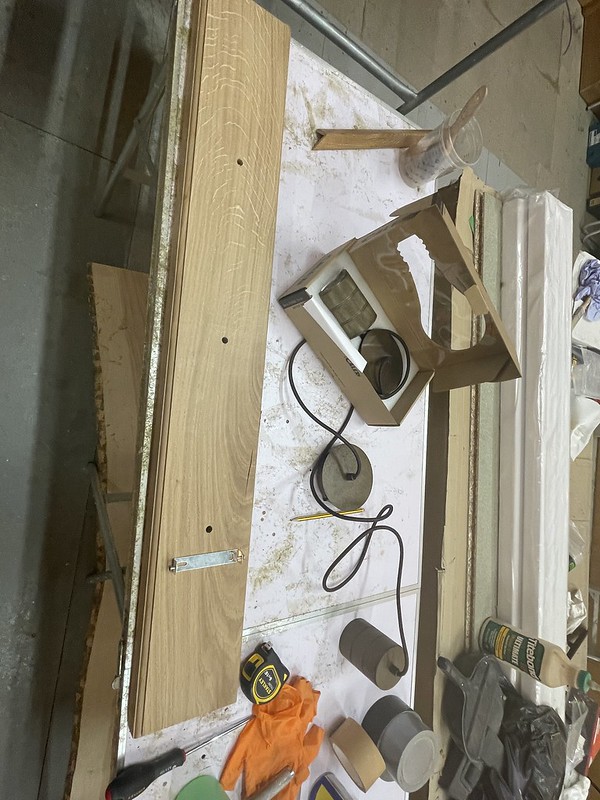
Needed a special bit for three of the E40 Calex ‘over amp’ lights. Nothing out there, so DIY time..
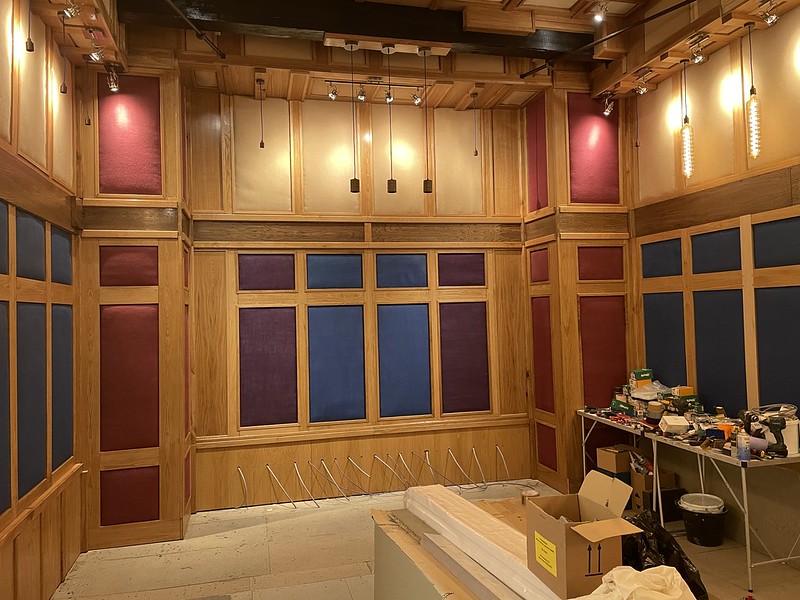
looking correct at least.
I’m happy with that.
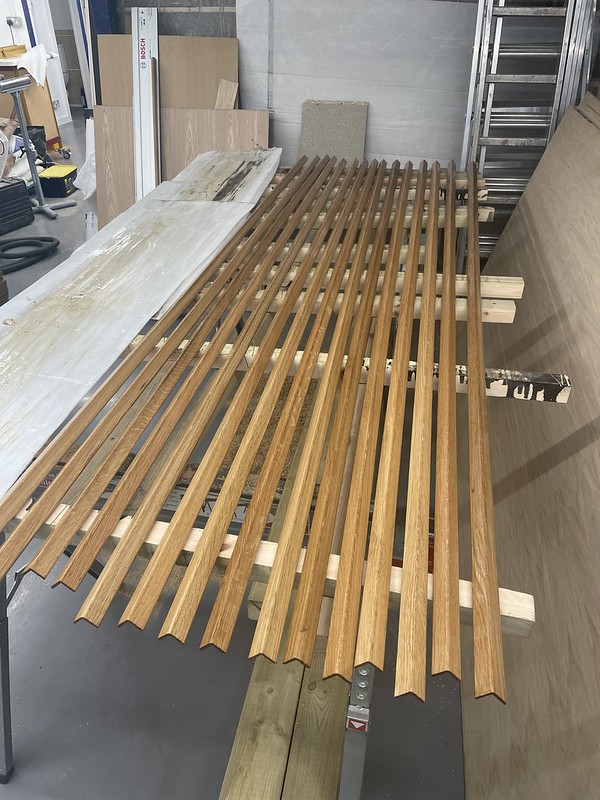
First of hundreds of lengths of oak angle trim.
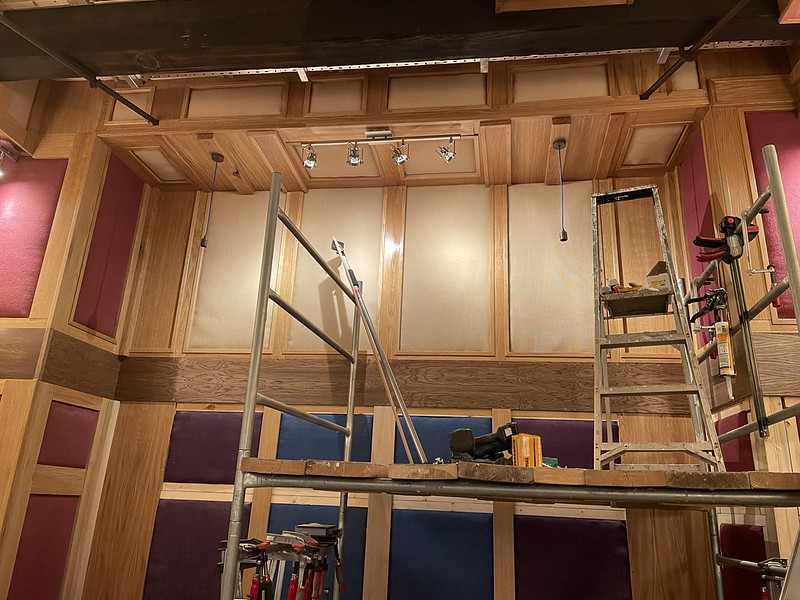
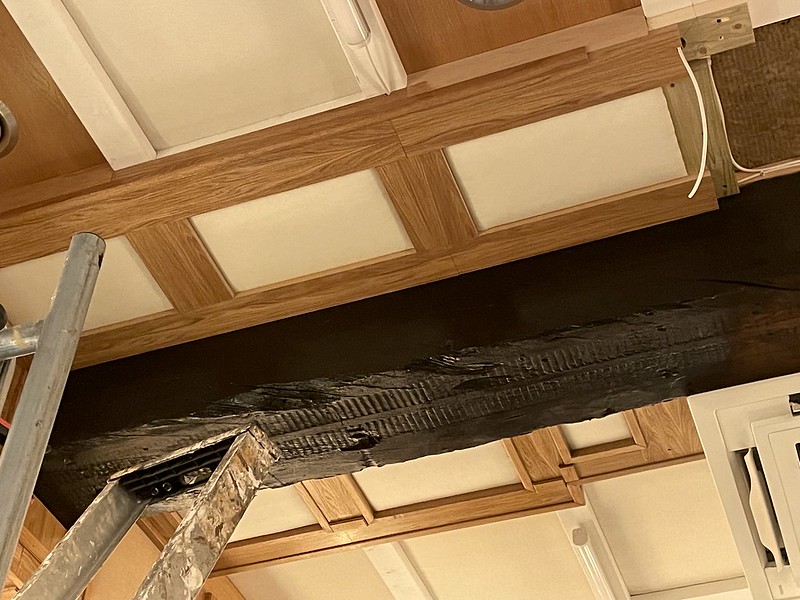
Trim going into place, main roof joist coated in Osmo Oil.
Over desk Calex pre wiring.
Over desk Calex modules ready for fittings.
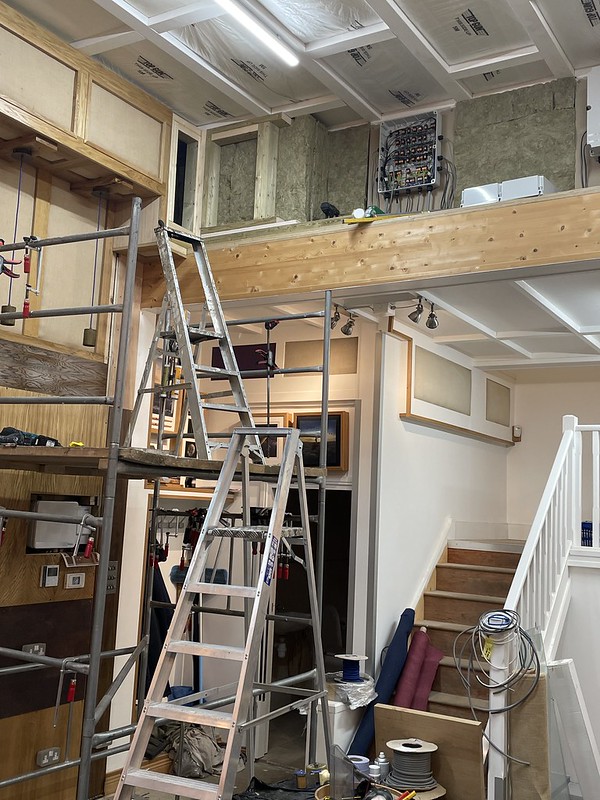
Upper rear room work begins.
In detail.
Hinges in place for doors to cover lighting control boxes.
Another bit finished.
Trim for those solid steel roof ties was, being polite, a pain.
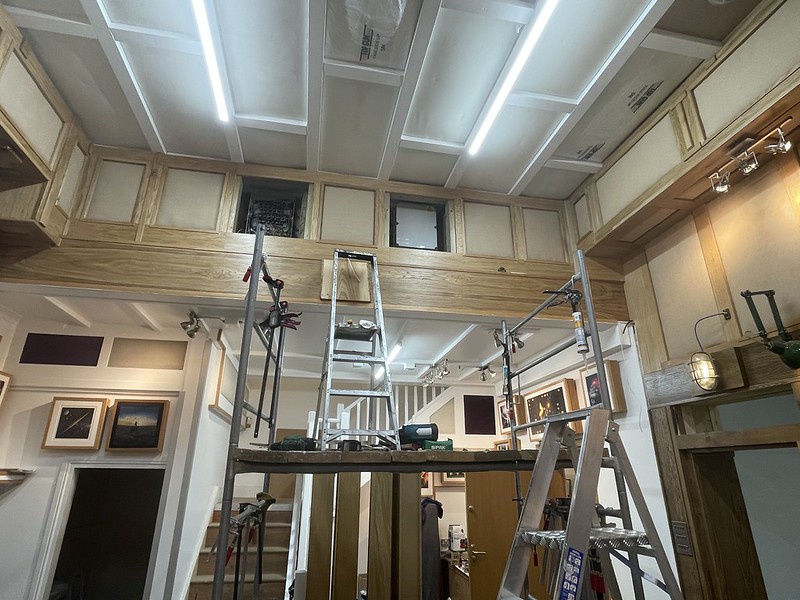
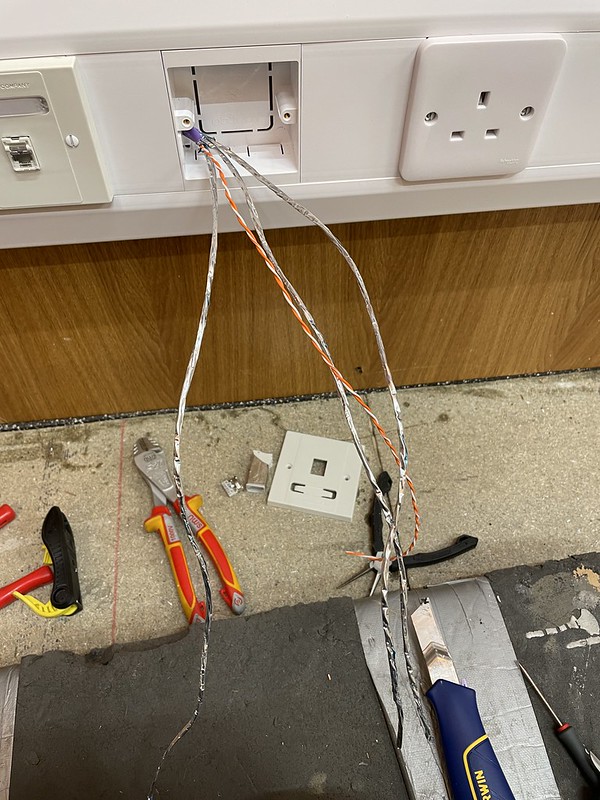
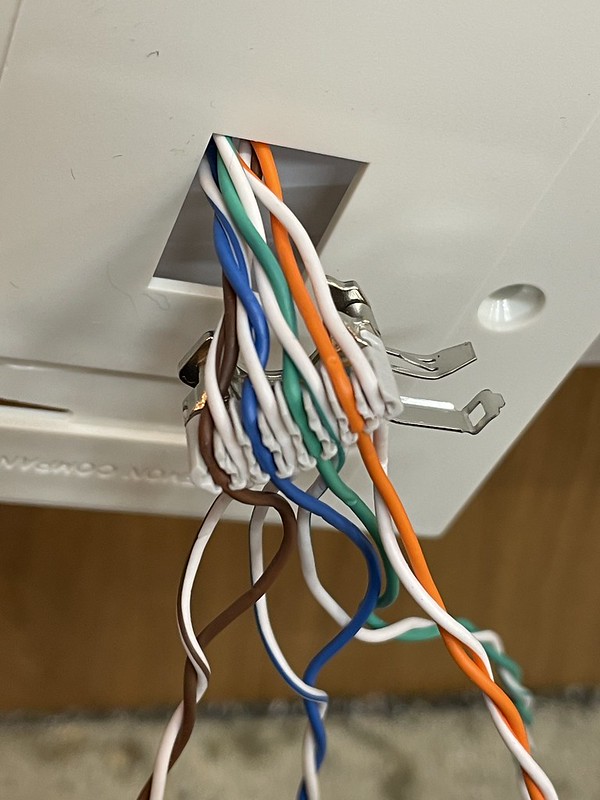
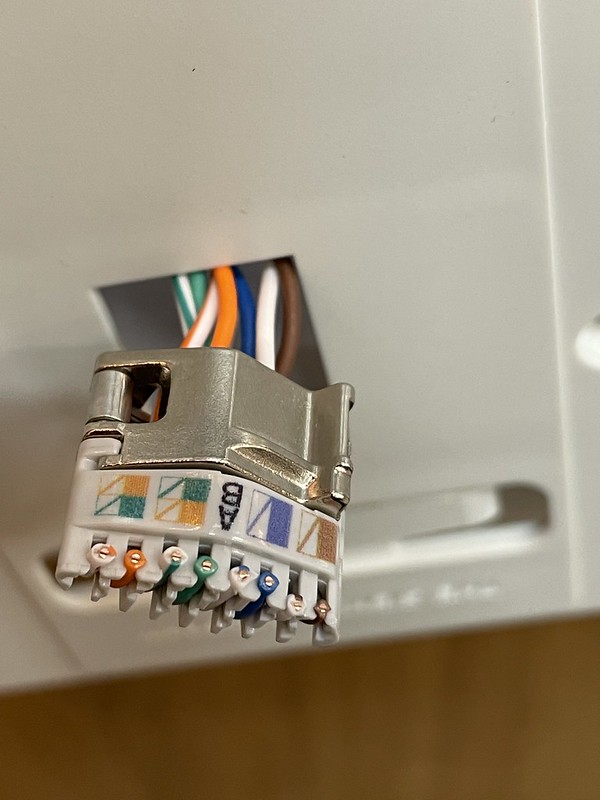
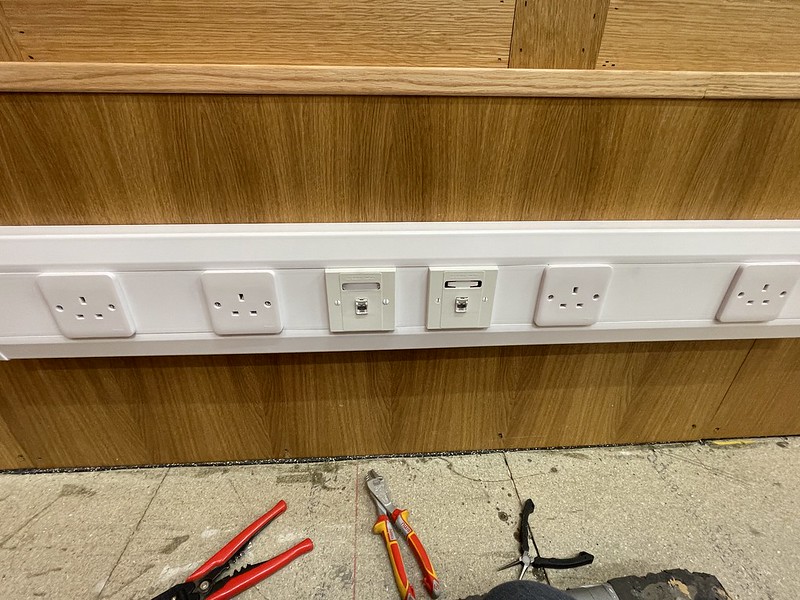
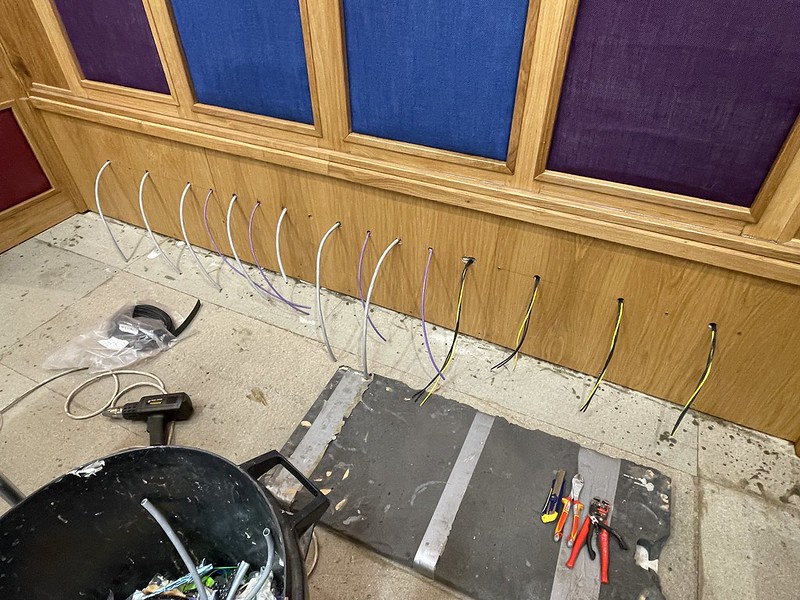
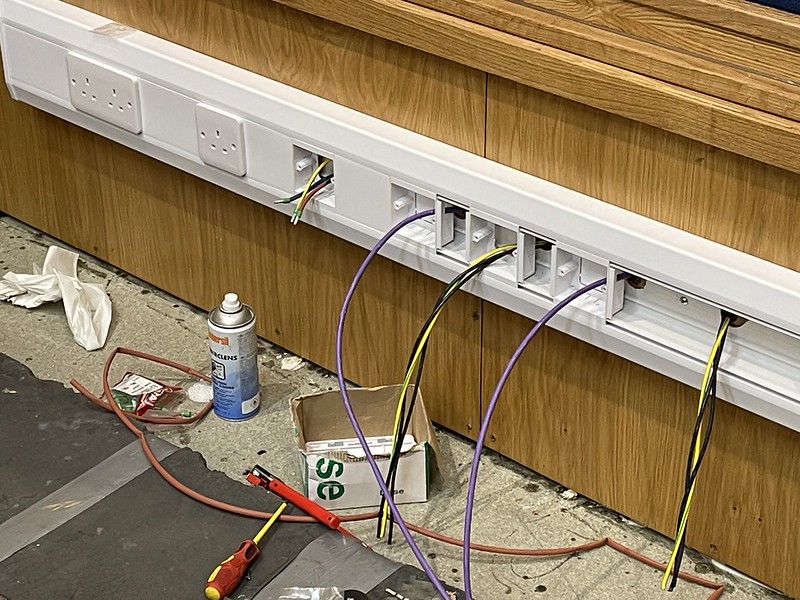
Starting on final fix electrics and network.
All tested and OK.
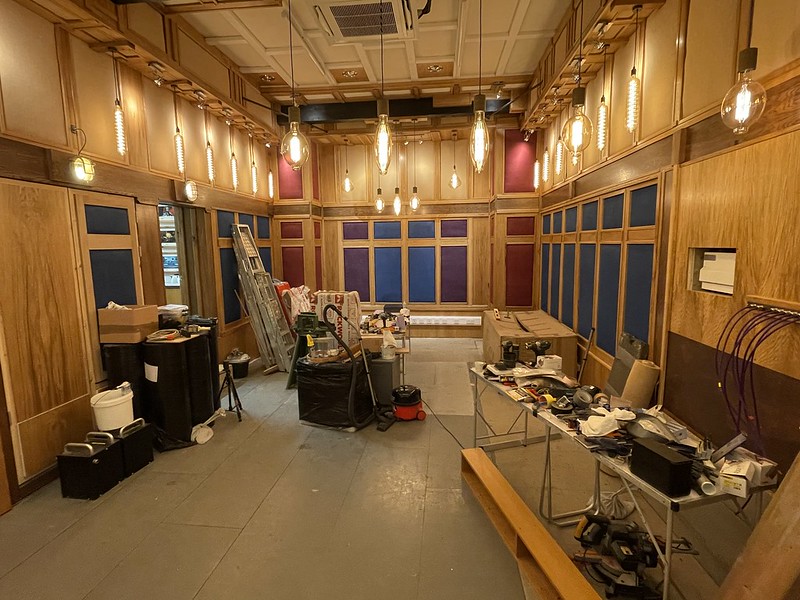
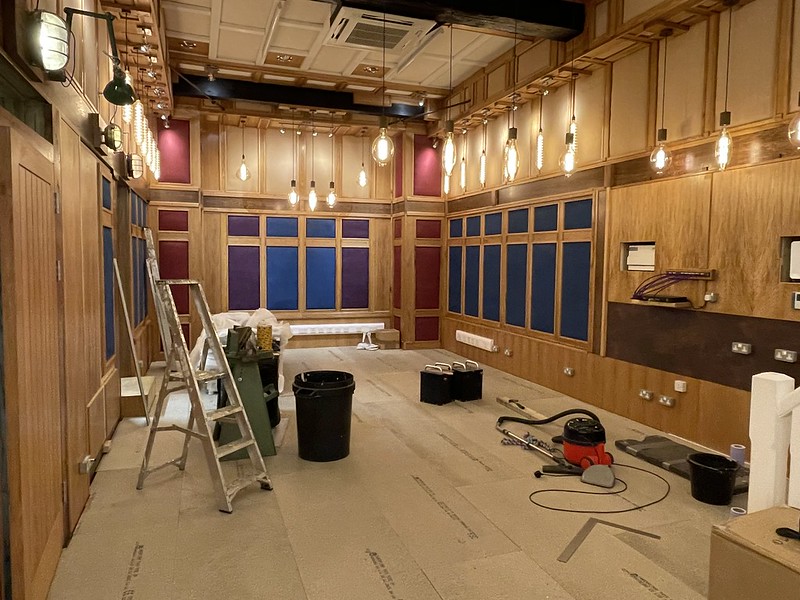
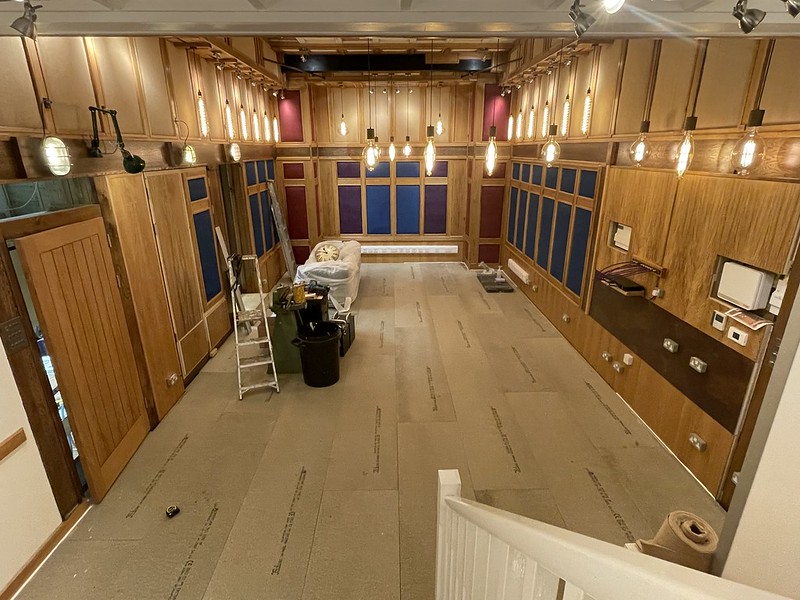
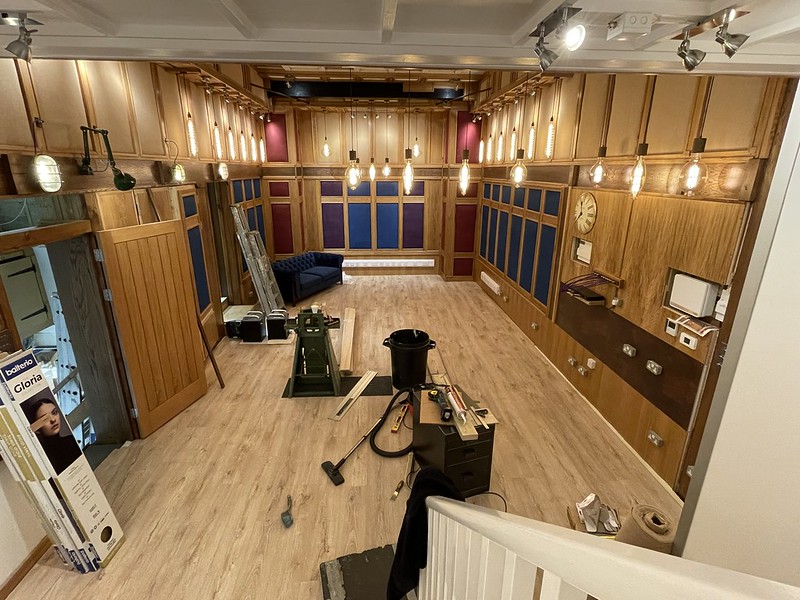
All coming together at last.
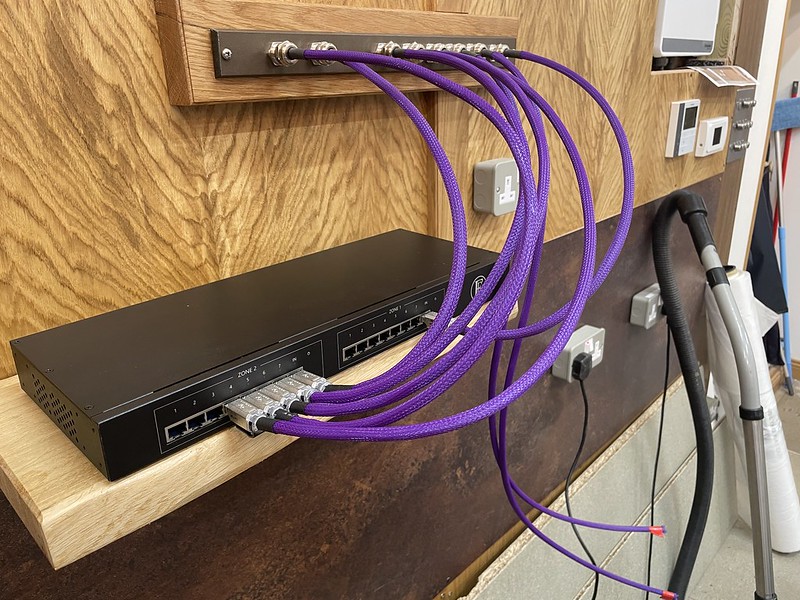
Network testing / Chord Co 16 switch.
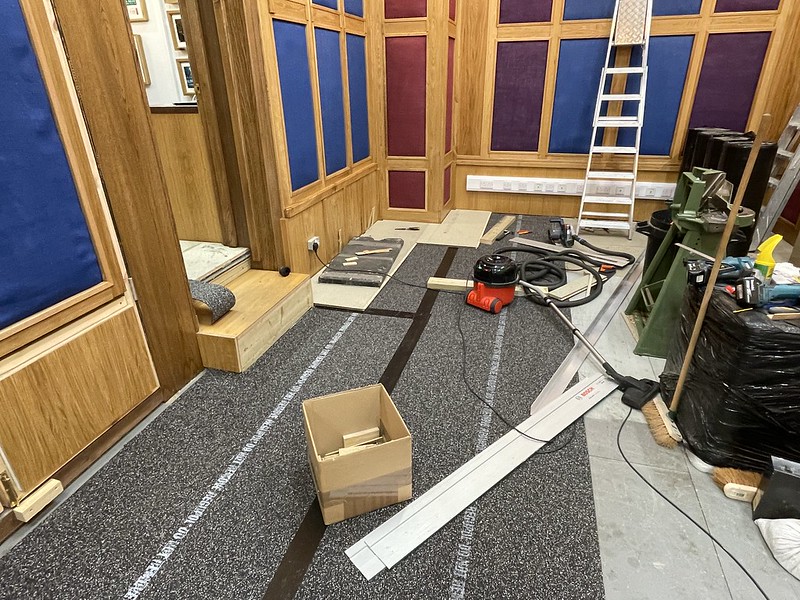
‘Floating Floor’ Regupol 6mm underlay going down.
22mm tongue and groove, fully floating, not touching any edges anywhere..
Floating floor down, 100% sealed to edges with special caulk (acoustic intumescent)
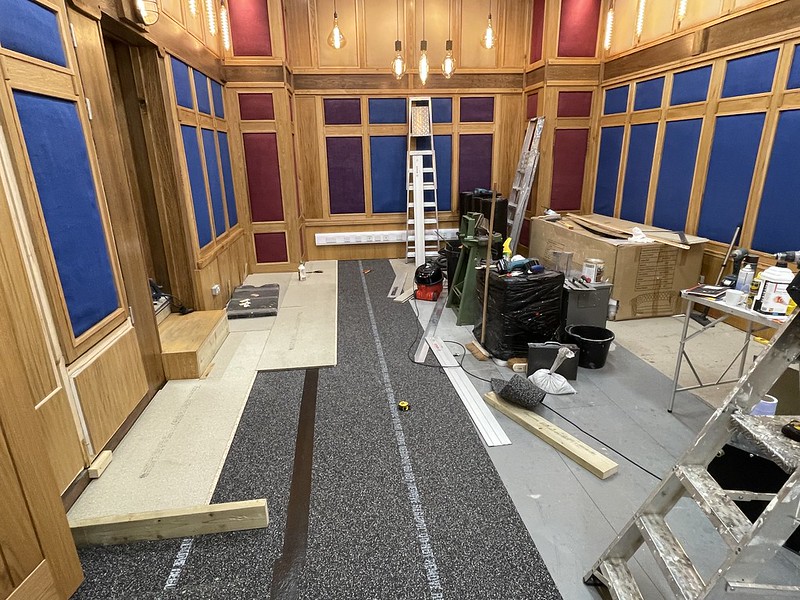
Now need to fit final finish floor..
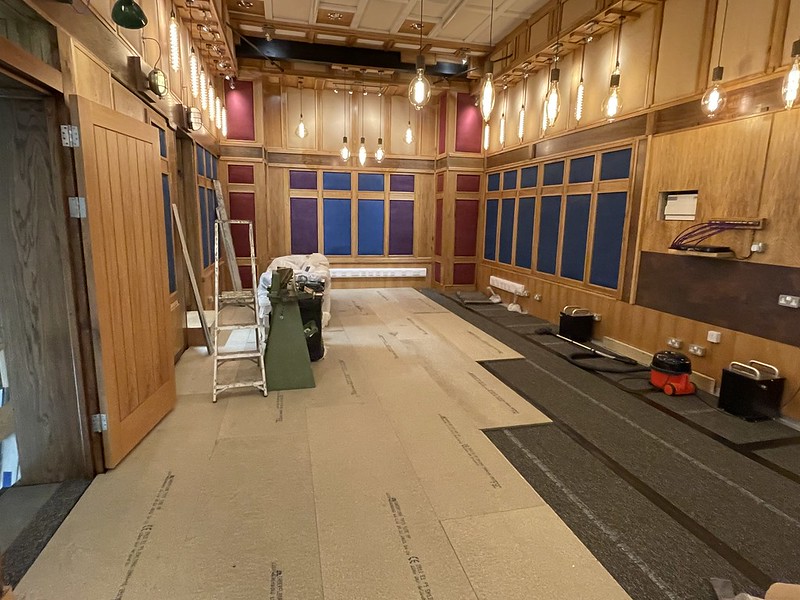
3mm acoustic underlay, on top of floating floor, then 6mm laminate oak flooring.
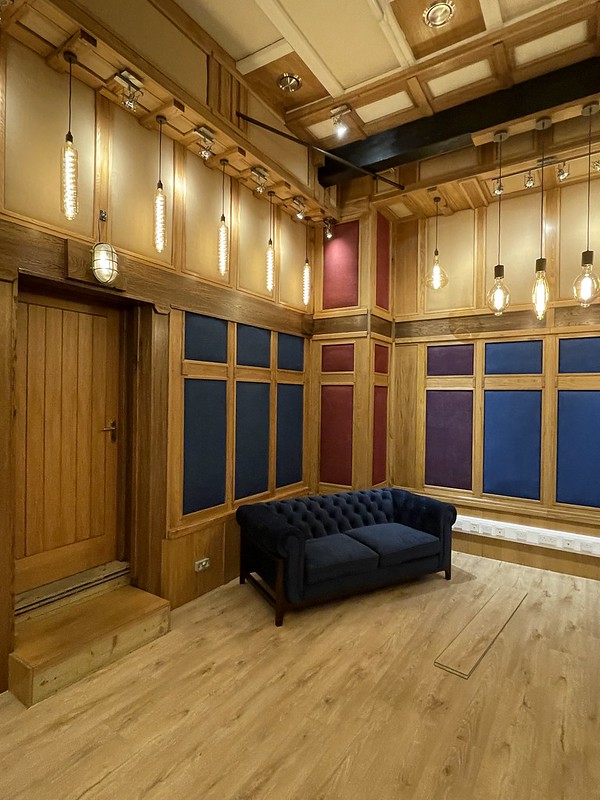
Finish floor down, and with that, I think another entry later will be the way to go.